

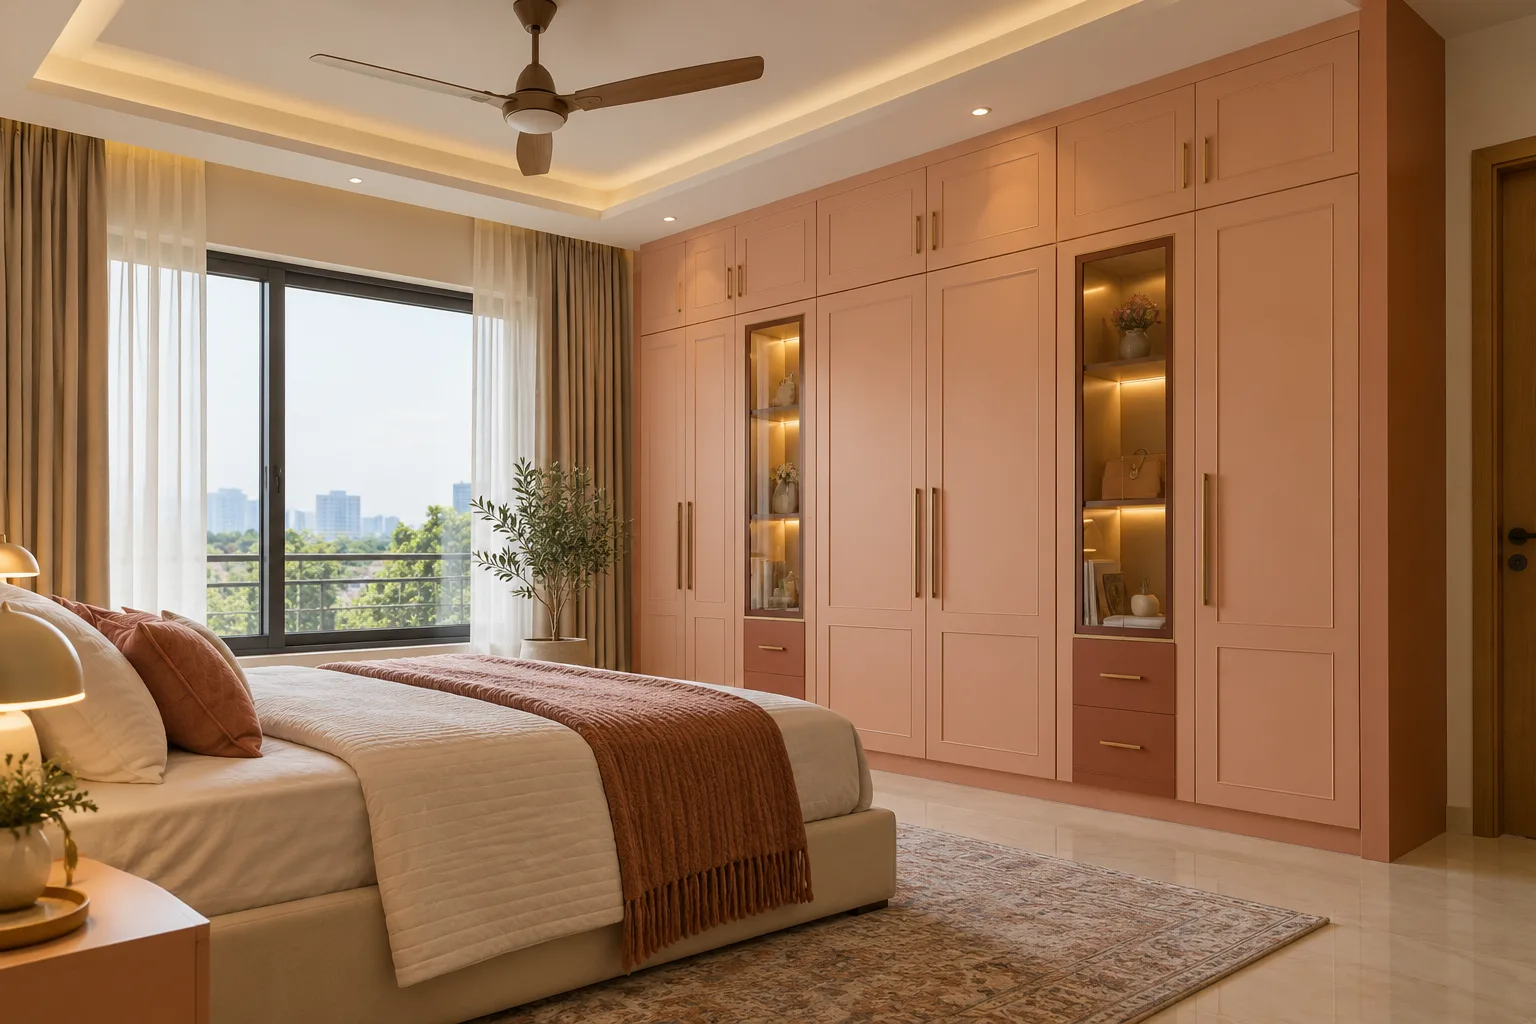
MM-MW058 · GI concept
GI Peach Classic Display Master Bedroom Wardrobe
Explore this peach classic display wardrobe with practical clothing storage and a coordinated bedroom layout.
Peach Classic Display Wardrobe specifications
- Design ID
- MM-MW058
- Proposed cabinet system
- GI metal wardrobe for a dry bedroom; grade, thickness and shutter build confirmed on the measured schedule
- Arrangement
- Peach Classic Display arrangement; confirm the elevation and internal storage on your measured room plan
- Finish direction
- matte laminate with tinted glass accents; physical samples and exact manufacturer references approved separately
- Edges and base
- Straight square-cut cabinet edges and grounded wardrobe plinth
- Accessories
- Hettich accessories; compatible models and quantities recorded in the quotation
- Dimensions
- Custom measured dimensions; the concept image does not establish sizes
Storage that works around the bed.
Check door movement, everyday reach and study or bedside access on a measured room plan.
Explore GI wardrobes7 planning details for your peach classic display wardrobe
Room and wardrobe measurements
For this peach classic display wardrobe, measure the wall width and finished floor-to-ceiling height at several points. For this peach classic display wardrobe, mark beams, skirting, windows, curtain movement, sockets and the bedroom entrance on the room plan. Check the bed position before deciding the wardrobe depth. Allow clear space for hinged shutters and drawers to open with the bed and chair in place. The concept image cannot establish manufactured dimensions or wall fixing requirements. Request an elevation and an internal layout for the actual room. Record the space needed for clothing, work accessories and bedding so that the storage divisions follow daily use rather than appearance alone.
Study and bedside arrangement
The furniture arrangement for this peach classic display wardrobe follows the peach classic display concept. Confirm any desk or dressing section against the actual room. Review the study or bedside section with the actual bed, chair and equipment. Where a desk is shown, agree a comfortable height and depth for its user, with practical knee space and chair access. For this peach classic display wardrobe, mark power points and lighting separately. Where the concept uses bedside storage, check access from the bed and the opening clearance of nearby wardrobe shutters. Decide which books and supplies belong on open shelves and which should stay behind doors. Confirm shelf depths on the measured drawing instead of estimating from the image.
Metal body and shutter specification
This peach classic display wardrobe is assigned a GI cabinet direction. The AI-generated image describes appearance and does not prove hidden construction. Agree the metal grade, thickness, shutter frame, face layers and edge detail with the GI wardrobe service. A laminate woodgrain appearance is a surface finish on the proposed metal construction. Keep the cabinet corners straight and square. GI is used here only for dry bedroom storage and is not recommended for counters or water-use areas. Review the shutter construction guide where a built-up shutter system is proposed. For this peach classic display wardrobe, record construction choices in the quotation.
Finish samples and glass
The finish direction for this peach classic display wardrobe is matte laminate with tinted glass accents. Compare physical samples in daylight and under bedroom lighting before confirming a colour or sheen. Agree laminate grain direction and the edge treatment around adjoining doors. Digital colours are references and may differ from the installed material. If glass is visible in the concept, specify its type, tint, thickness, frame and appropriate use separately. Confirm the intended privacy and how stored objects appear through the selected sample. The concept does not establish a certified glass specification or a catalogue colour code. For this peach classic display wardrobe, keep the approved finish references with the measured cabinet schedule.
Hettich accessories and practical reach
For this peach classic display wardrobe, Hettich is the specified accessory brand. Choose compatible hinges, drawer runners and storage fittings for the approved metal cabinet and shutter system. List the exact models and quantities in the itemised quotation. A concept does not identify a particular Hettich series or load rating. Arrange everyday clothing, books and work essentials within practical reach for the person who uses the room. For this peach classic display wardrobe, reserve high-level storage for less frequently used items and discuss access with the designer. Confirm shelf fixing, cabinet restraint and any glass section against the final construction requirements. Check every drawer and door opening with the furniture in its normal position.
Measured quotation and approval
Share MM-MW058 when requesting this peach classic display wardrobe. Provide room photographs, measurements and a list of storage priorities through the design consultation page. Ask for a module schedule showing cabinet dimensions, the GI system, shutters, internal storage, approved finish samples, Hettich fittings and installation scope. Identify electrical preparation and optional lighting separately. There is no fixed price or delivery promise attached to this concept. Warranty terms and delivery dates must come from the approved written quotation. For this peach classic display wardrobe, review the elevation and internal plan together before fabrication. Keep the selected design ID with those documents.
Installation and care review
At handover for this peach classic display wardrobe, compare the installed wardrobe with the approved elevation and material schedule. Check the grounded plinth, cabinet fixing, shutter alignment, drawer movement, shelf fixing and accessible openings. Confirm that the study chair or bedside access remains practical. Record any adjustment using the agreed accessory and finish references. For this peach classic display wardrobe, follow the care instructions for the actual installed coating, laminate and glass. Keep the cabinet dry and wipe spills promptly. Avoid abrasive pads and unsupported cleaners. The final measured construction schedule is the reference for the installed wardrobe; an AI-generated concept is a starting direction and is not a completed customer project.
Storage schedule for clothes, books and work essentials
Begin the peach classic display wardrobe storage schedule with the objects that already belong in the bedroom. Gather work bags, spare bedding, travel luggage and the clothing that needs hanging. Separate daily items from occasional storage. Measure the larger objects before choosing shelf positions. A tidy concept photograph may contain fewer objects than the room needs to accommodate.
For hanging sections, review the garments and hangers you actually use. Discuss the usable depth and hanging height with the designer. Keep frequently used clothing within practical reach and identify which sections the user will manage. The concept does not establish an user-specific reach measurement. Confirm the internal plan for the intended user rather than assigning a standard layout from the image.
Folded clothing needs usable shelf space after allowing for the approved cabinet construction. Decide which shelves should be adjustable and which require a fixed position. Review the storage depth with the actual folded items. Avoid filling every module with small divisions before deciding what it will hold. Mark the intended use of each module on the internal layout.
For the peach classic display wardrobe, plan work bags and everyday shoes where they can be put away without blocking drawers or cabinet openings. Discuss how those items should be separated from clean clothing. Confirm whether a low compartment, shelf or drawer suits the agreed routine. Keep cleaning access and the dry indoor use of the metal cabinetry in mind when approving the final arrangement.
Books and stationery need a separate check from clothing storage. Measure taller textbooks and folders, then review the useful shelf spacing. Where open book boxes are visible, decide which items should stay on display and which should remain behind doors. Record the proposed shelf fixing and intended contents in the measured scope. The visual image does not provide a shelf load capacity.
If two adults share the room, discuss which storage sections belong to each user and which should be shared. A two-seat desk shown in a concept needs a measured check for chair access, equipment and the surrounding furniture. Agree the division of drawers and supplies before confirming the elevation. Individual habits may require a different internal arrangement from the visual reference.
Review bedding and seasonal storage independently. Bulky items may need fewer, larger compartments rather than several shallow drawers. Where loft doors are shown, establish how the storage will be accessed and who will use it. Mark any ceiling beam or air-conditioning access that affects the upper modules. Do not infer a usable loft depth from the front view alone.
Keep the peach classic display wardrobe storage schedule connected to the quotation. If a drawer bank replaces shelves or an open book column becomes a closed cabinet, update the elevation and internal plan together. Record any organiser separately with its exact compatible Hettich model. This gives the measured wardrobe a clear reference for fabrication and later maintenance.
Study access, room lighting and installation planning
Review the peach classic display wardrobe with the bedroom in its everyday arrangement. Mark the bed, bedside furniture and the chair on a measured floor plan. Check the entrance route with wardrobe shutters and drawers open. A concept may show generous empty floor space, so confirm the actual circulation before approving cabinet widths or a projecting study surface.
Where a study table is included, discuss the intended user, writing routine and equipment with the designer. Decide which books remain on the desktop and which should have dedicated storage. Confirm desktop dimensions and support on the drawing. The image does not establish a suitable desk height, a tested support arrangement or an ergonomic certification.
Coordinate sockets and study lighting with the final elevation. Identify the devices that need power and the route for their cables. Keep access to switches and sockets practical after installation. Confirm the responsibility for electrical preparation and any lighting supply in the quotation. A light shown in an AI concept is not automatically included in the cabinet scope.
For the peach classic display wardrobe, check daylight and reflections from the room windows. A glossy acrylic direction may look different beside a bright window than a matte painted finish. Compare approved physical samples under the lighting that will be used in the bedroom. If a glass accent is proposed, review its visibility and reflections with the actual stored objects and room lights.
Discuss the junction between the wardrobe, study surface and bedside modules. Show any differences in depth on a side view. Confirm the straight square-cut edge treatment where finishes meet. The measured construction detail should identify support and fixing requirements rather than relying on a front-view image to describe a hidden connection.
Confirm the site preparation before installation. Review wall and floor levels, skirting and the condition of the surfaces used for fixing. Discuss any required preparation with the installer and record the agreed responsibility. A metal system name does not establish the strength of the existing wall or a universal fixing specification. Those decisions belong to the site assessment and measured construction schedule.
Before fabrication, compare every peach classic display wardrobe module with its intended storage use. Review shutter direction, drawer extension and usable access around the bed. Check whether an adjacent desk drawer can open while the chair is in place. Confirm the planned cabinet restraint, shelf fixing and any glass section against the approved construction requirements. Resolve those points on the drawing before production.
At installation review, use the approved elevation, internal plan and finish references together. Open each shutter and drawer, check the grounded base and compare the visible finish transitions with the selected samples. Confirm access to room switches and the study area. Record adjustments using the actual Hettich fitting references and retain the documents for future maintenance.
The peach classic display wardrobe remains a reference concept until its measured version is approved. Changes to cabinet size, finish, glass, accessories or room preparation should appear in the updated schedule. Keep the design ID with the final quotation and drawings. This makes the chosen visual direction easy to trace without treating an AI-generated image as a photograph of completed work.
Final module checklist and room-specific decisions
Before approving the peach classic display wardrobe, give every cabinet module a position and reference on the elevation. Record the external width, height and depth together with its intended contents. Review useful storage space after accounting for the approved metal body, shutter construction and fittings. An overall room width is insufficient to describe individual drawers, hanging sections and book storage.
Show the opening direction of each shutter on the drawing. Check adjacent doors and drawers together, including any bedside cabinet or study pedestal. Where two openings meet, review how the chosen handles and fittings affect clearance. Keep the chair and bed on the floor plan so that these checks reflect the occupied room rather than an empty wall.
For the peach classic display wardrobe, identify the sections that need adjustable shelves and the sections that need fixed construction. Discuss the actual stored objects and access requirements with the designer. Record the shelf arrangement on the internal plan. Keep optional organisers distinct from essential cabinet storage so that the itemised quotation shows what is included.
Review the wardrobe base and its junction with the room floor. Confirm the grounded plinth direction, floor levels, nearby skirting and cleaning access. Discuss the fixing and cabinet restraint with the installer. The visual reference shows a grounded appearance but does not establish the installed support method. Approved construction details should address the actual site.
Match each visible surface with an approved reference. Separate the body specification from the laminate, acrylic or painted finish description. Record the intended sheen and grain direction for each adjoining panel. Review exposed edge treatment at the study surface and bedside boxes. Where more than one finish is used, compare samples together before approving the elevation.
For any glass in the peach classic display wardrobe, create a separate schedule identifying the shutter or panel location, selected glass direction, frame and approved opening mechanism. Discuss the intended user and storage contents with the designer. Confirm suitability through the agreed specification. Do not infer a tested glass type or thickness from the concept photograph.
Coordinate Hettich fittings with the final module arrangement. List compatible hinges, runners and any optional storage accessories by model and quantity. Review drawer access and shutter movement before confirming those fittings. A brand name alone does not establish a particular series, load rating or opening feature. Those details belong in the itemised quotation and measured specification.
Check the room photographs against the final peach classic display wardrobe drawing before production. Identify any changed socket position, bed size, curtain arrangement or floor treatment. Update the affected module when a room detail changes. A late alteration can affect a drawer opening or study access even if the overall appearance remains similar.
Confirm the agreed installation scope and the preparation that must happen first. Identify responsibility for electrical work, wall preparation and other room changes separately from cabinetry. Review the final written project terms for pricing, delivery and warranty information. The design reference itself does not provide those promises or a universal package rate.
Retain the final elevation, internal plan, finish references and accessory schedule together. At handover, compare the installed modules with those documents and record any adjustments. Use the approved material care guidance for routine cleaning. Keep the selected design ID with the room-specific documents so the chosen concept and its measured version remain connected.
More master bedroom wardrobe designs
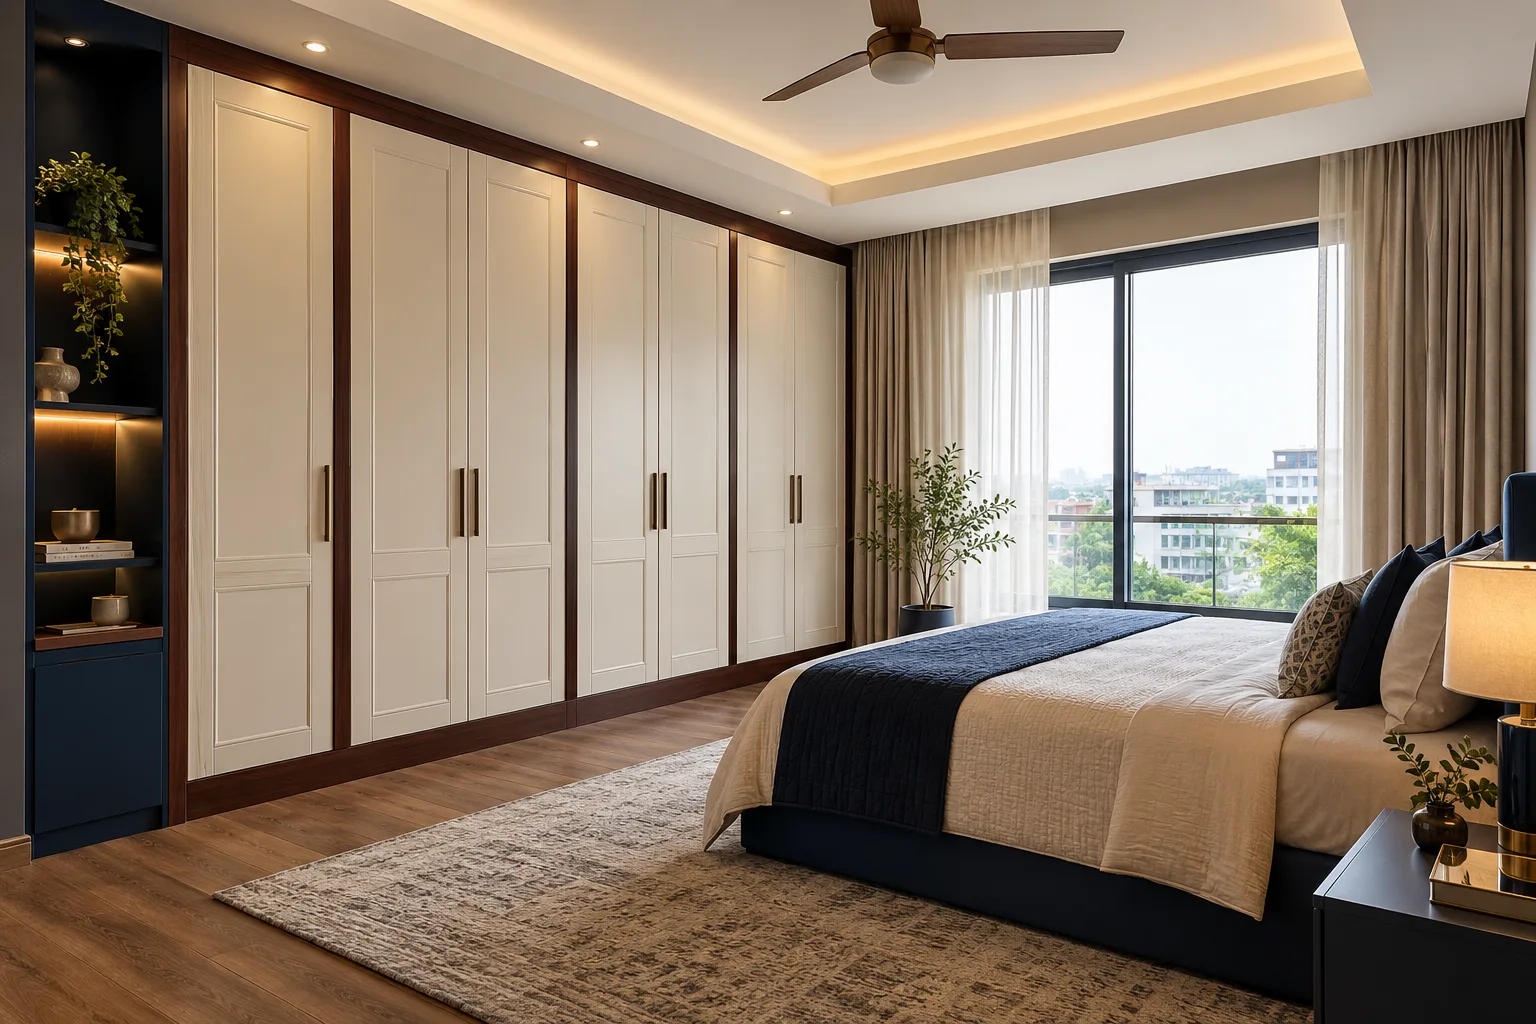
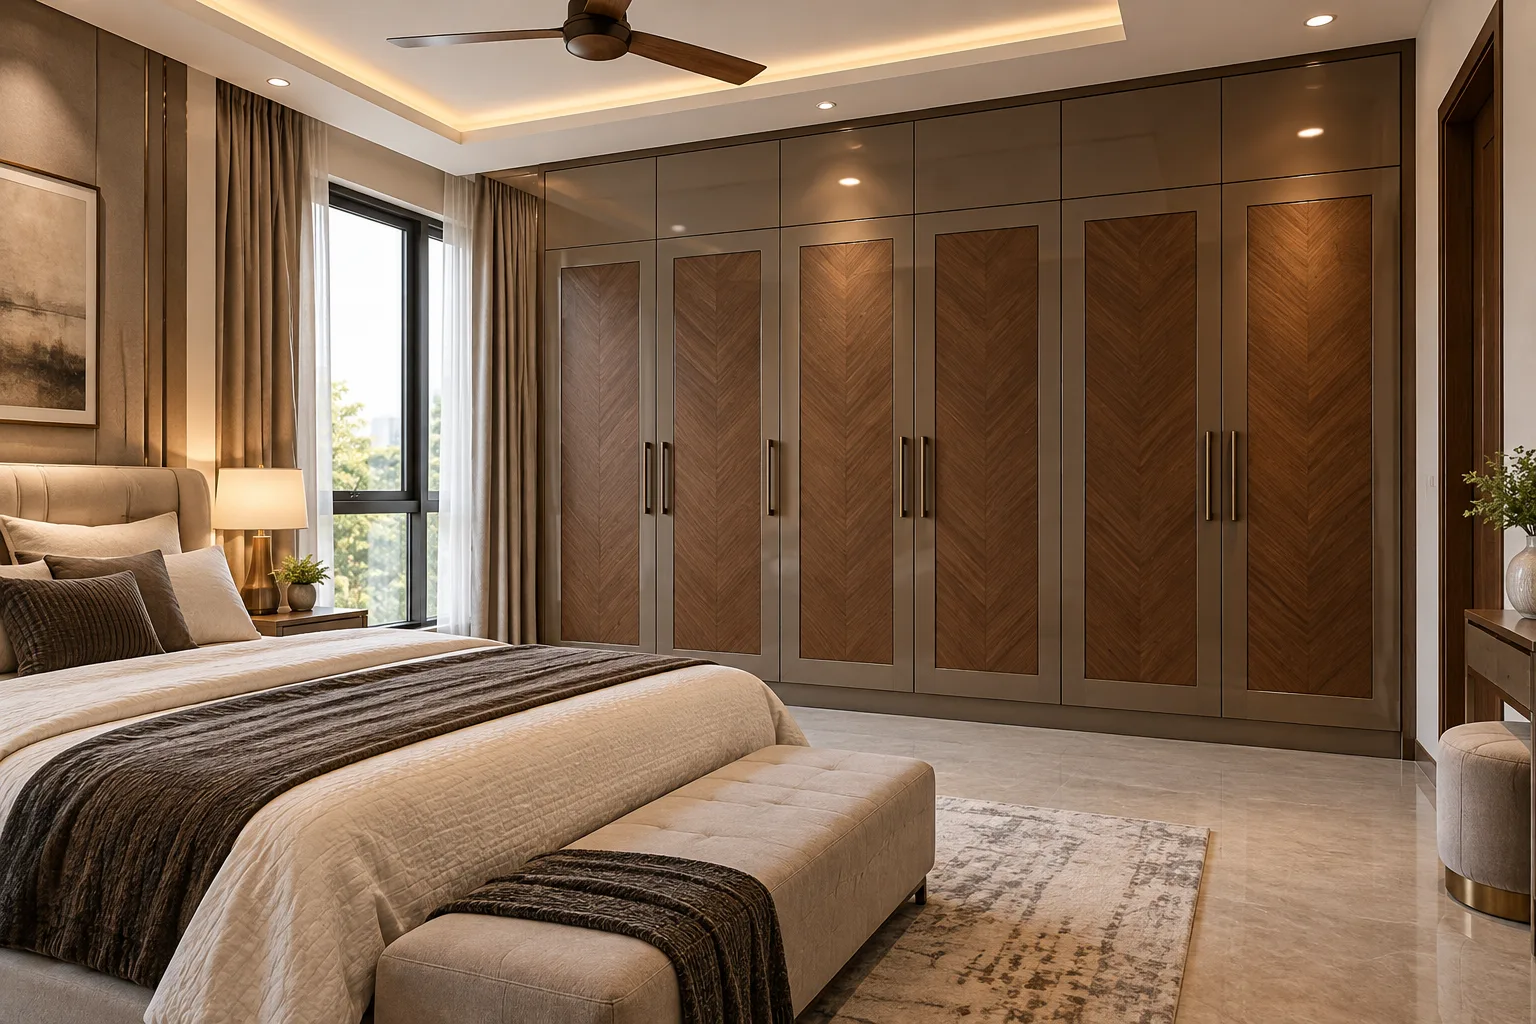
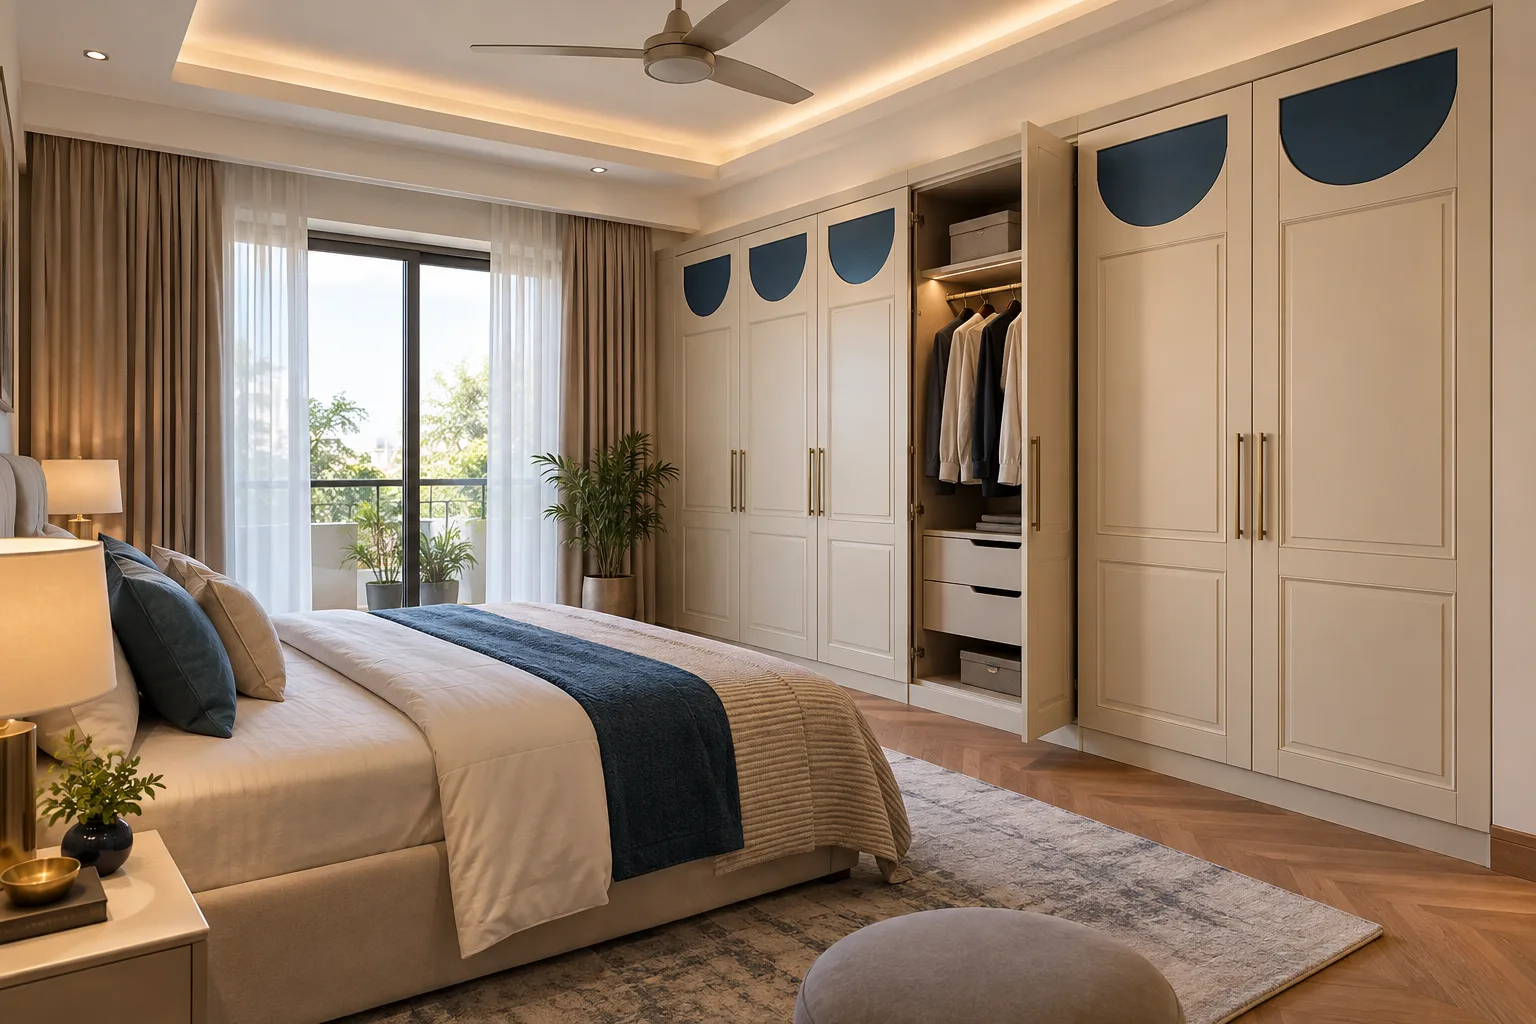
Plan this look for your master bedroom.
Share MM-MW058 and request a measured cabinet schedule.