

Metal & More Design Ideas
Crockery Designs
Explore 50 crockery designs with straight metal edges, grounded bases and glass shutters. Find a storage model, then adapt the finish and interior to your dining wall.
AI-generated design concepts, not completed client project photographs. Final dimensions, construction and finishes require approval.
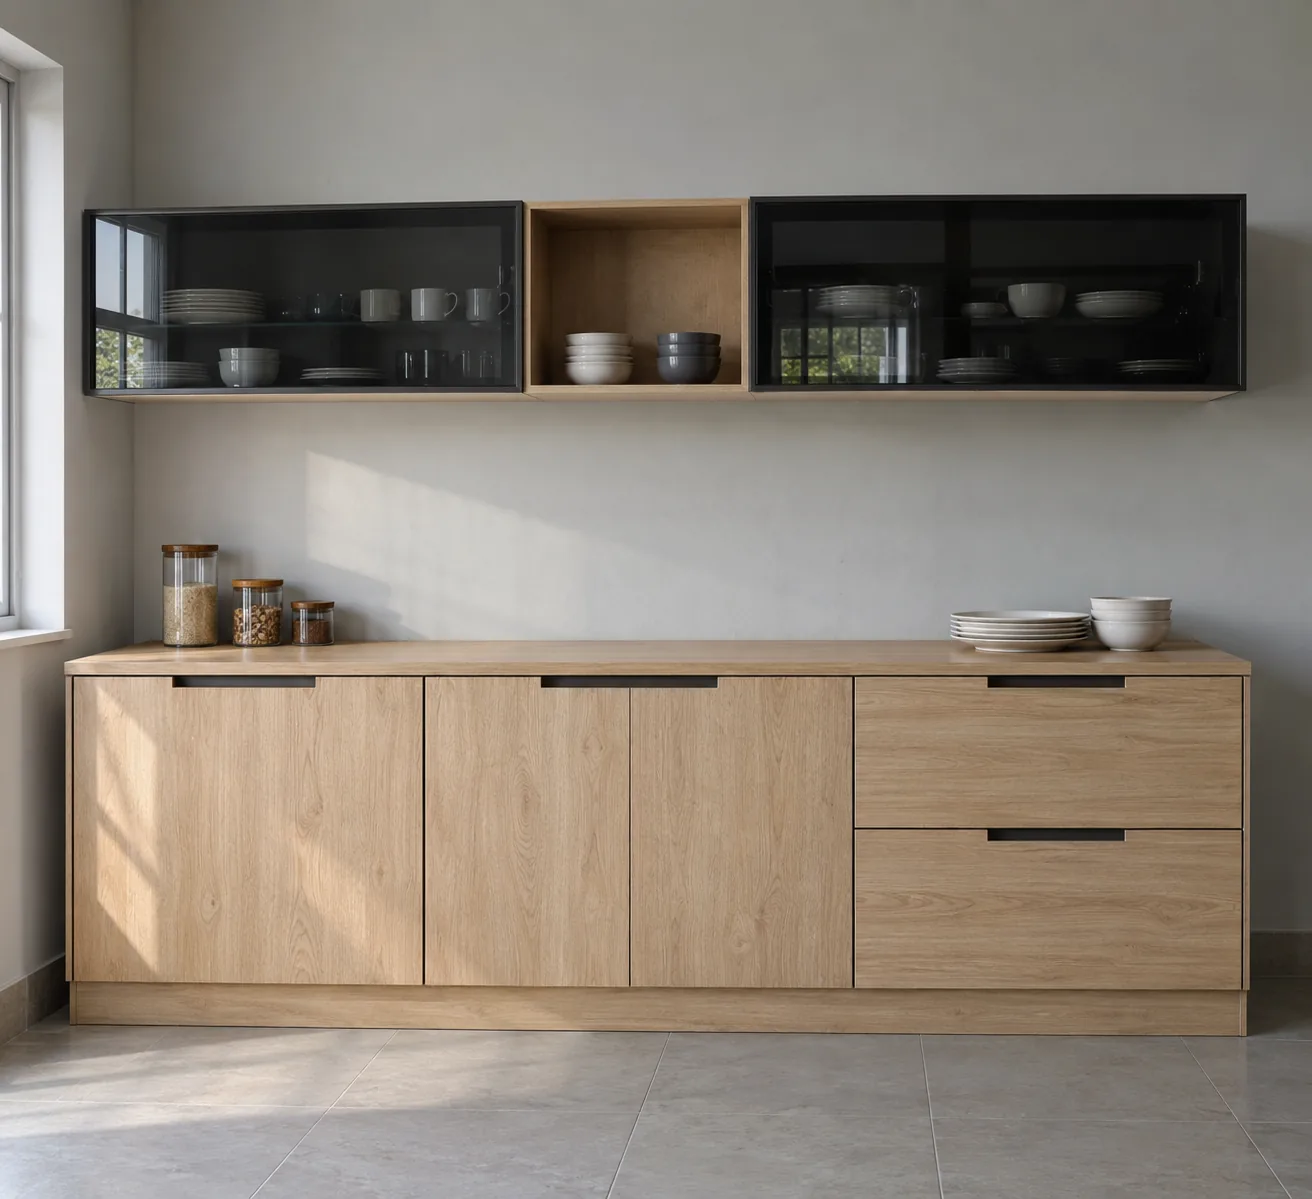
Find your crockery design
Open each design for its specifications.
50 designs
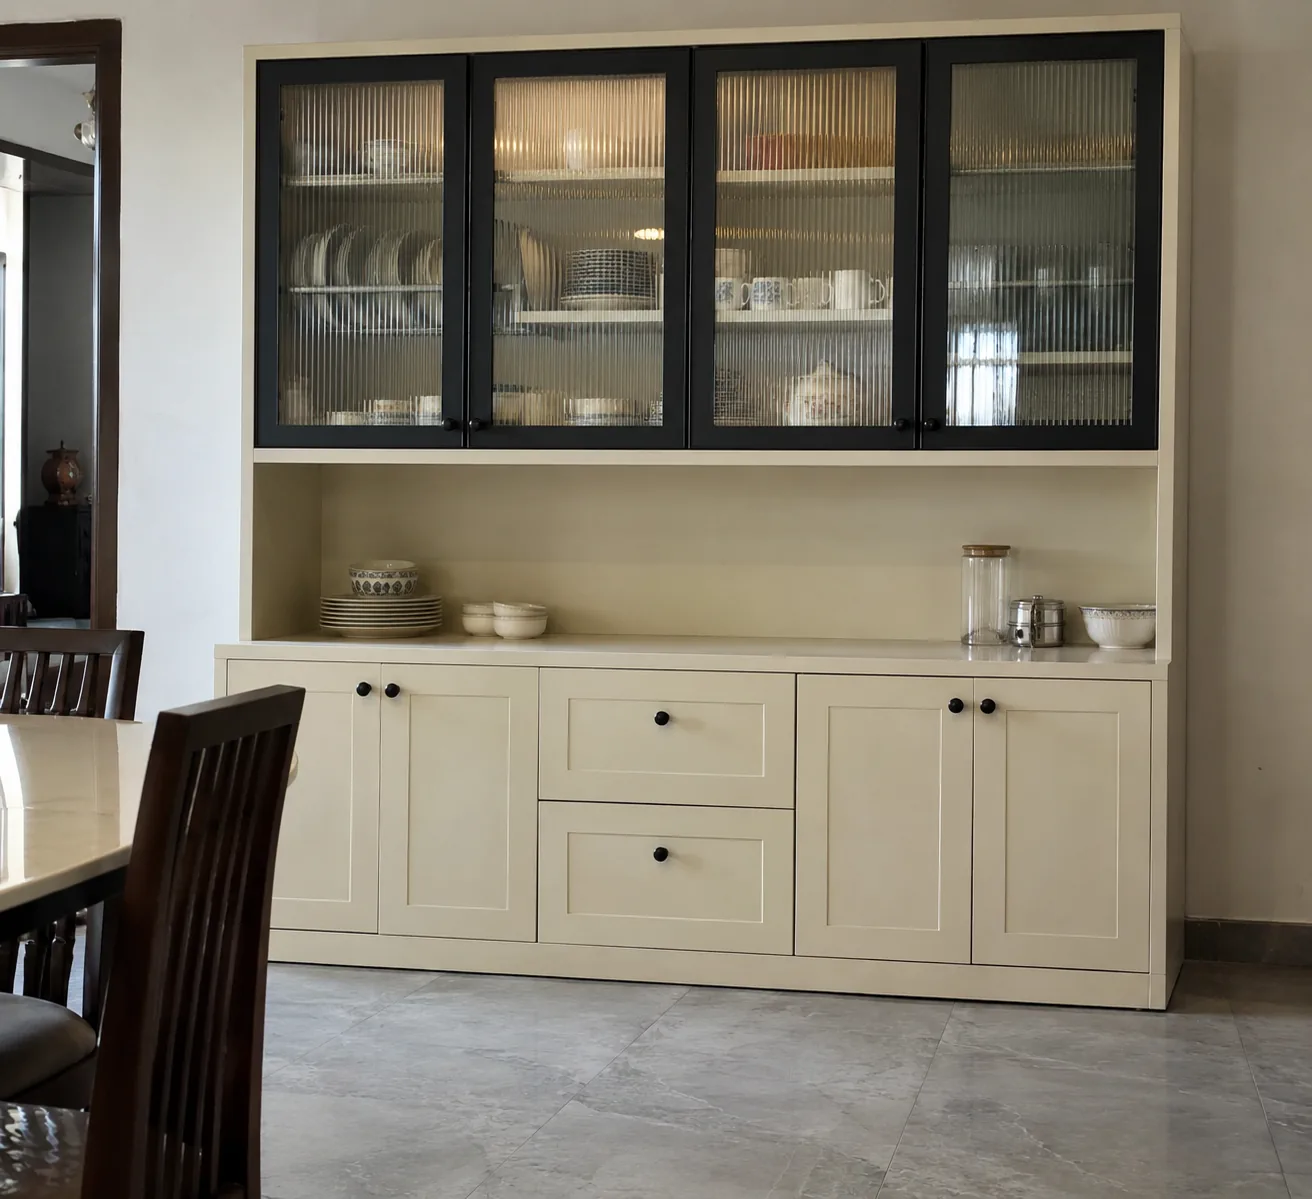
MM-C001 · Fluted glass
Steel Ivory Classic Fluted Crockery
Classic finish concept · grounded base
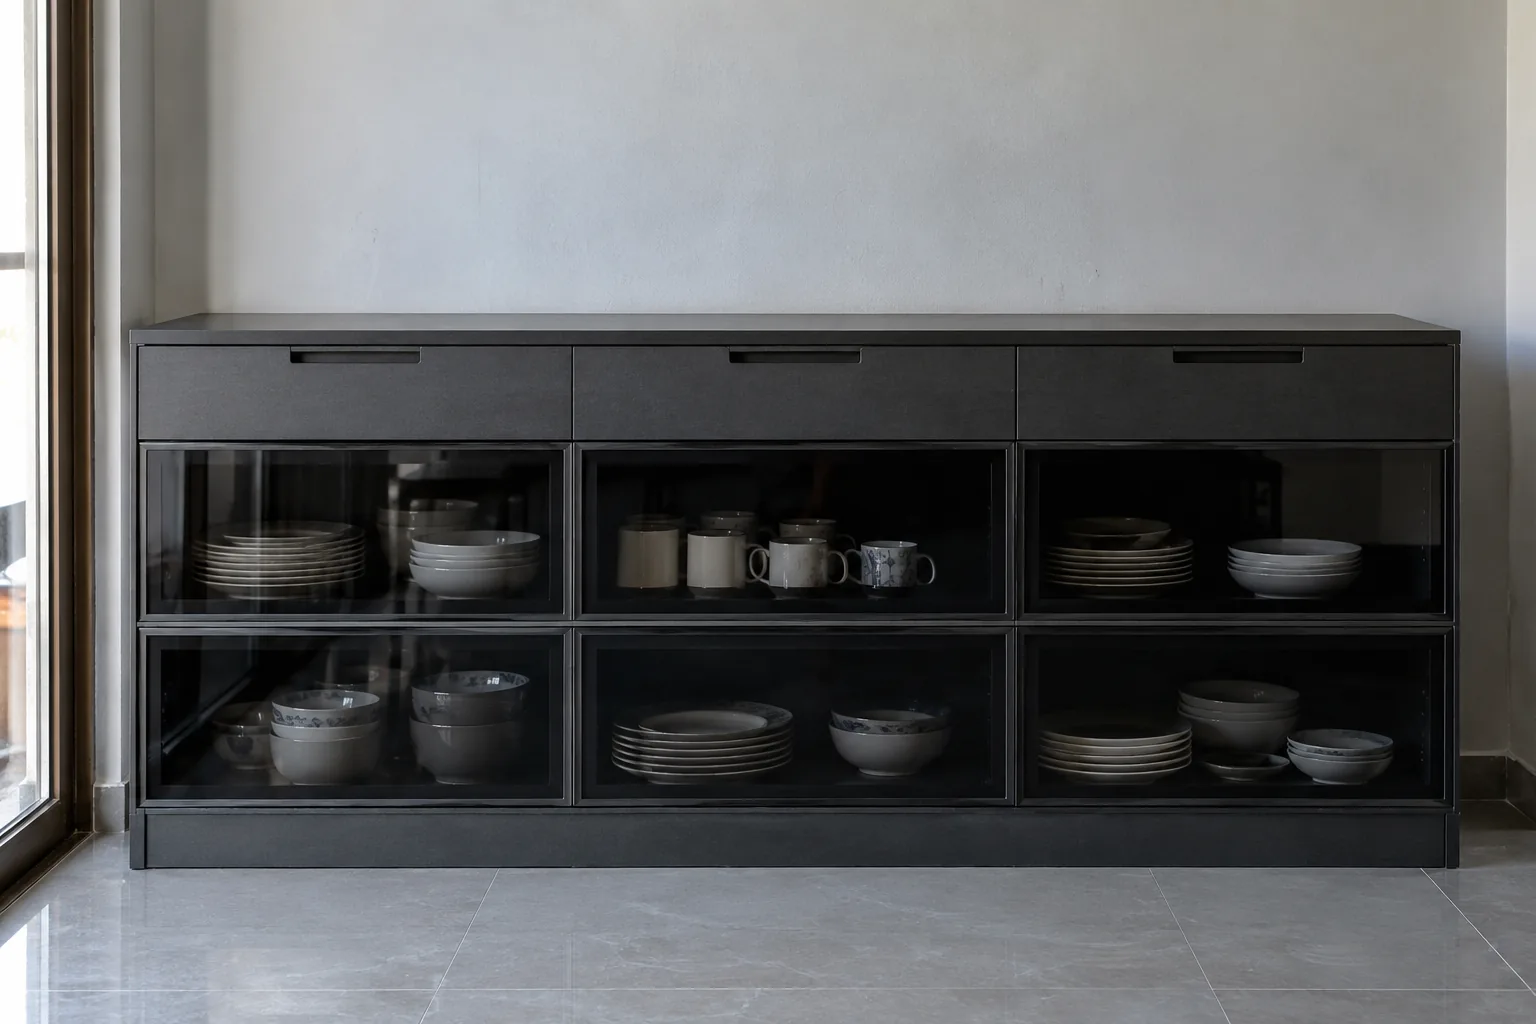
MM-C002 · Black tinted glass
Steel Charcoal Laminate Grid Crockery
Charcoal solid matte laminate · grounded base
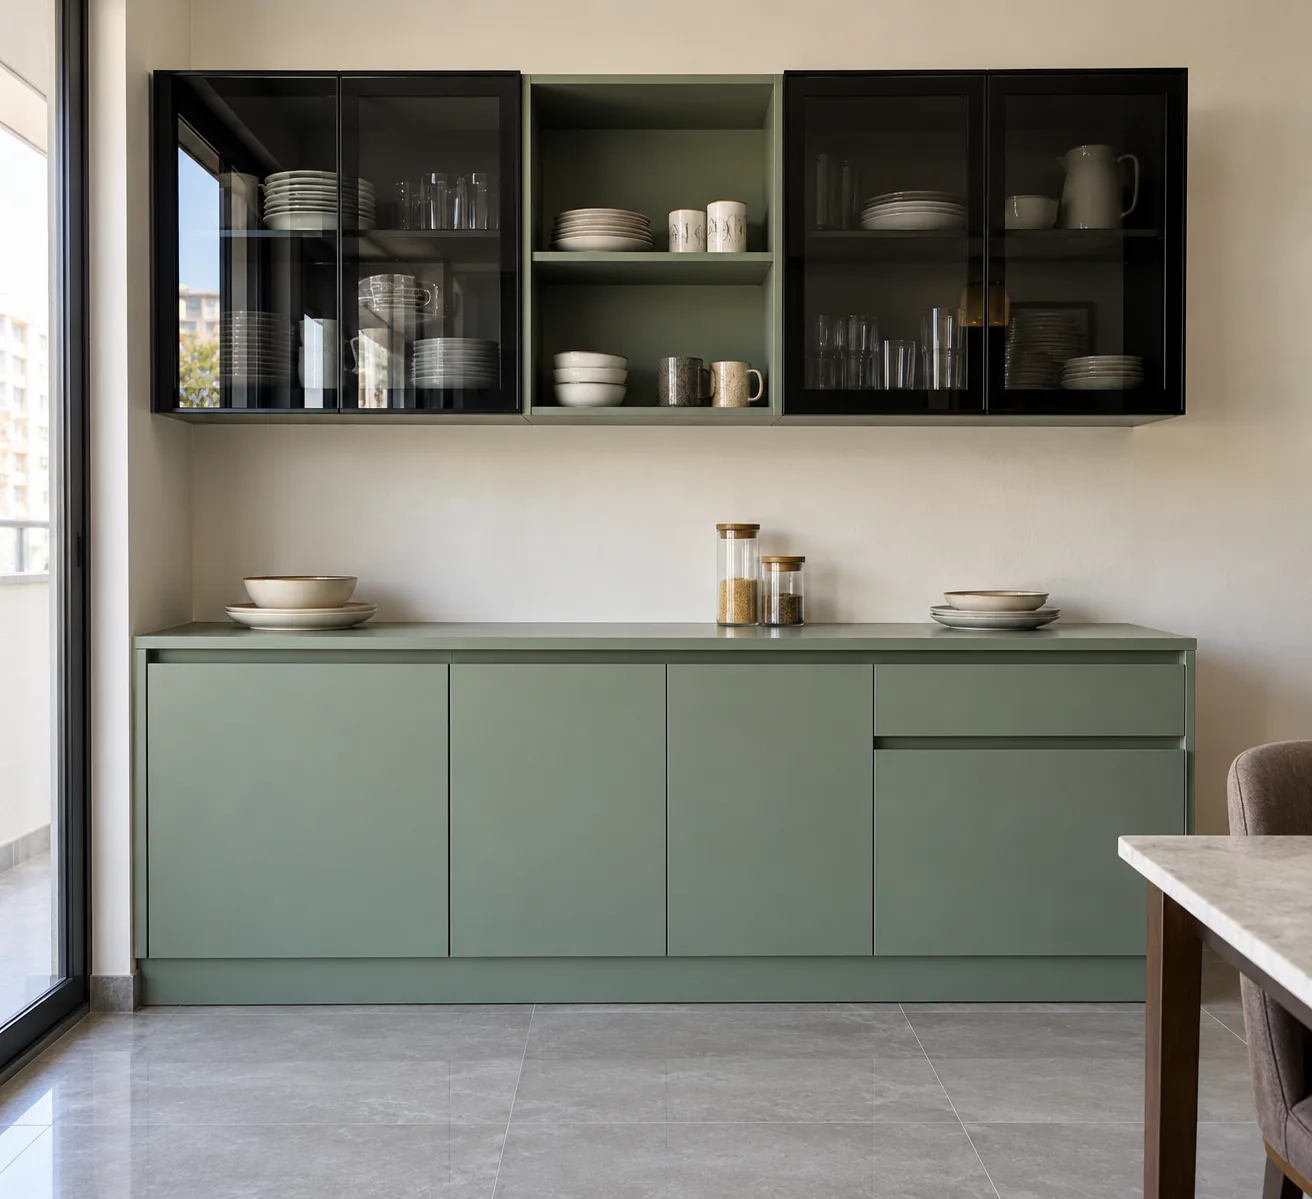
MM-C003 · Black tinted glass
Steel Sage Modern Grounded Crockery
Modern finish concept · grounded base
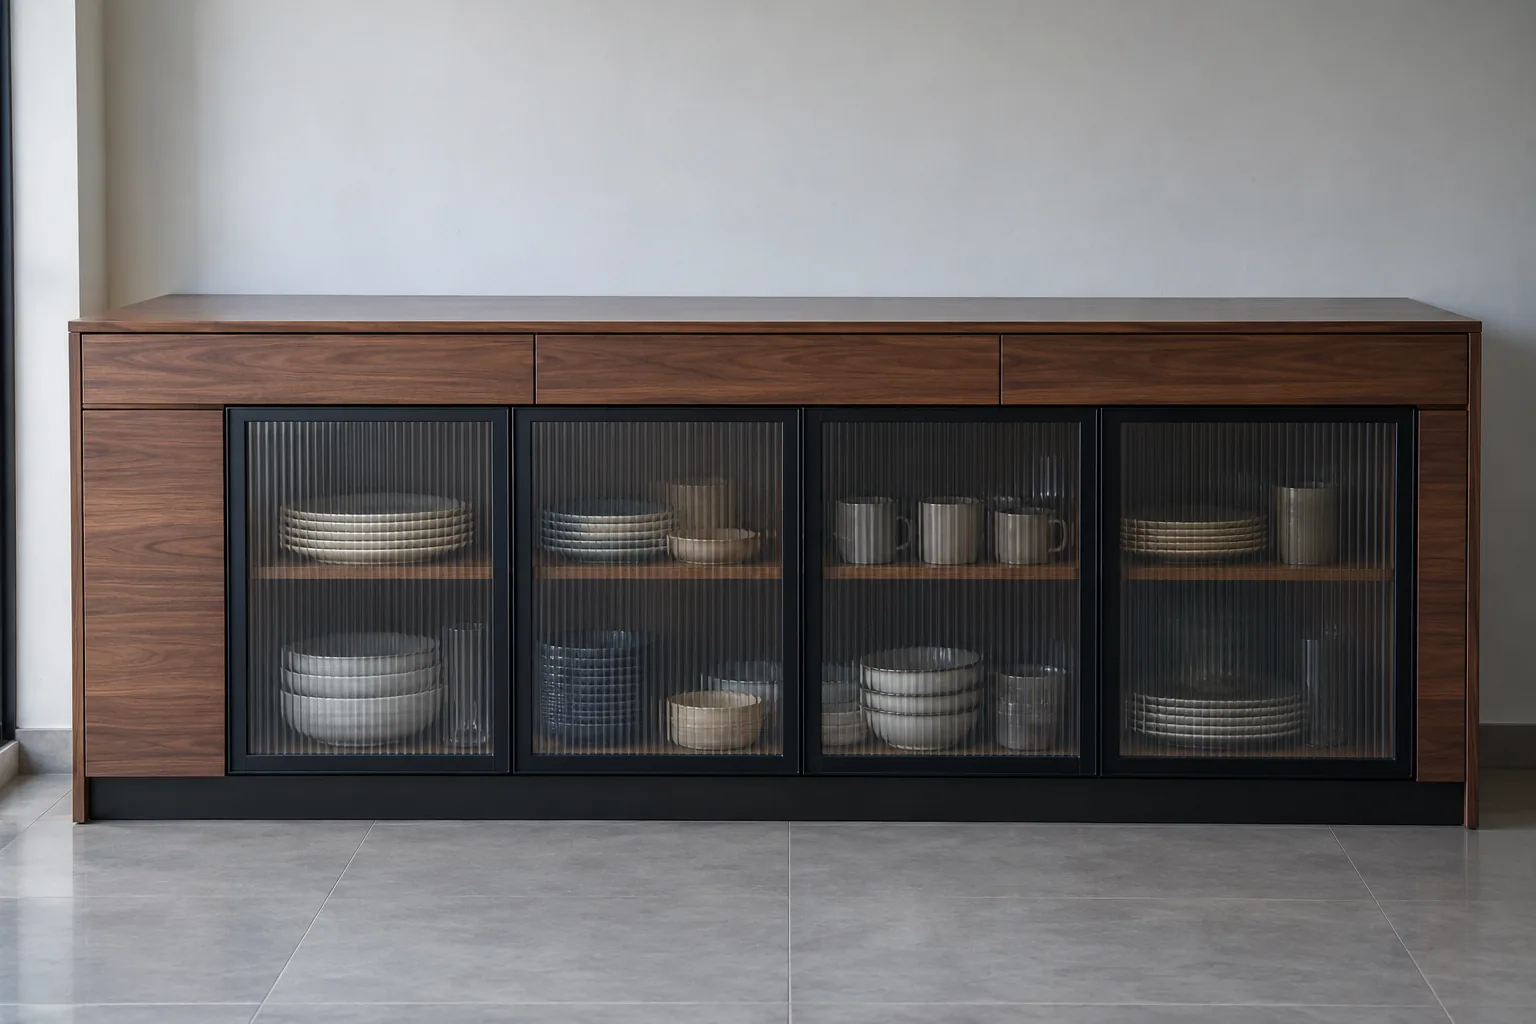
MM-C004 · Fluted glass
Steel Walnut Modern Fluted Sideboard
Walnut woodgrain laminate · grounded base
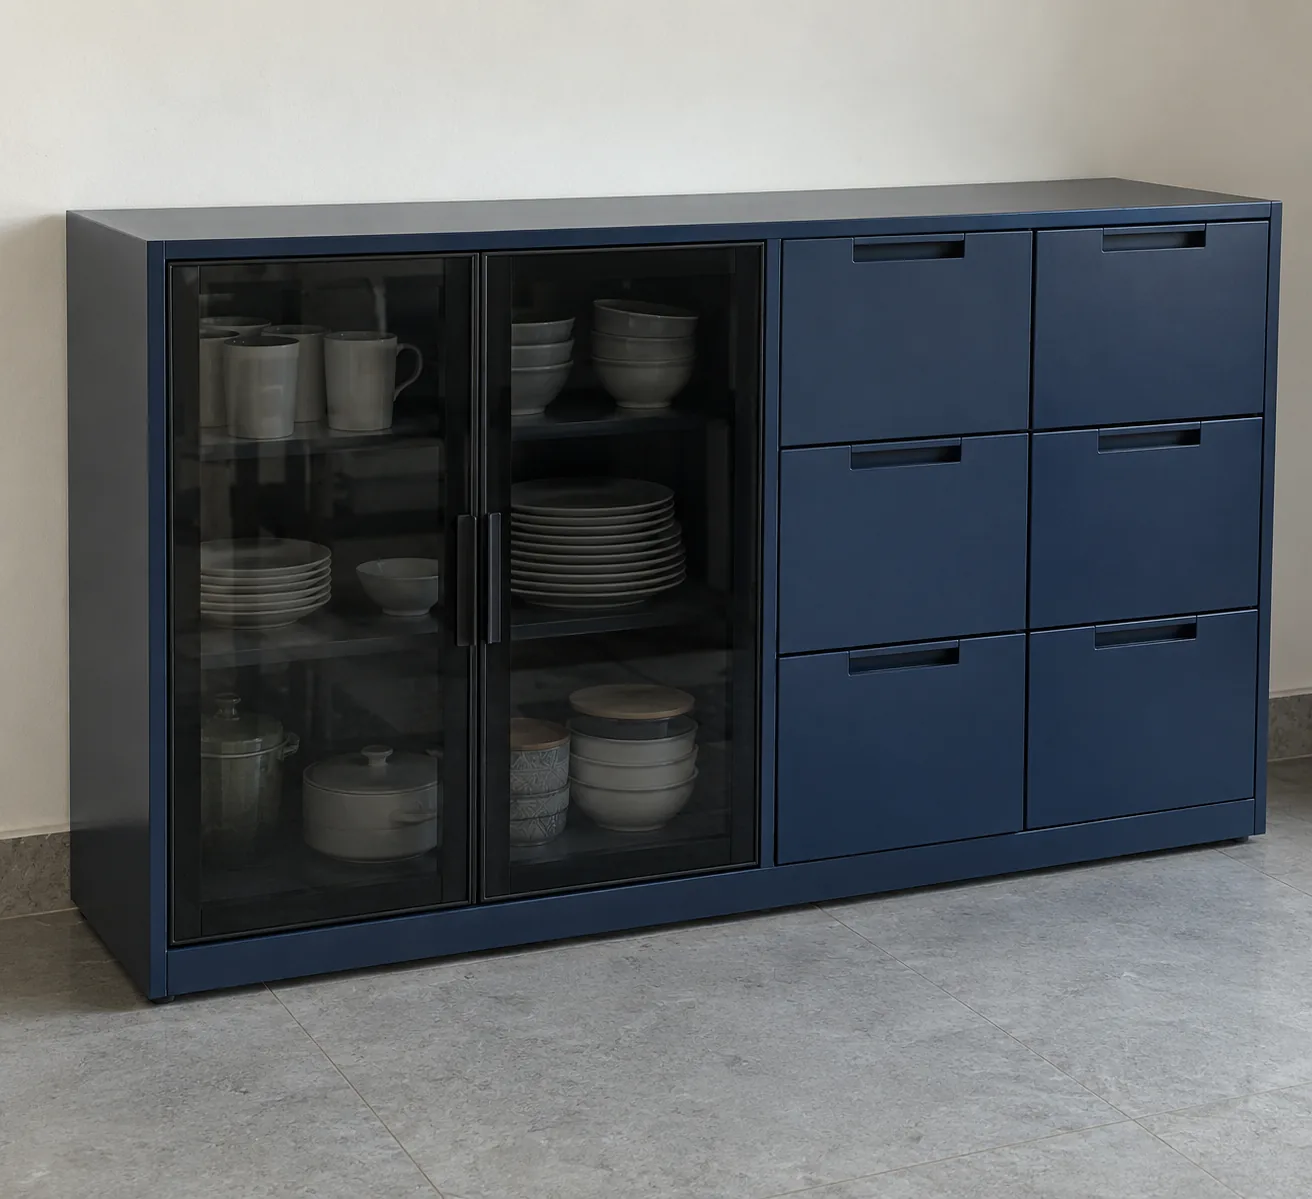
MM-C005 · Black tinted glass
Steel Navy Modern Offset Crockery
Modern finish concept · grounded base
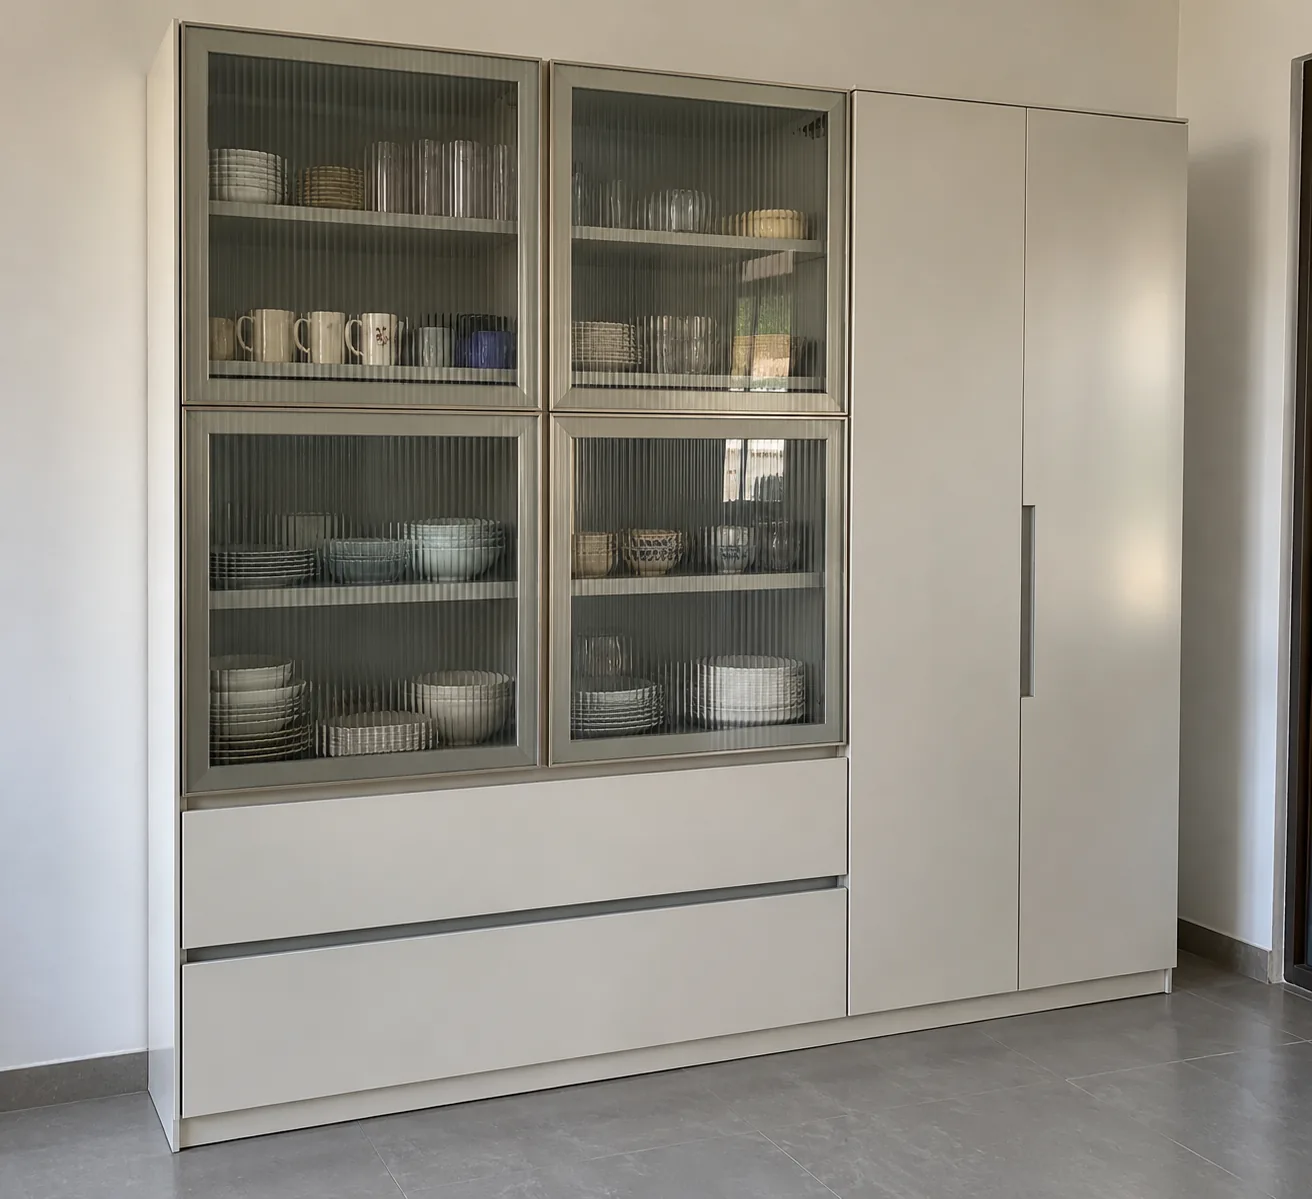
MM-C006 · Fluted glass
Aluminium White Modern Split Display
Modern finish concept · grounded base
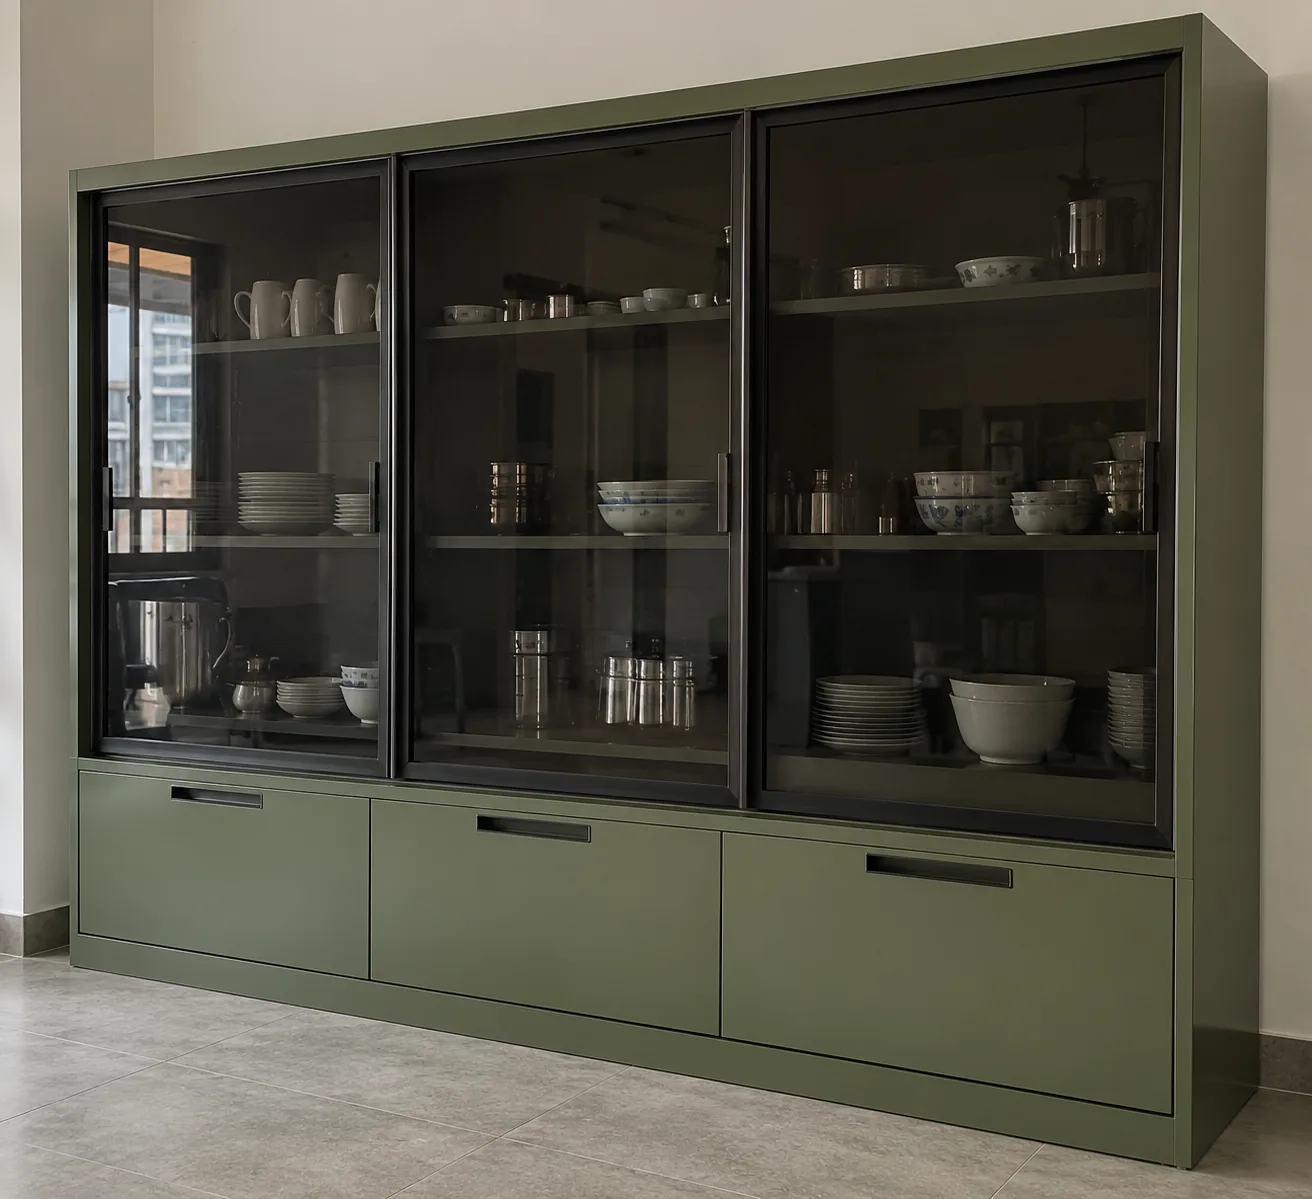
MM-C007 · Black tinted glass
Aluminium Olive Modern Sliding Crockery
Modern finish concept · grounded base
MM-C008 · Black tinted glass
Aluminium Oak Laminate Wall Crockery
Light oak woodgrain laminate · grounded base
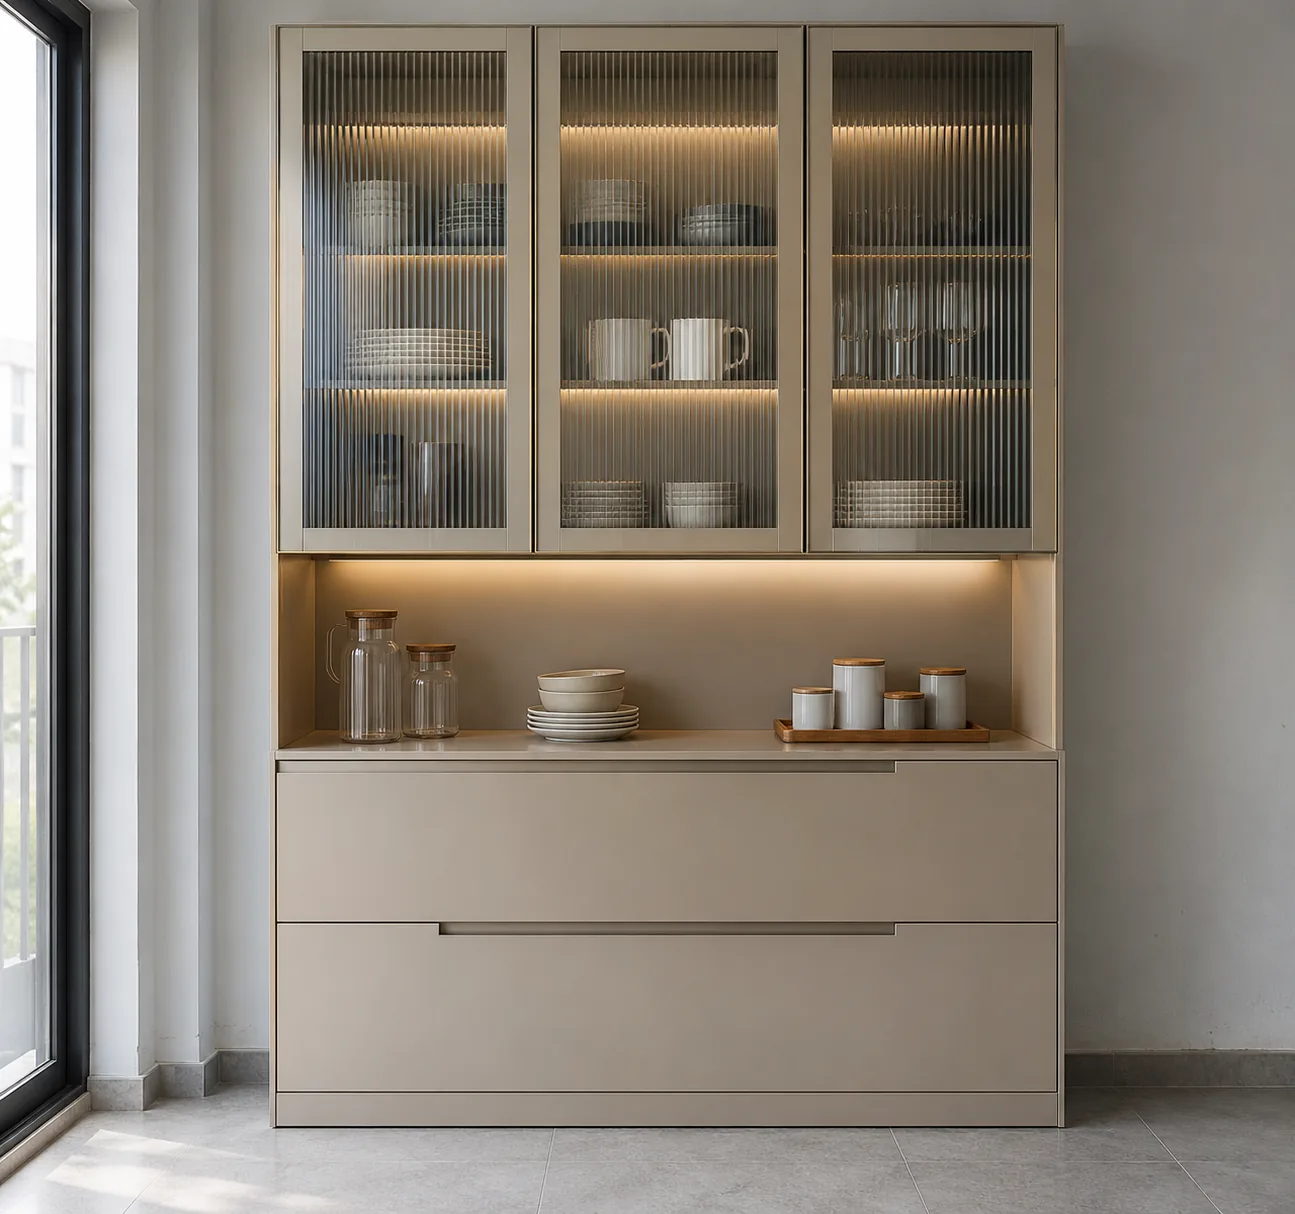
MM-C009 · Fluted glass
Aluminium Champagne Laminate Fluted Crockery
Champagne solid matte laminate · grounded base
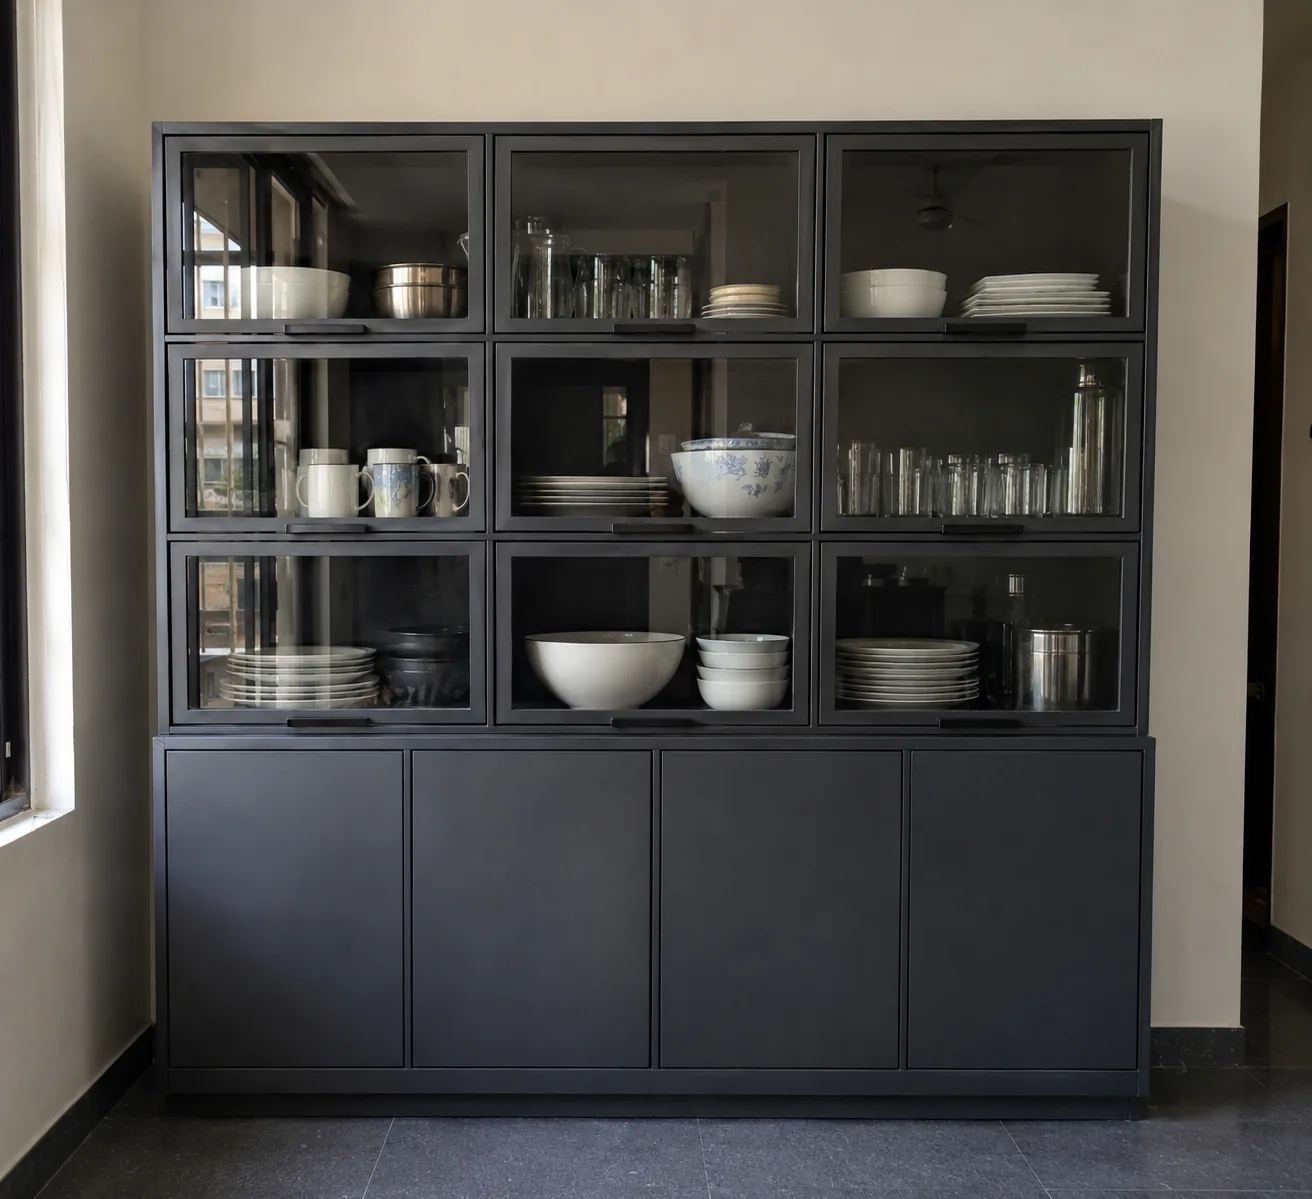
MM-C010 · Black tinted glass
GI Graphite Grid Glass Display
Industrial finish concept · grounded base
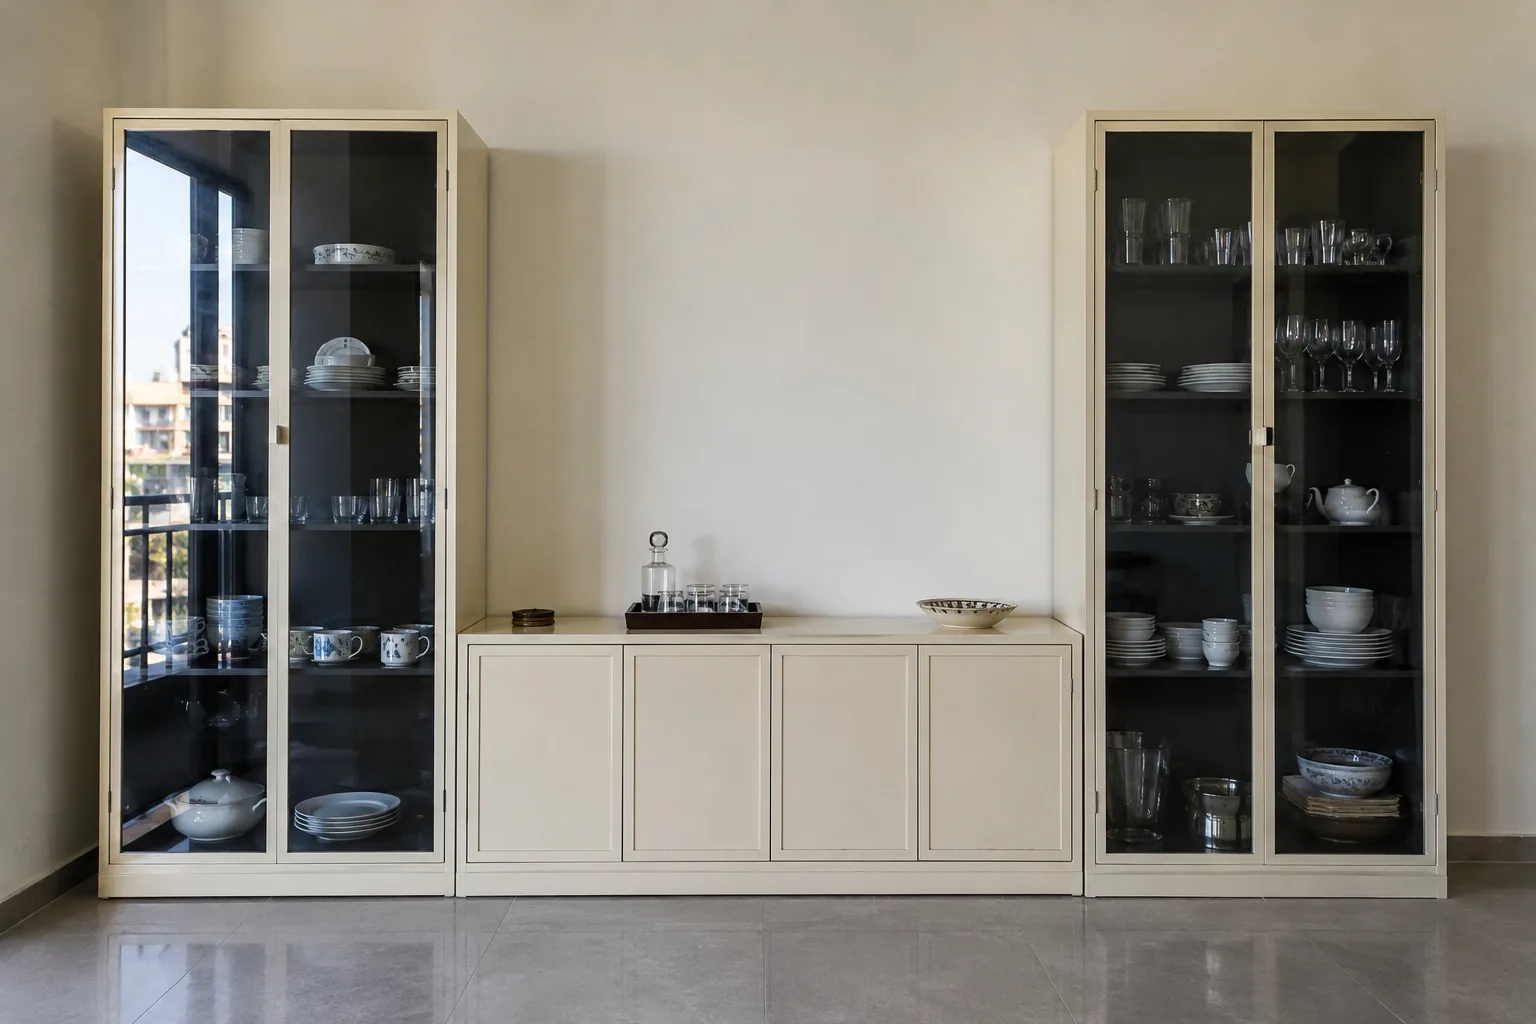
MM-C011 · Black tinted glass
Steel Cream Classic Twin Vitrines
Classic finish concept · grounded base
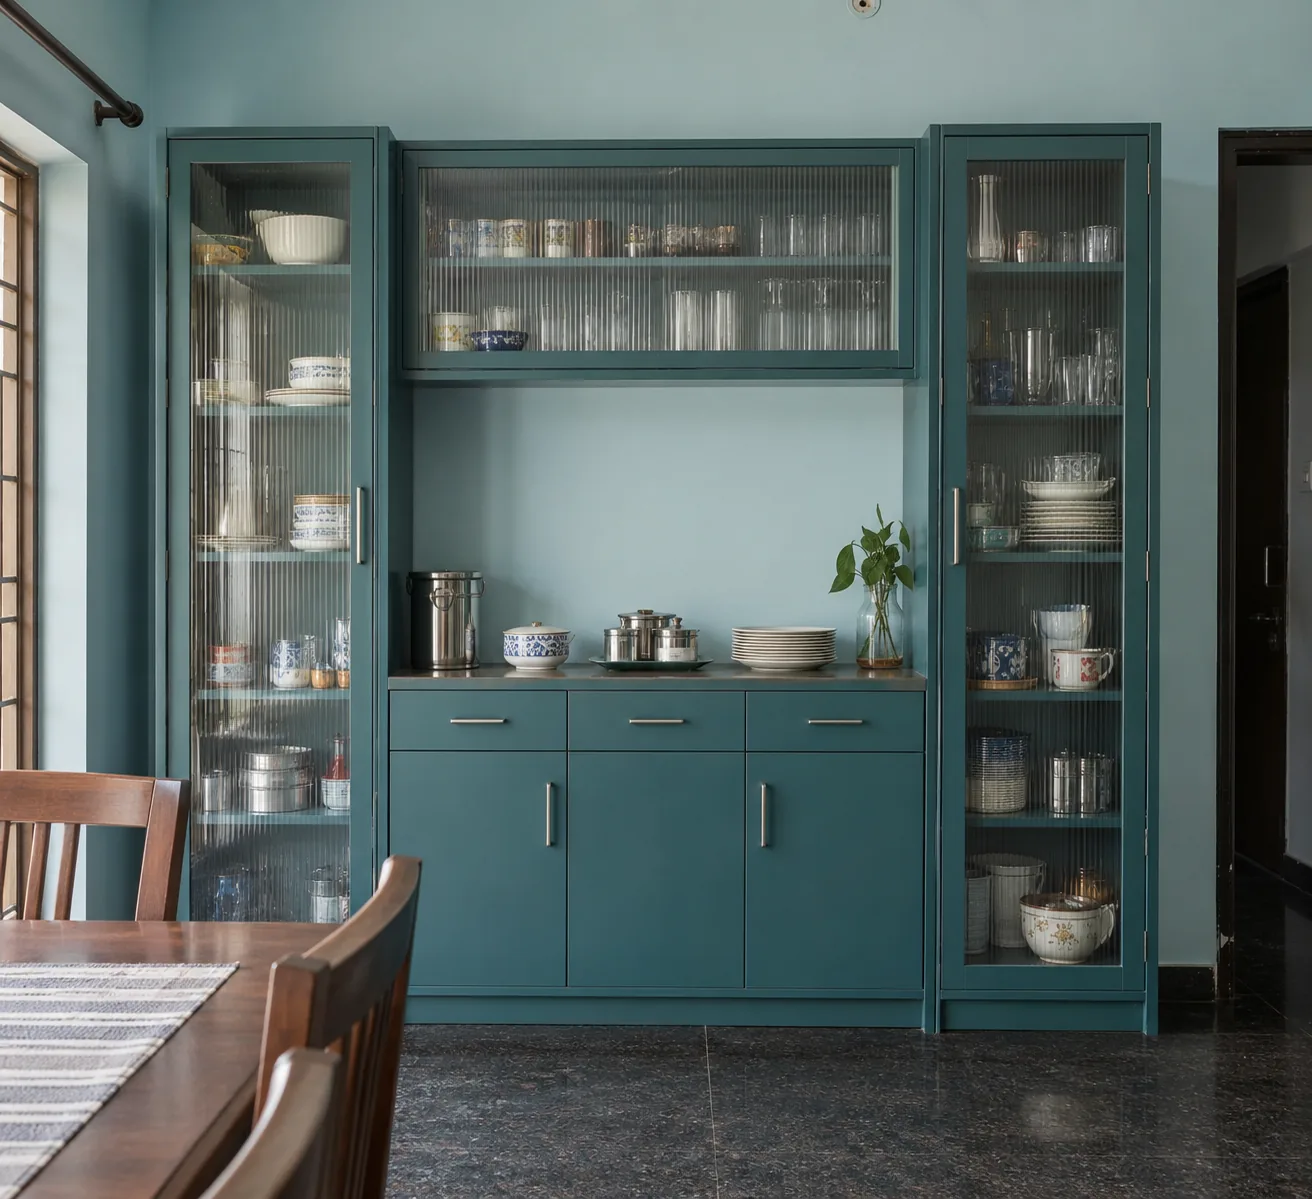
MM-C012 · Fluted glass
Steel Teal Fluted Bridge Cabinet
Modern finish concept · grounded base
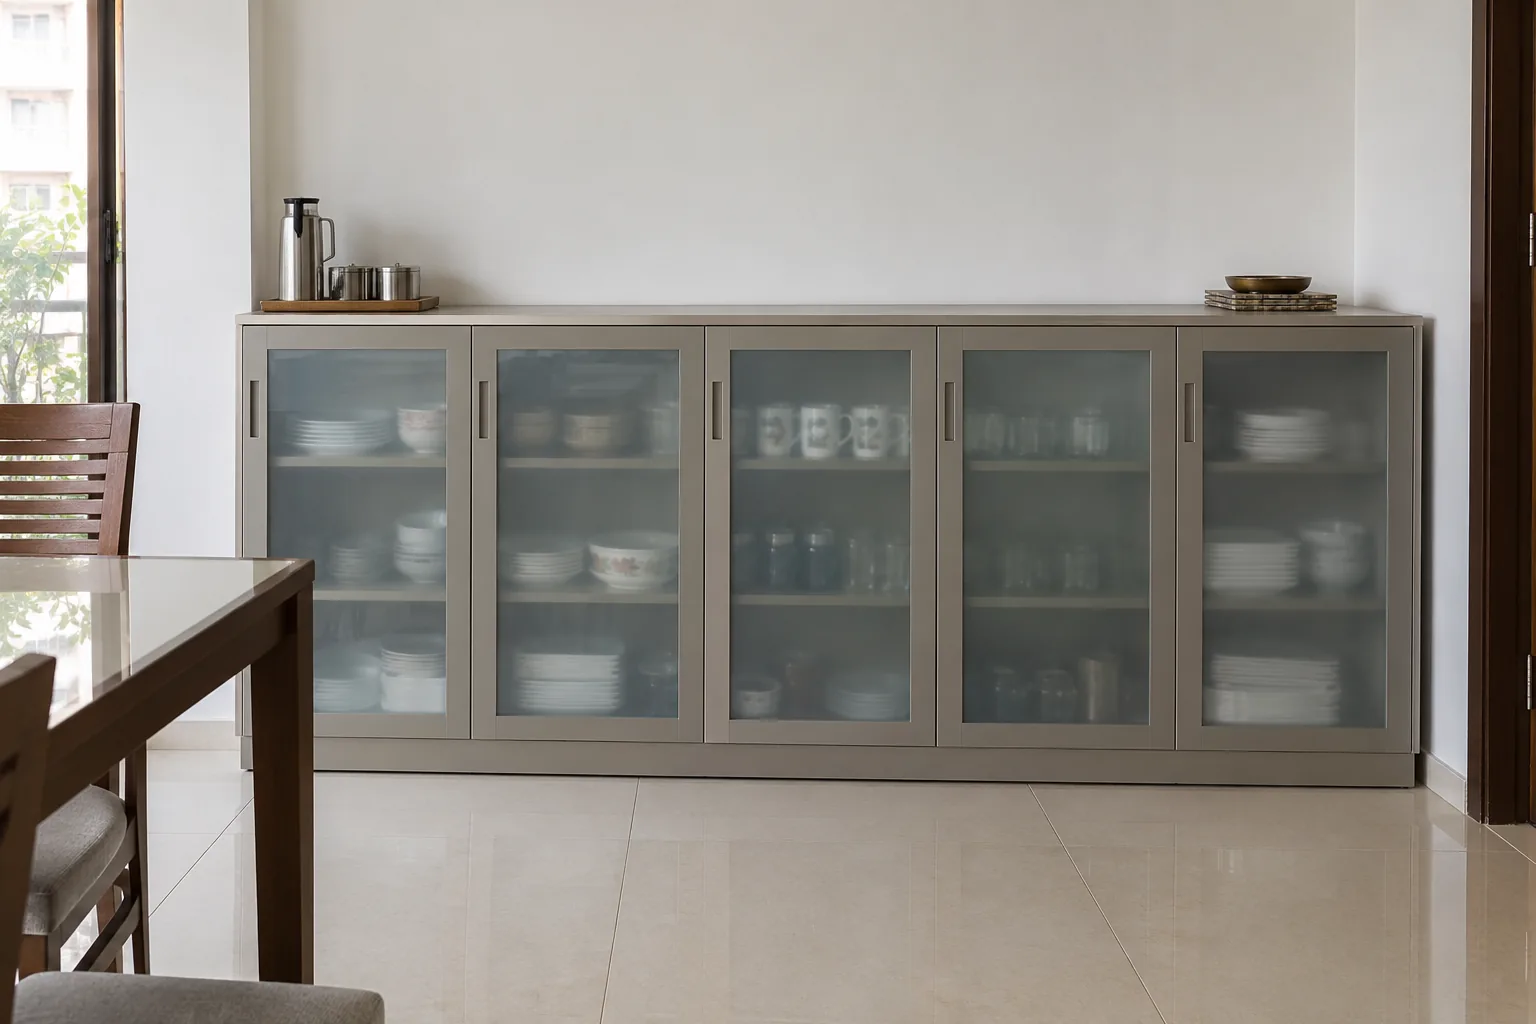
MM-C013 · White frosted glass
Steel Greige White Glass Sideboard
Minimal finish concept · grounded base
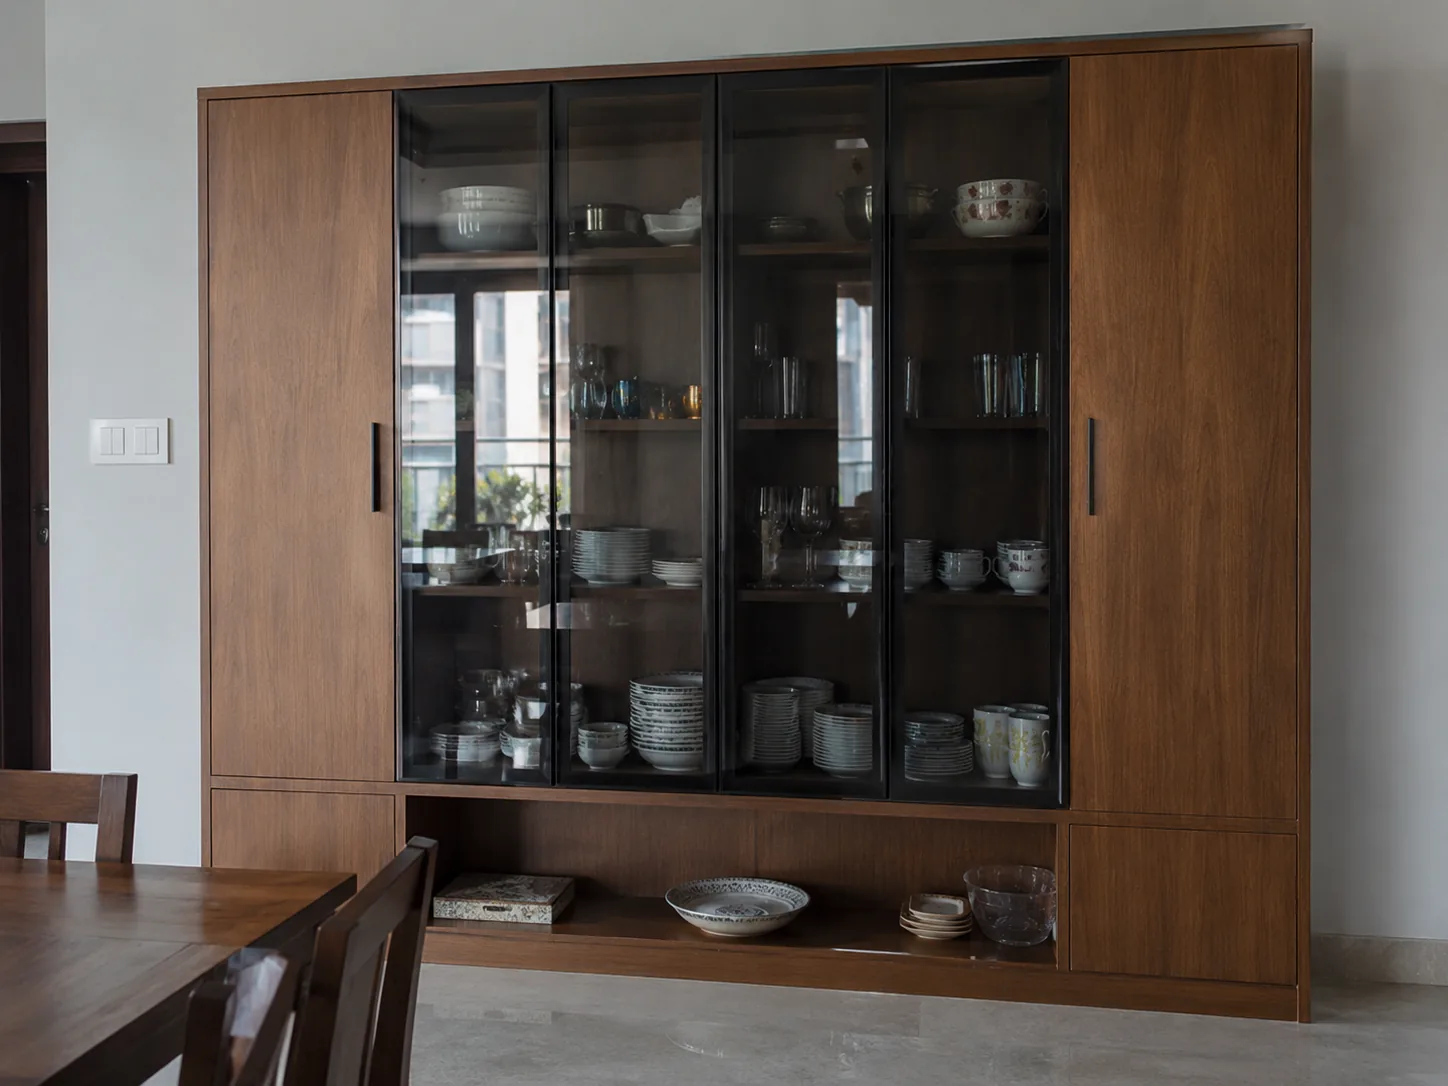
MM-C014 · Black tinted glass
Steel Oak Look Black Glass Wall
Contemporary finish concept · grounded base
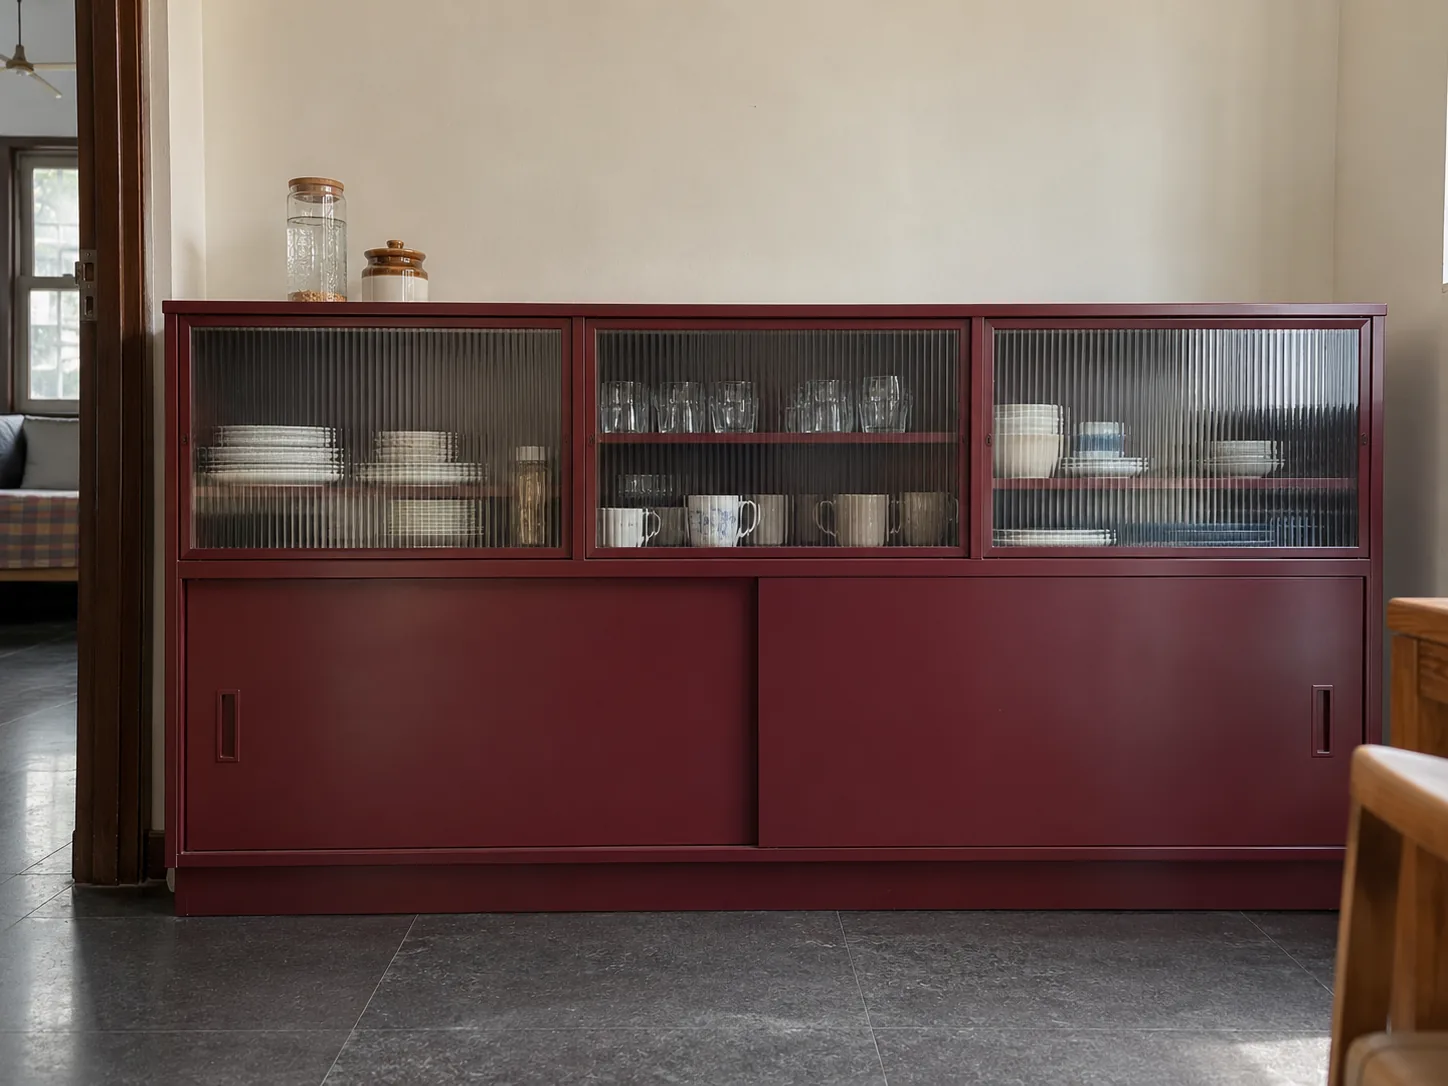
MM-C015 · Fluted glass
Steel Burgundy Fluted Console
Modern finish concept · grounded base
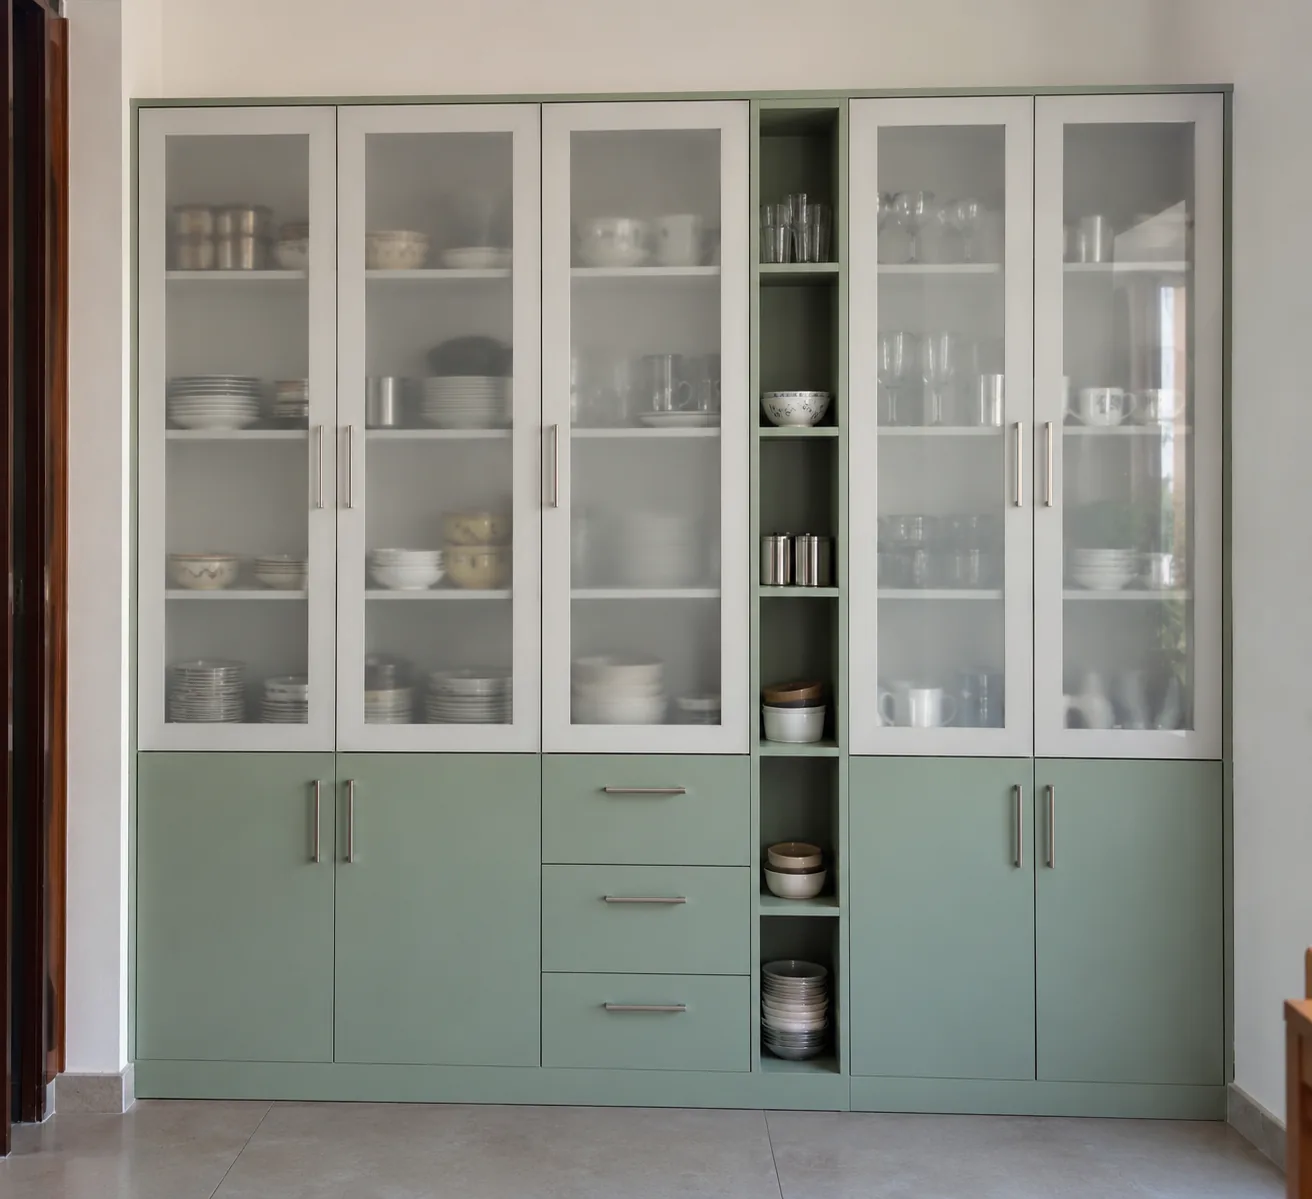
MM-C016 · White frosted glass
Aluminium Mint White Glass Tall Unit
Minimal finish concept · grounded base

MM-C017 · Black tinted glass
Aluminium Black Glass Display Cabinet
Industrial finish concept · grounded base
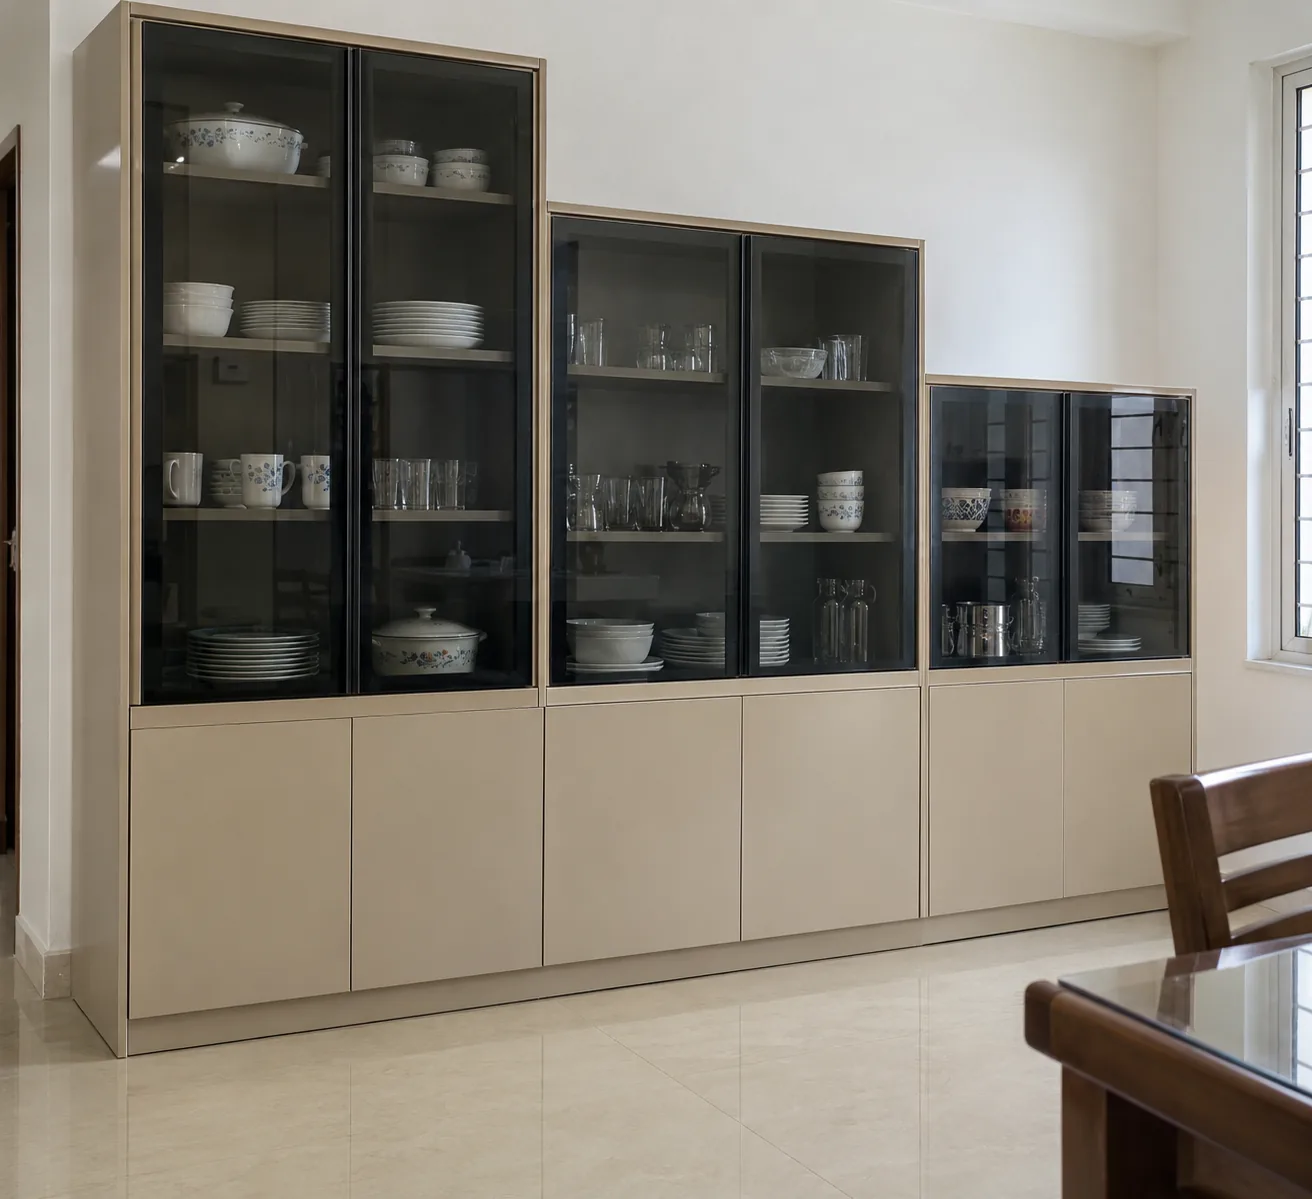
MM-C018 · Black tinted glass
Aluminium Beige Stepped Glass Unit
Modern finish concept · grounded base
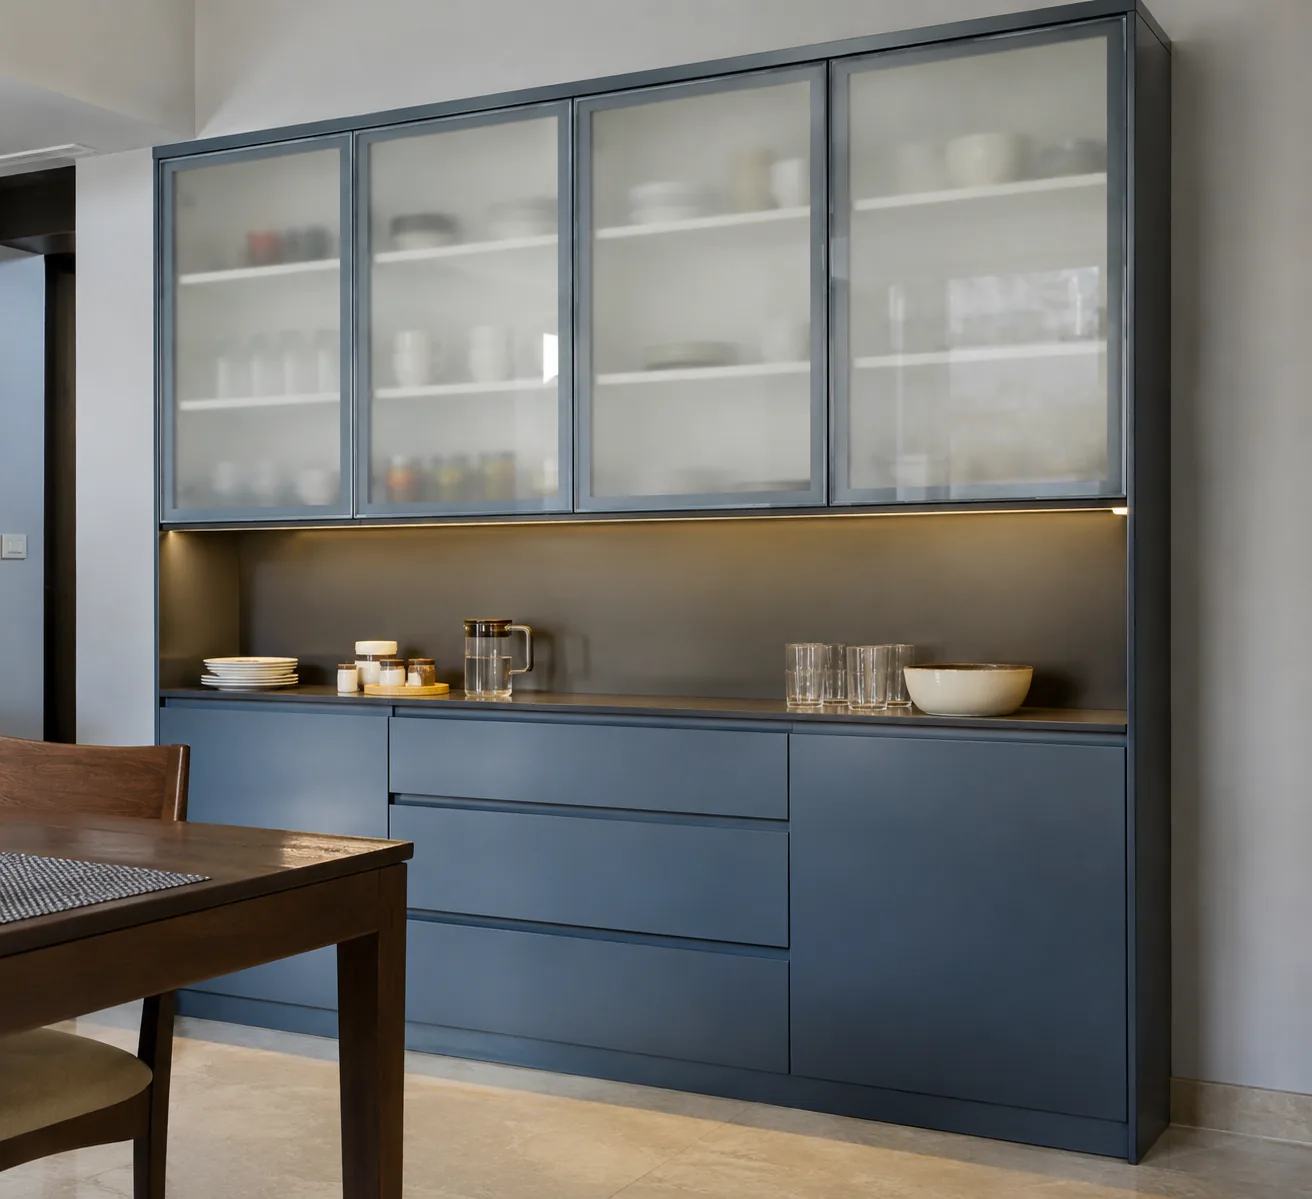
MM-C019 · White frosted glass
Aluminium Cobalt White Glass Niche
Modern finish concept · grounded base
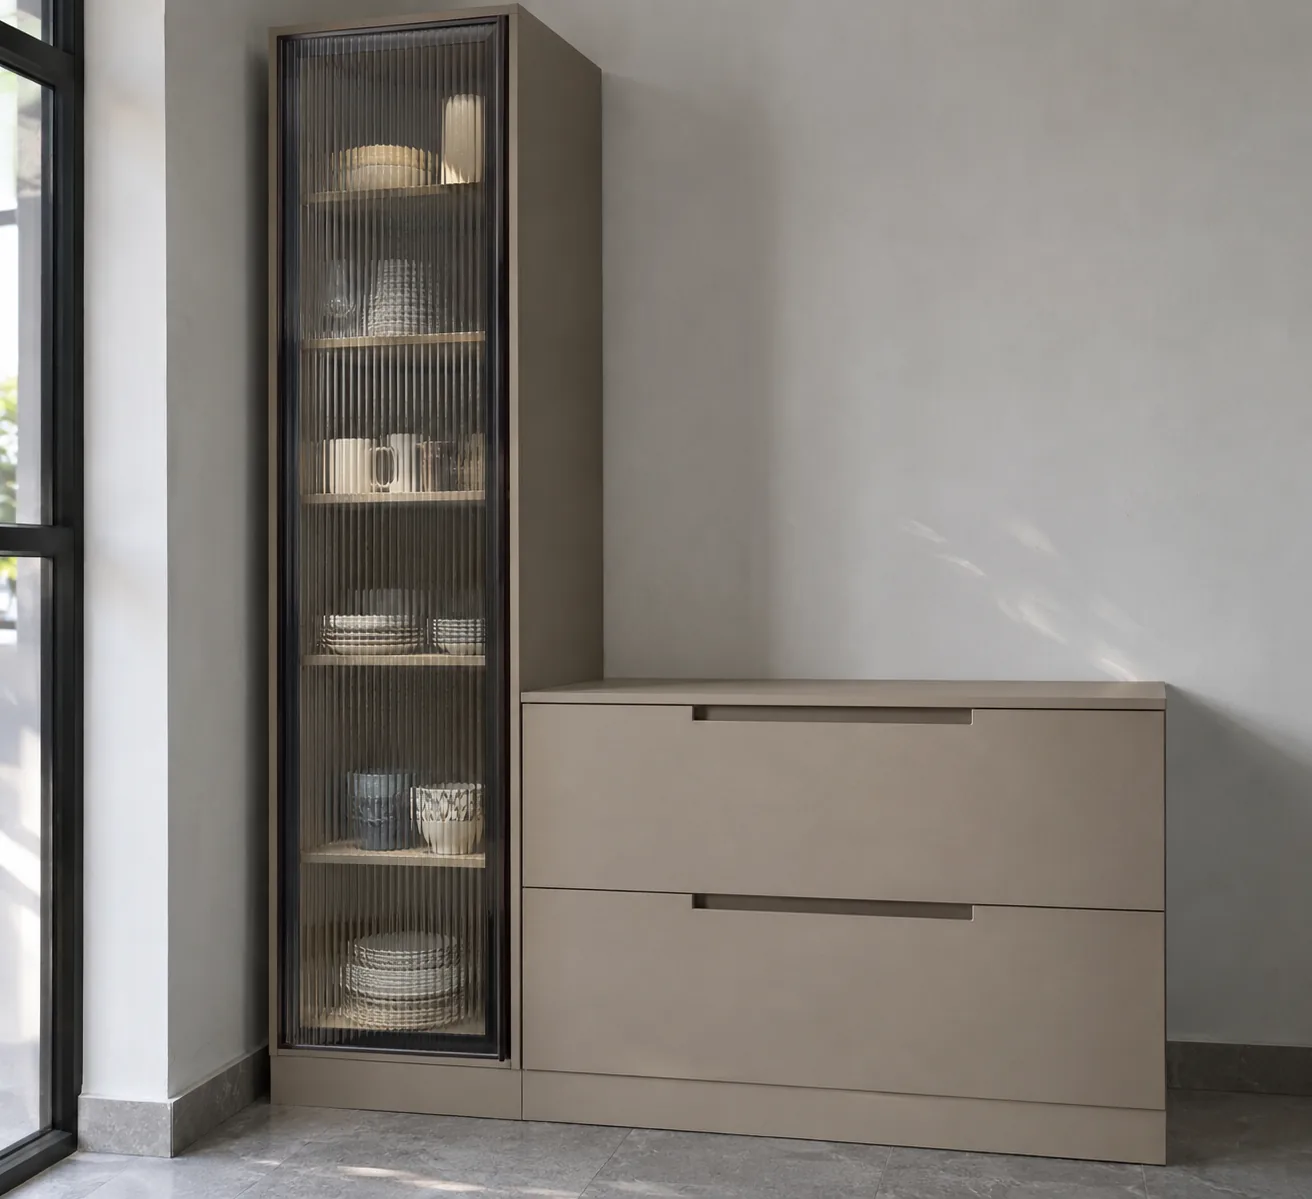
MM-C020 · Fluted glass
GI Taupe Laminate Slim Crockery
Taupe solid matte laminate · grounded base
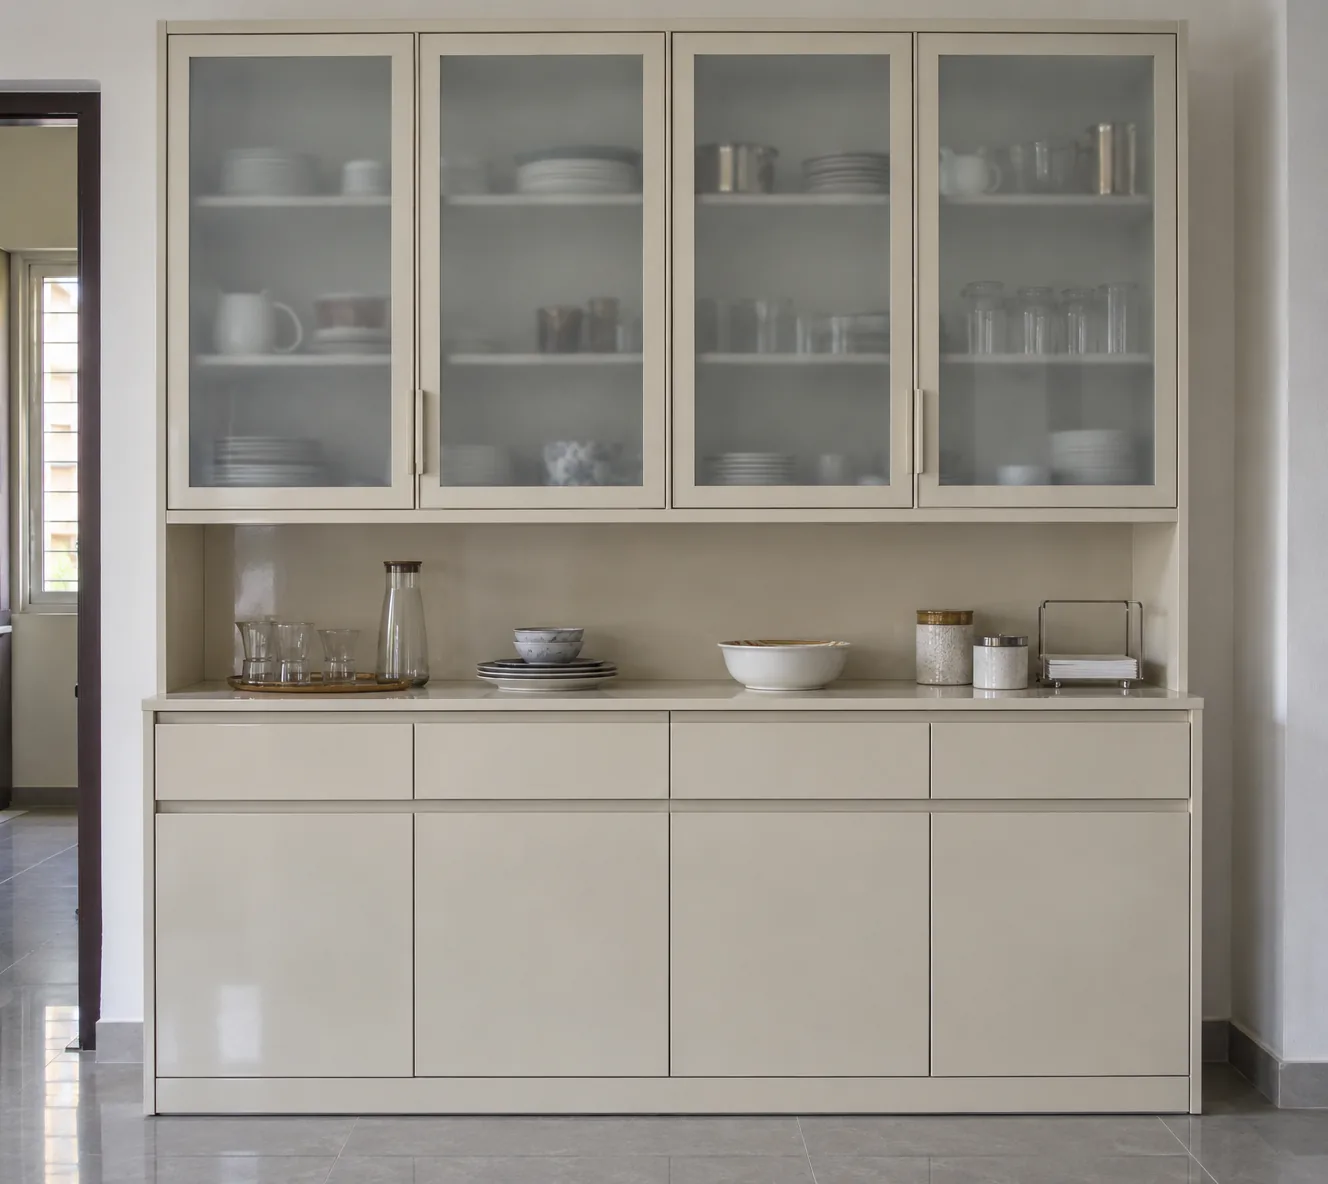
MM-C021 · White frosted glass
Steel Ivory Modern Glass Wall
Modern finish concept · grounded base
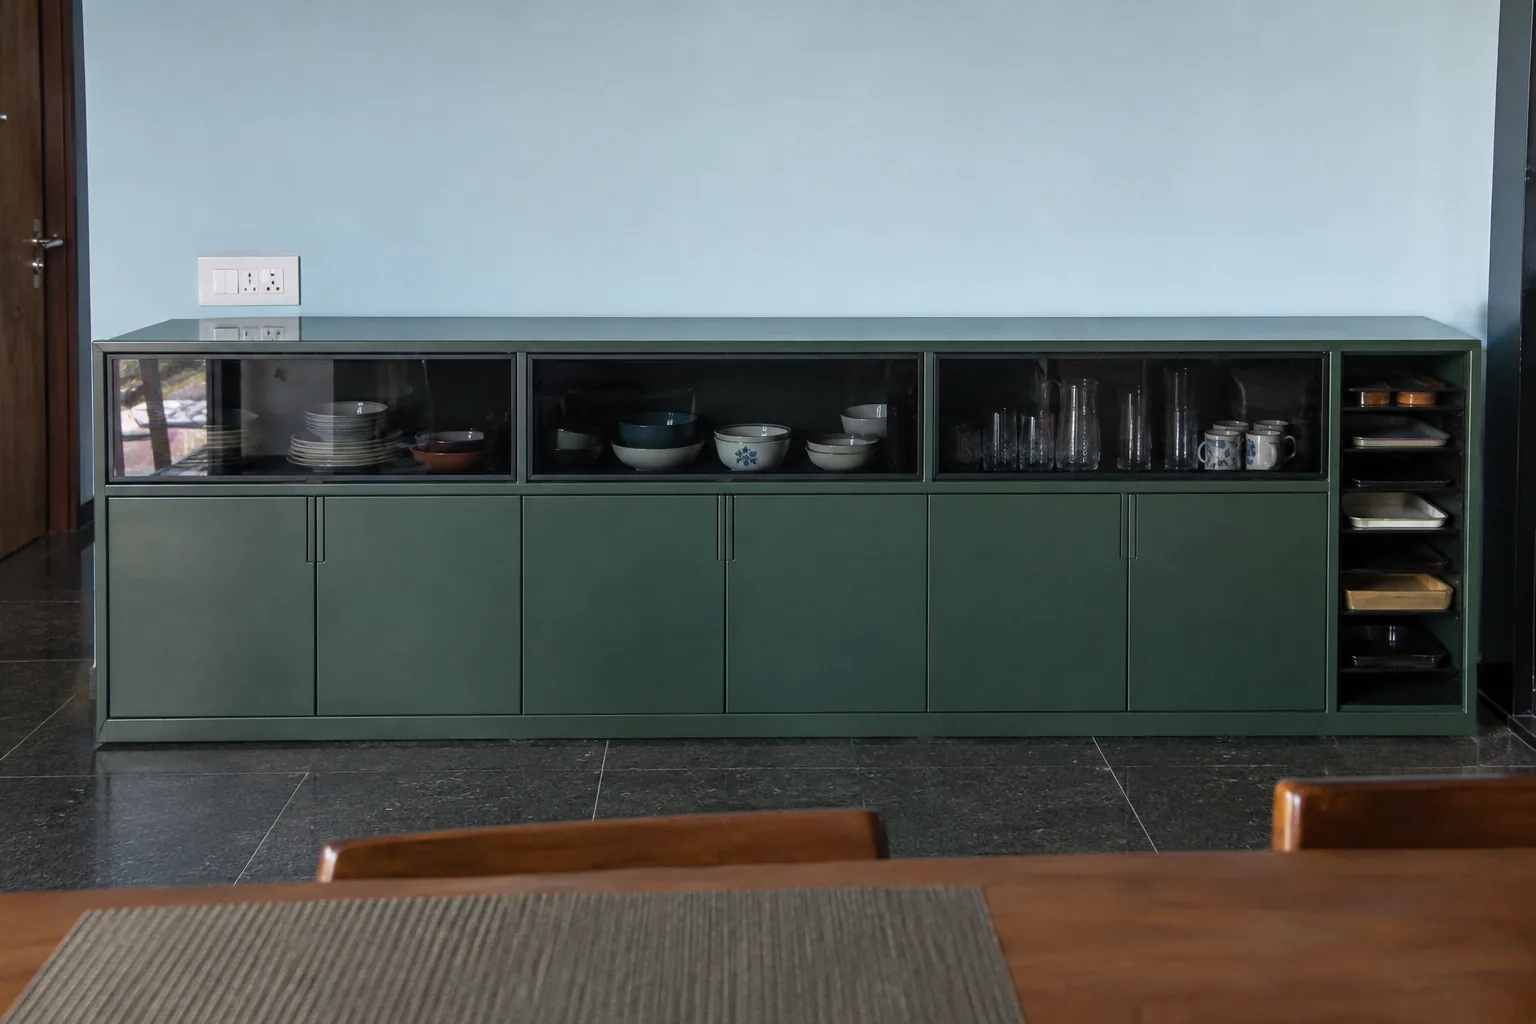
MM-C022 · Black tinted glass
Steel Forest Black Glass Buffet
Modern finish concept · grounded base
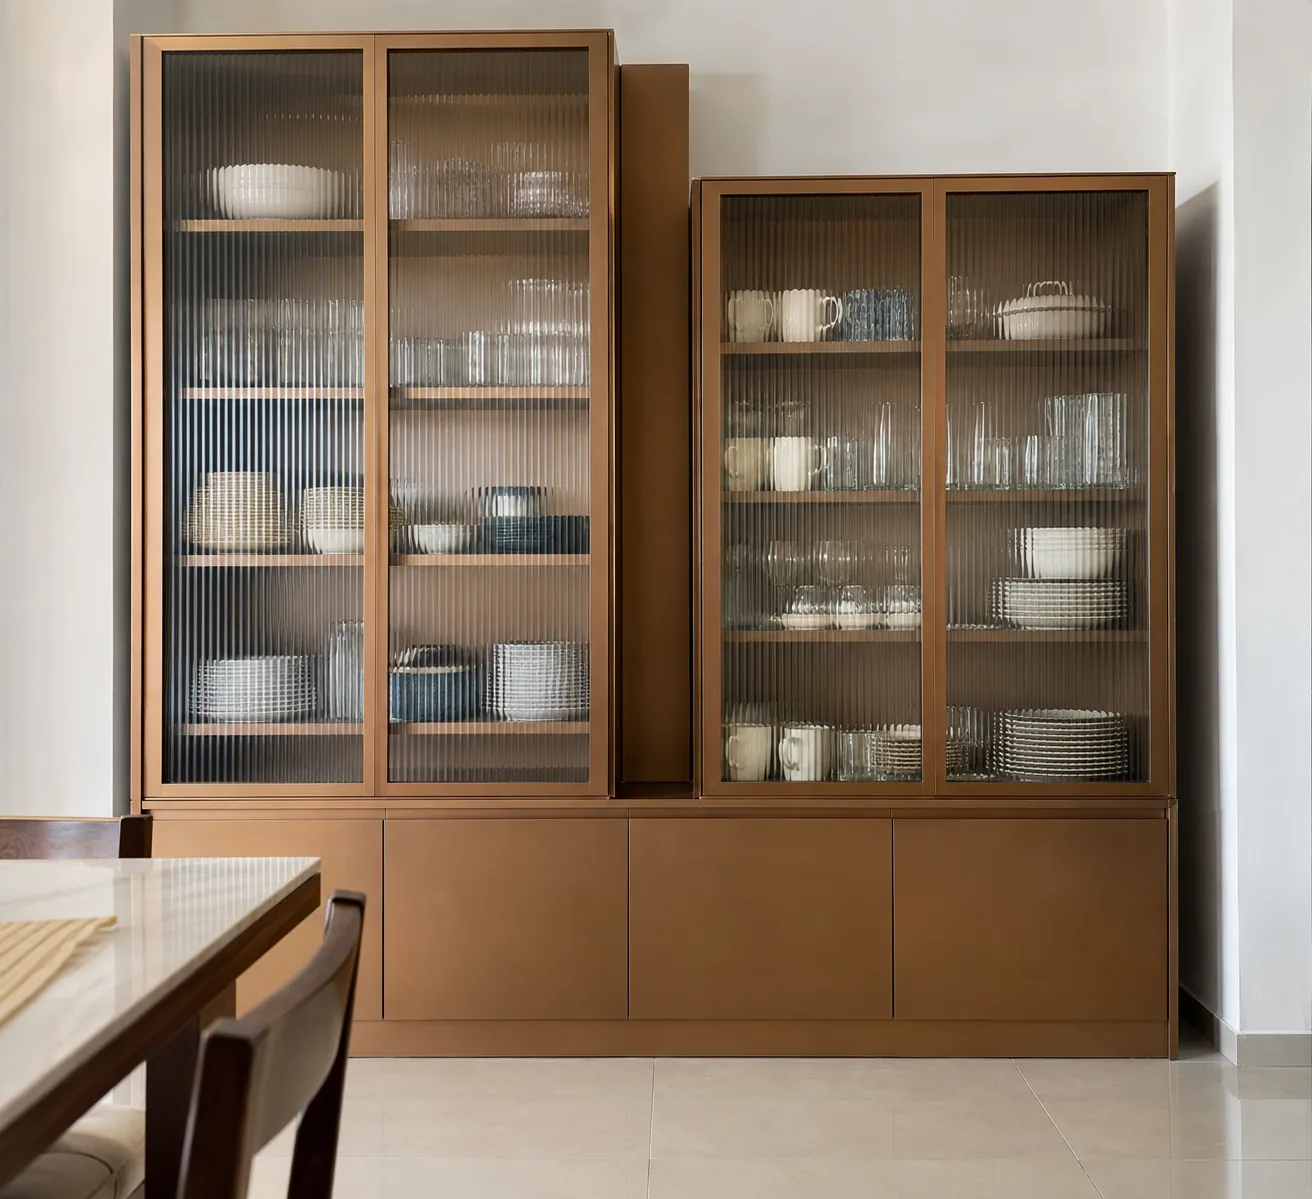
MM-C023 · Fluted glass
Steel Copper Fluted Display
Modern finish concept · grounded base
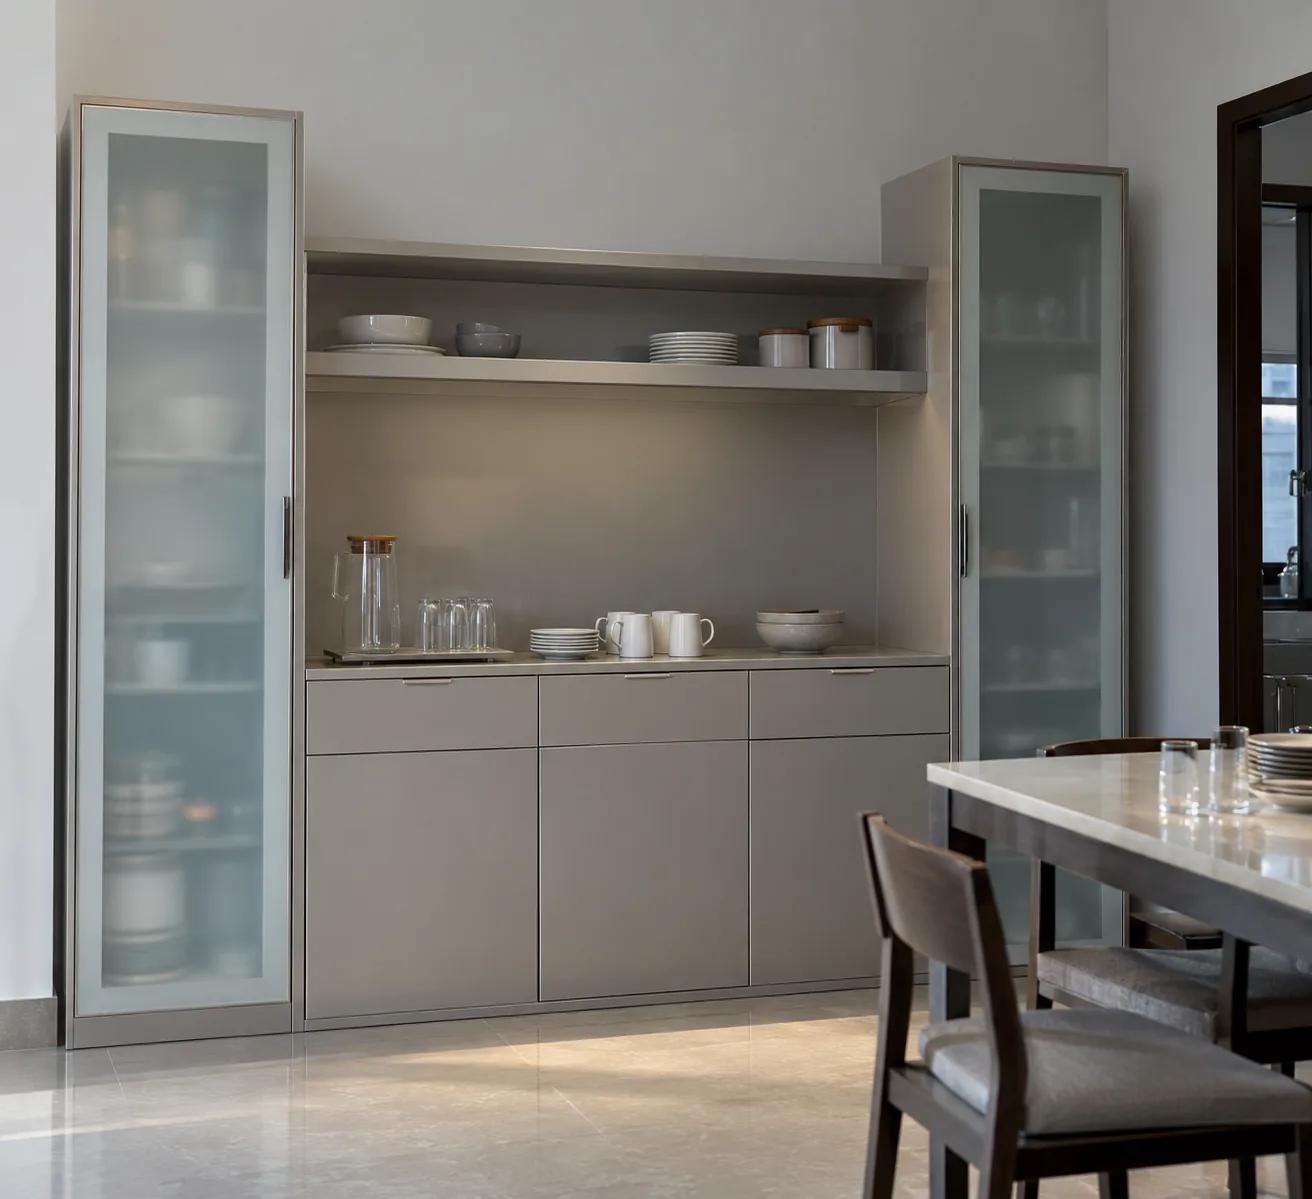
MM-C024 · White frosted glass
Steel Pearl White Glass Portal
Modern finish concept · grounded base
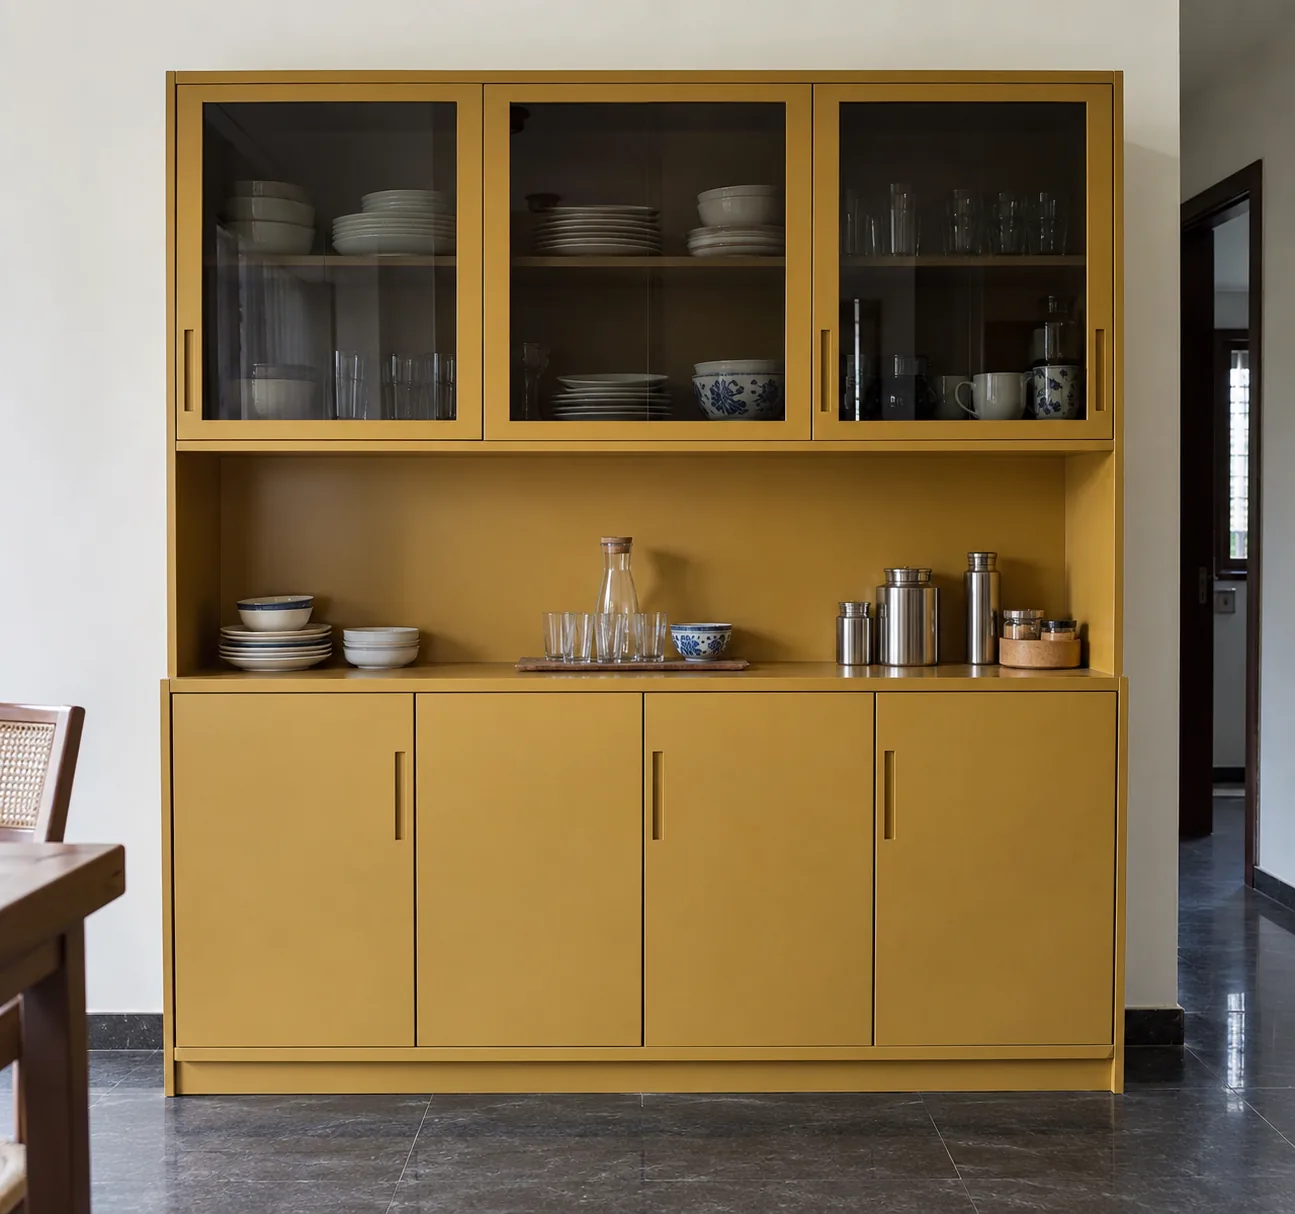
MM-C025 · Black tinted glass
Steel Mustard Black Glass Hutch
Modern finish concept · grounded base
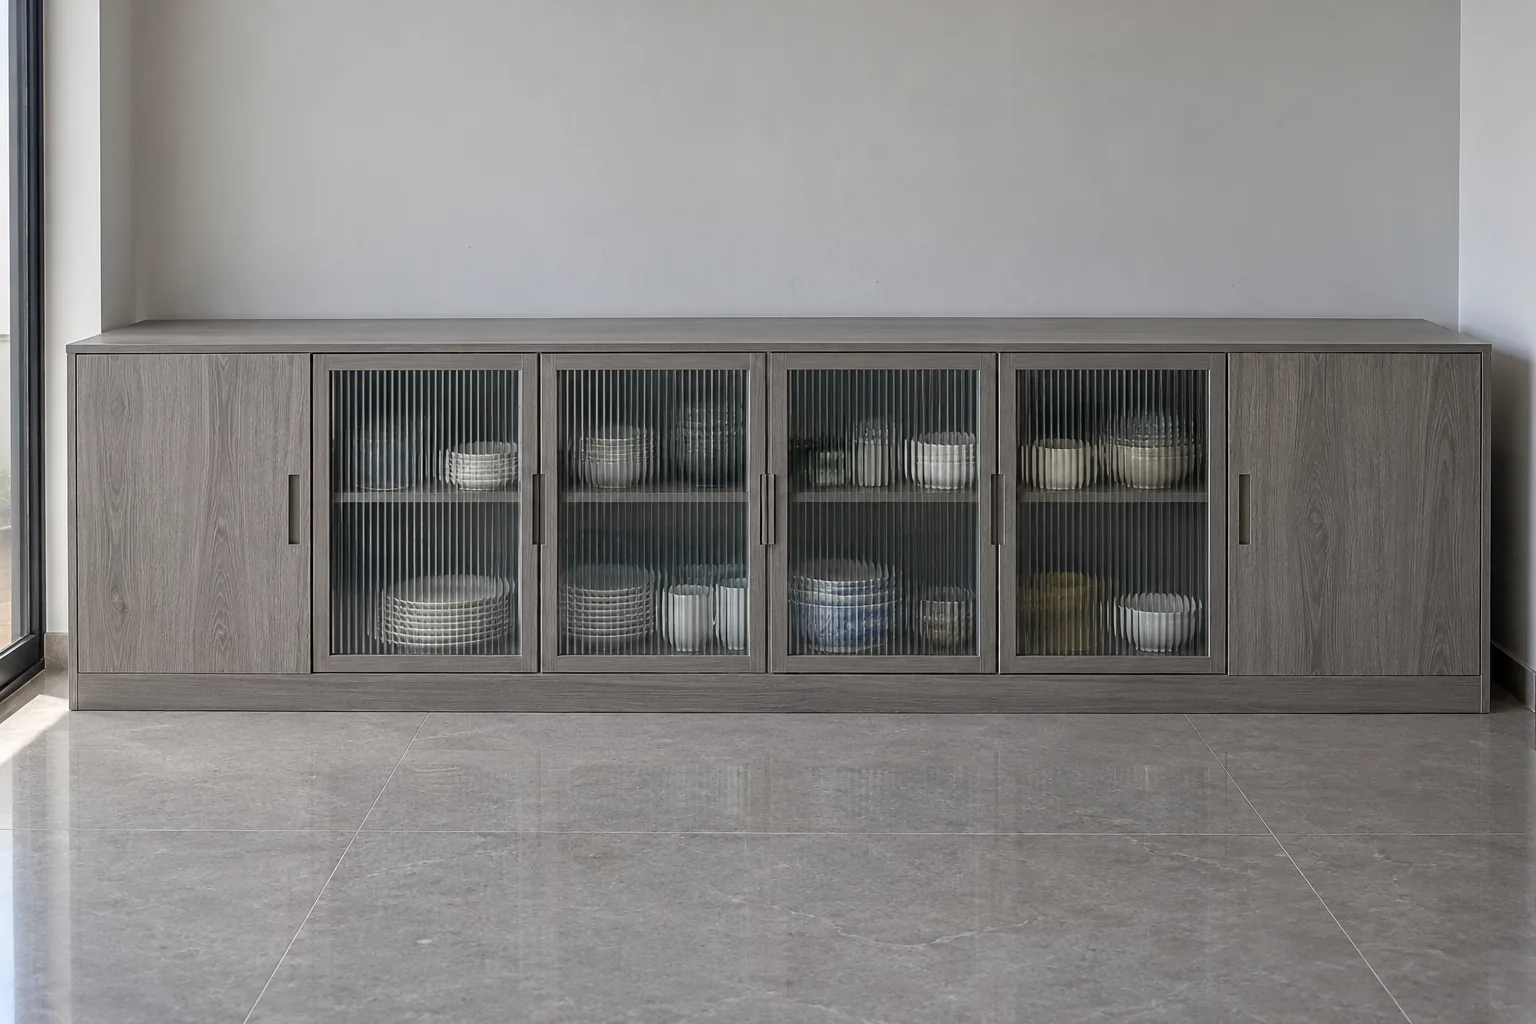
MM-C026 · Fluted glass
Aluminium Ash Laminate Low Crockery
Grey ash woodgrain laminate · grounded base
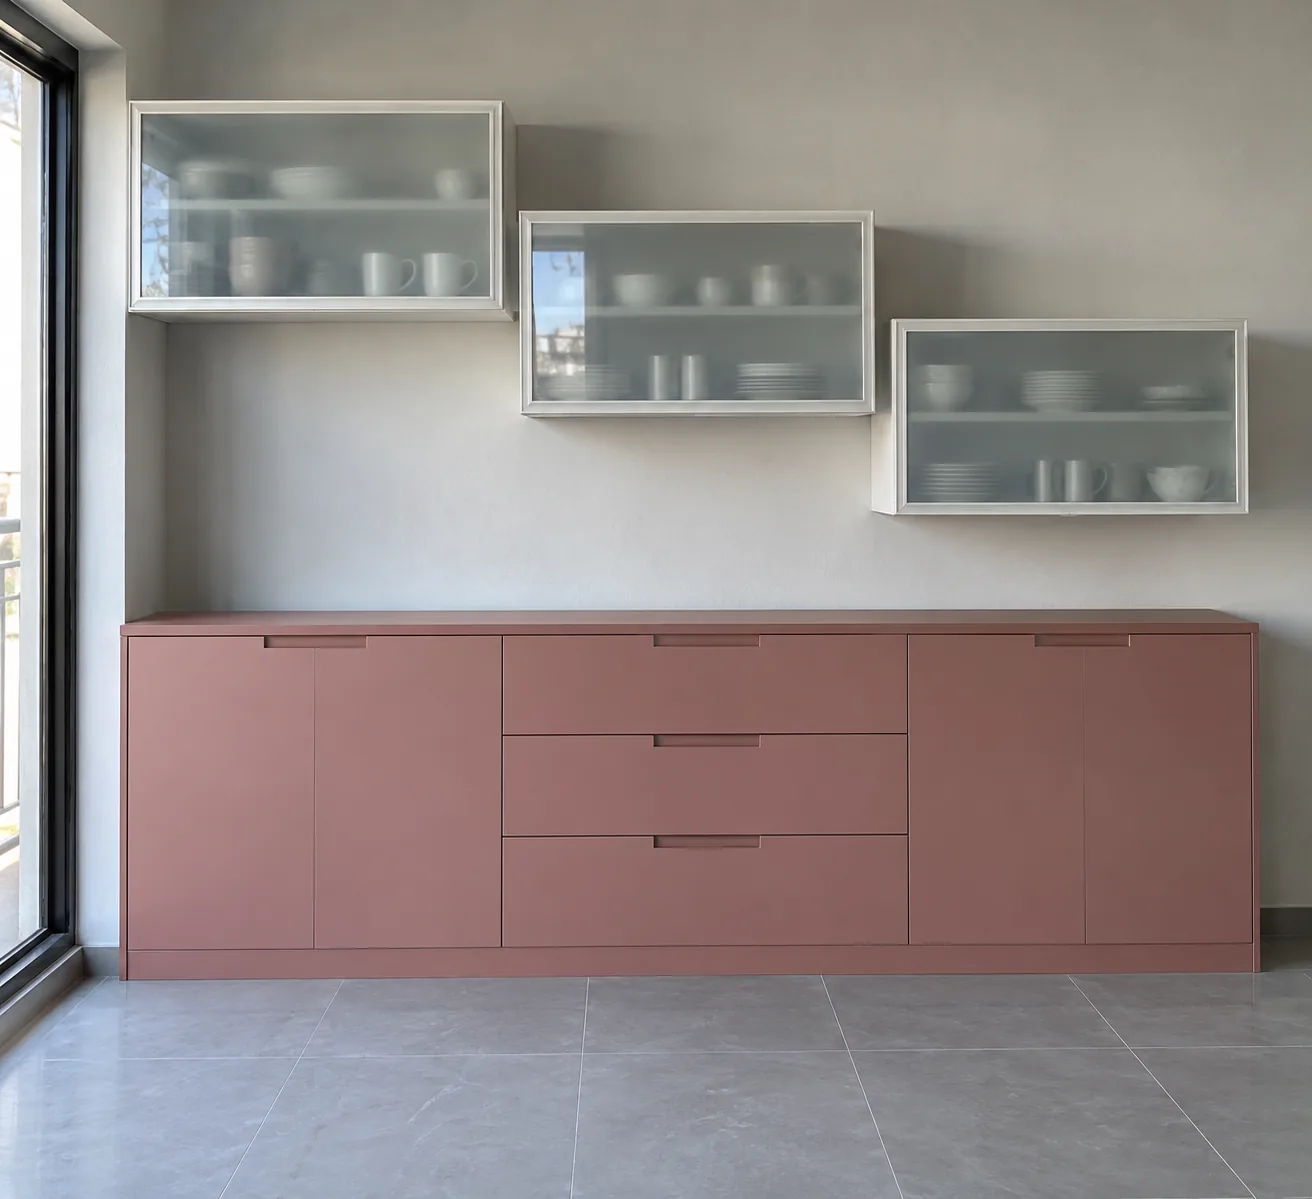
MM-C027 · White frosted glass
Aluminium Rose Laminate Modern Crockery
Dusty rose solid matte laminate · grounded base
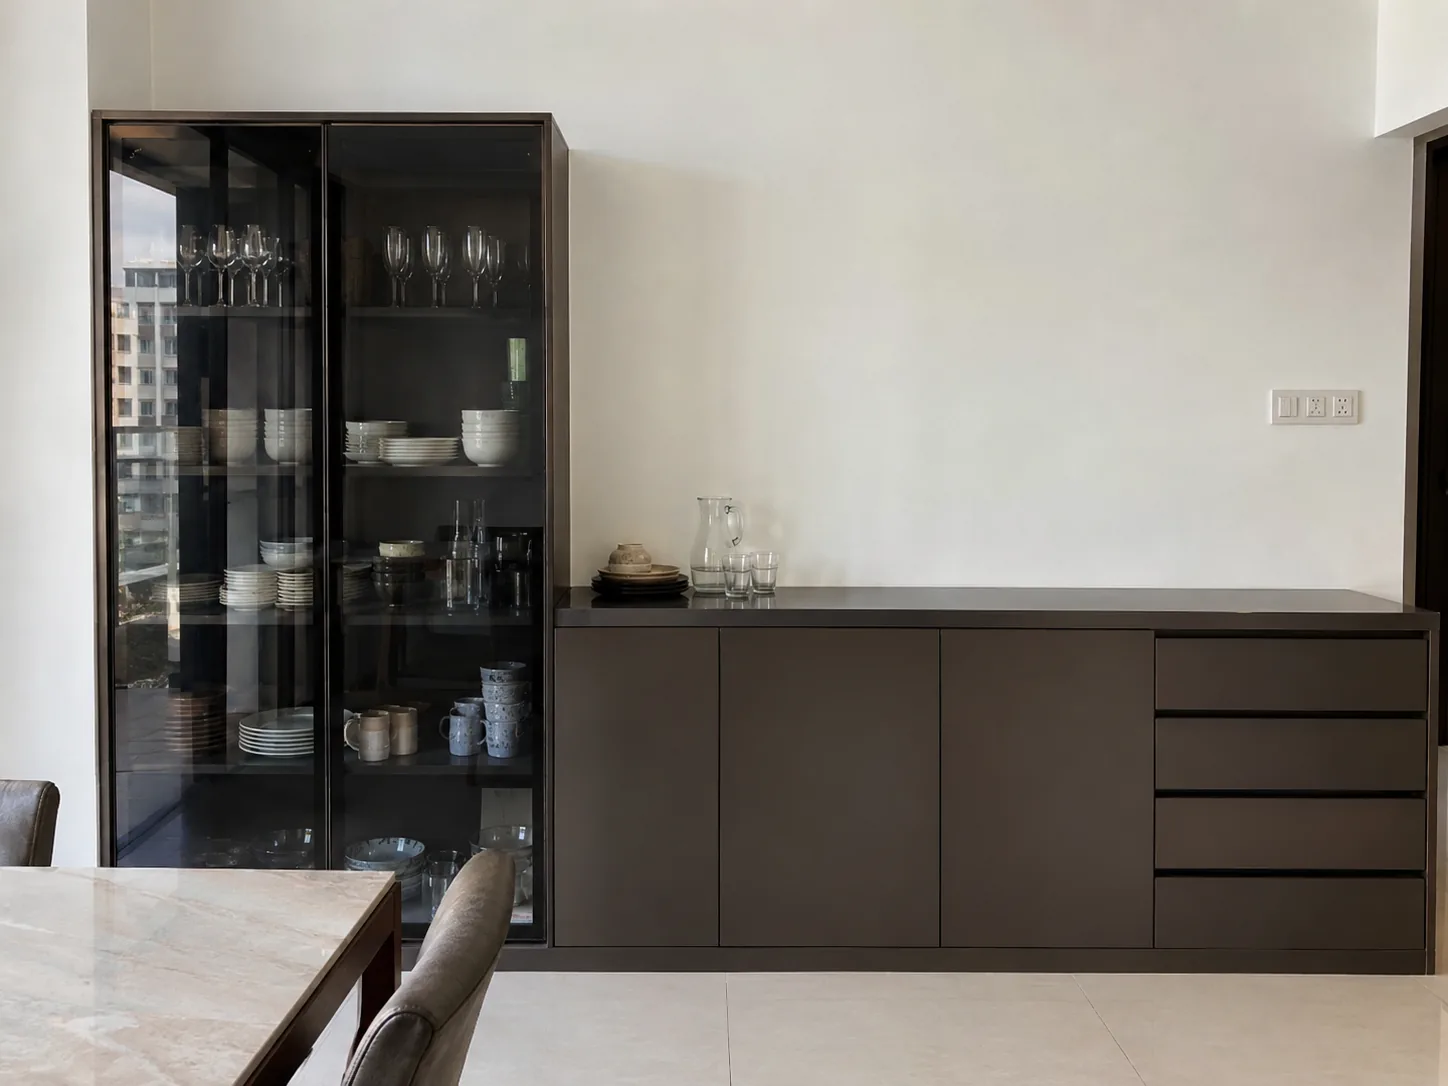
MM-C028 · Black tinted glass
Aluminium Espresso Black Glass Alcove
Modern finish concept · grounded base
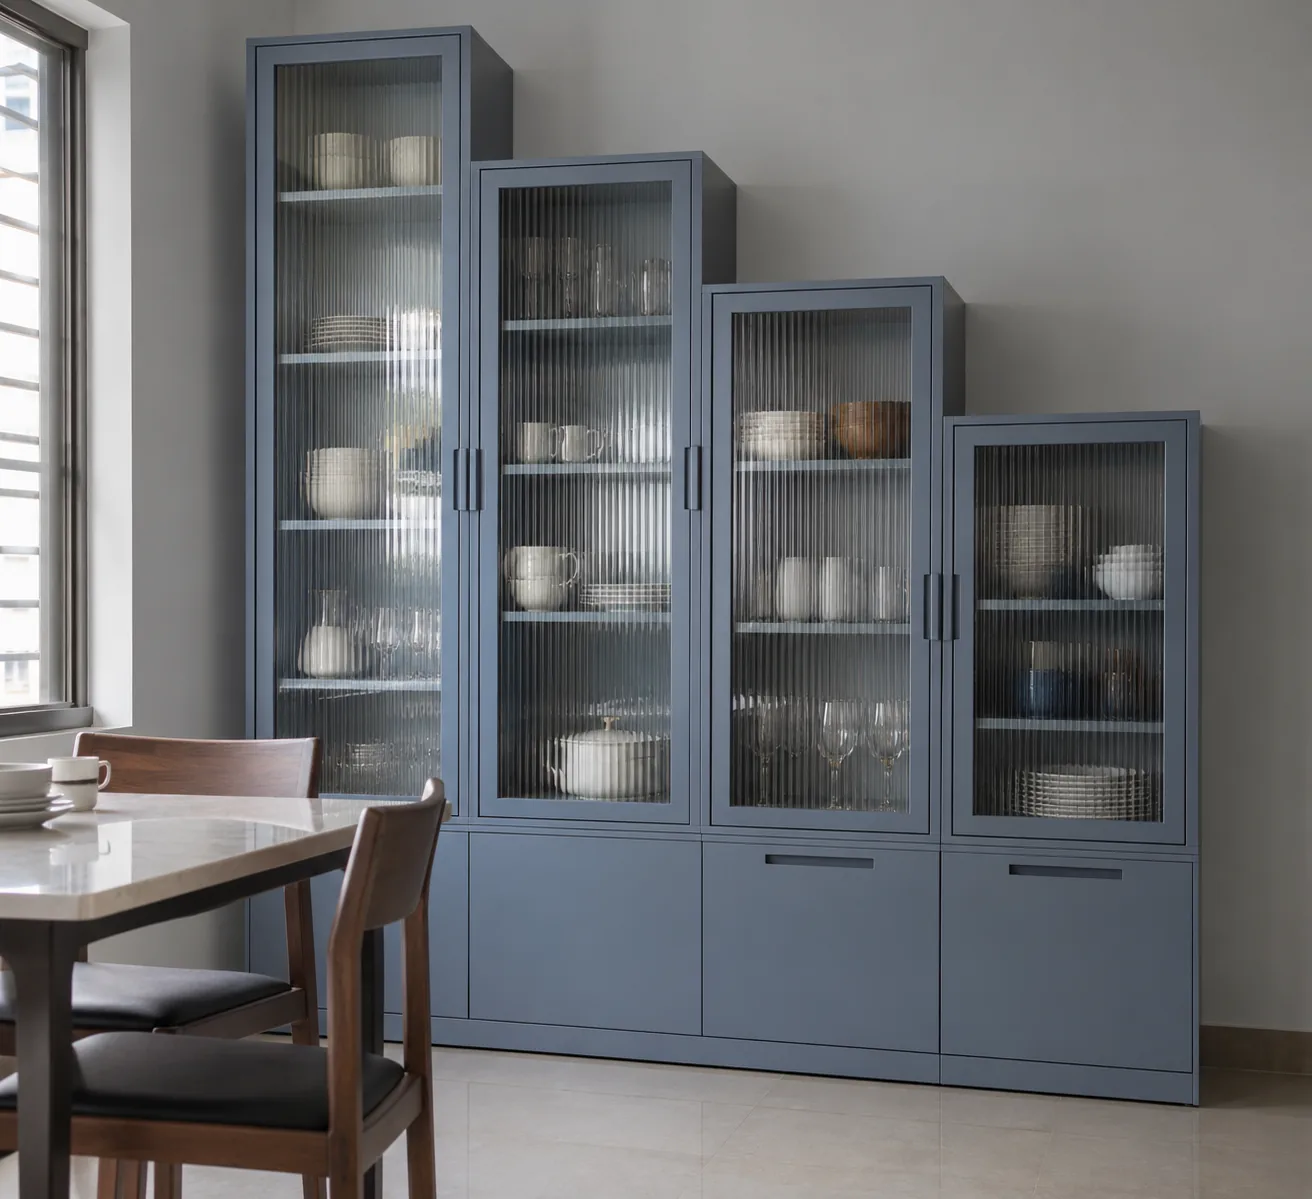
MM-C029 · Fluted glass
Aluminium Blue Grey Fluted Ladder
Modern finish concept · grounded base
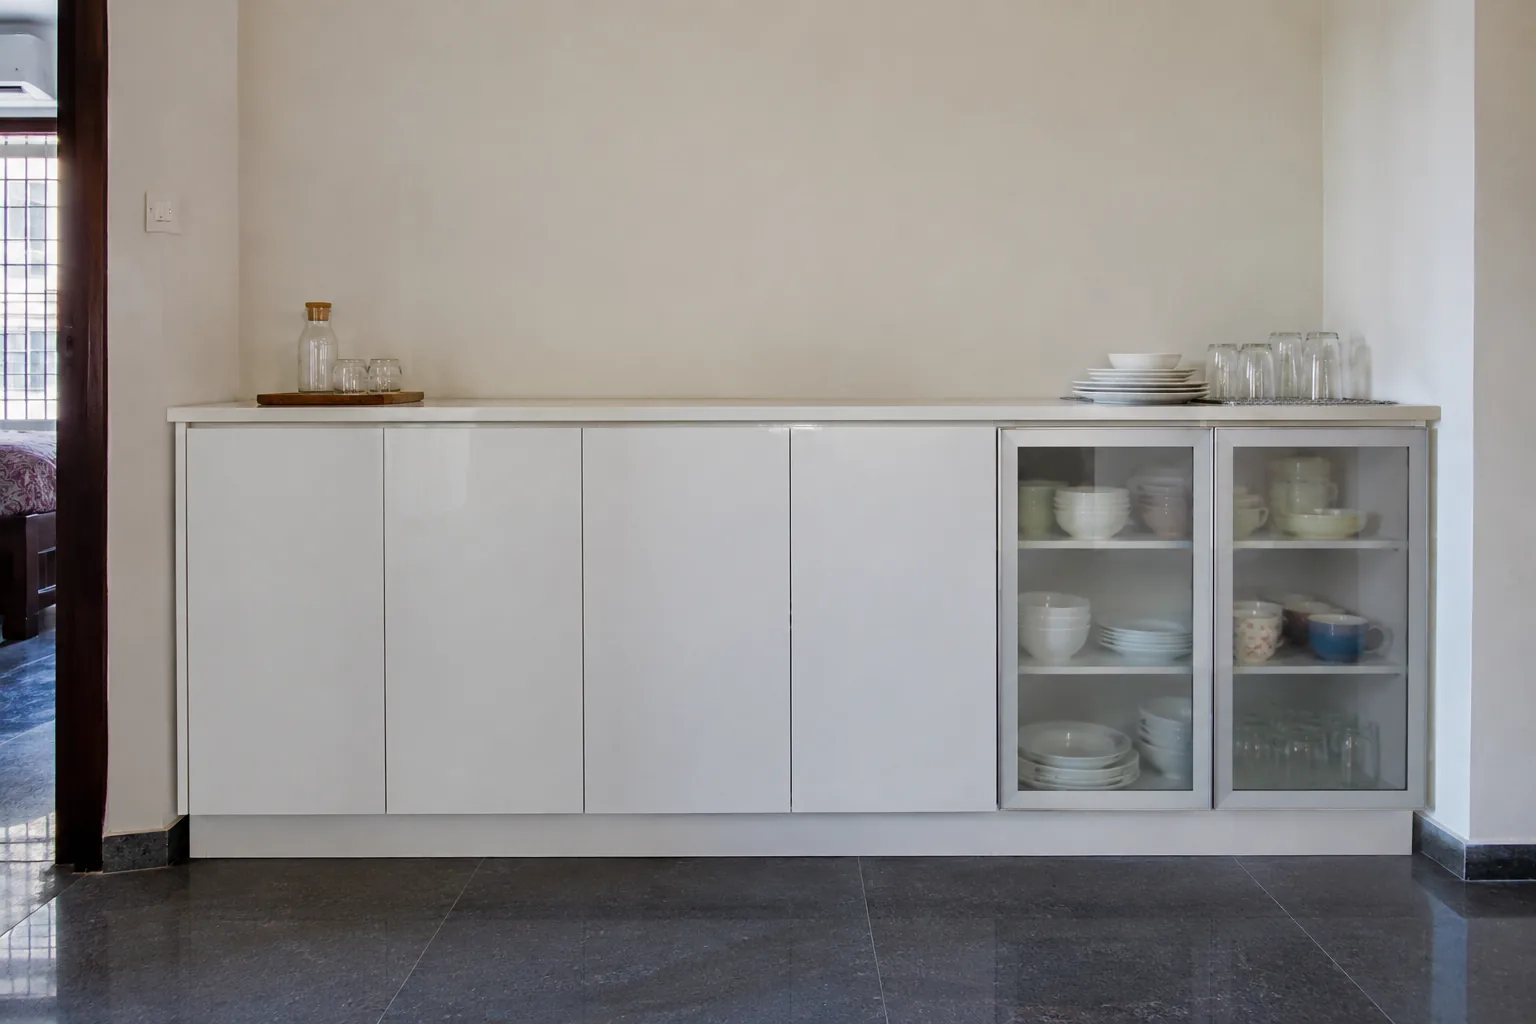
MM-C030 · White frosted glass
GI White Glass Serving Sideboard
Modern finish concept · grounded base
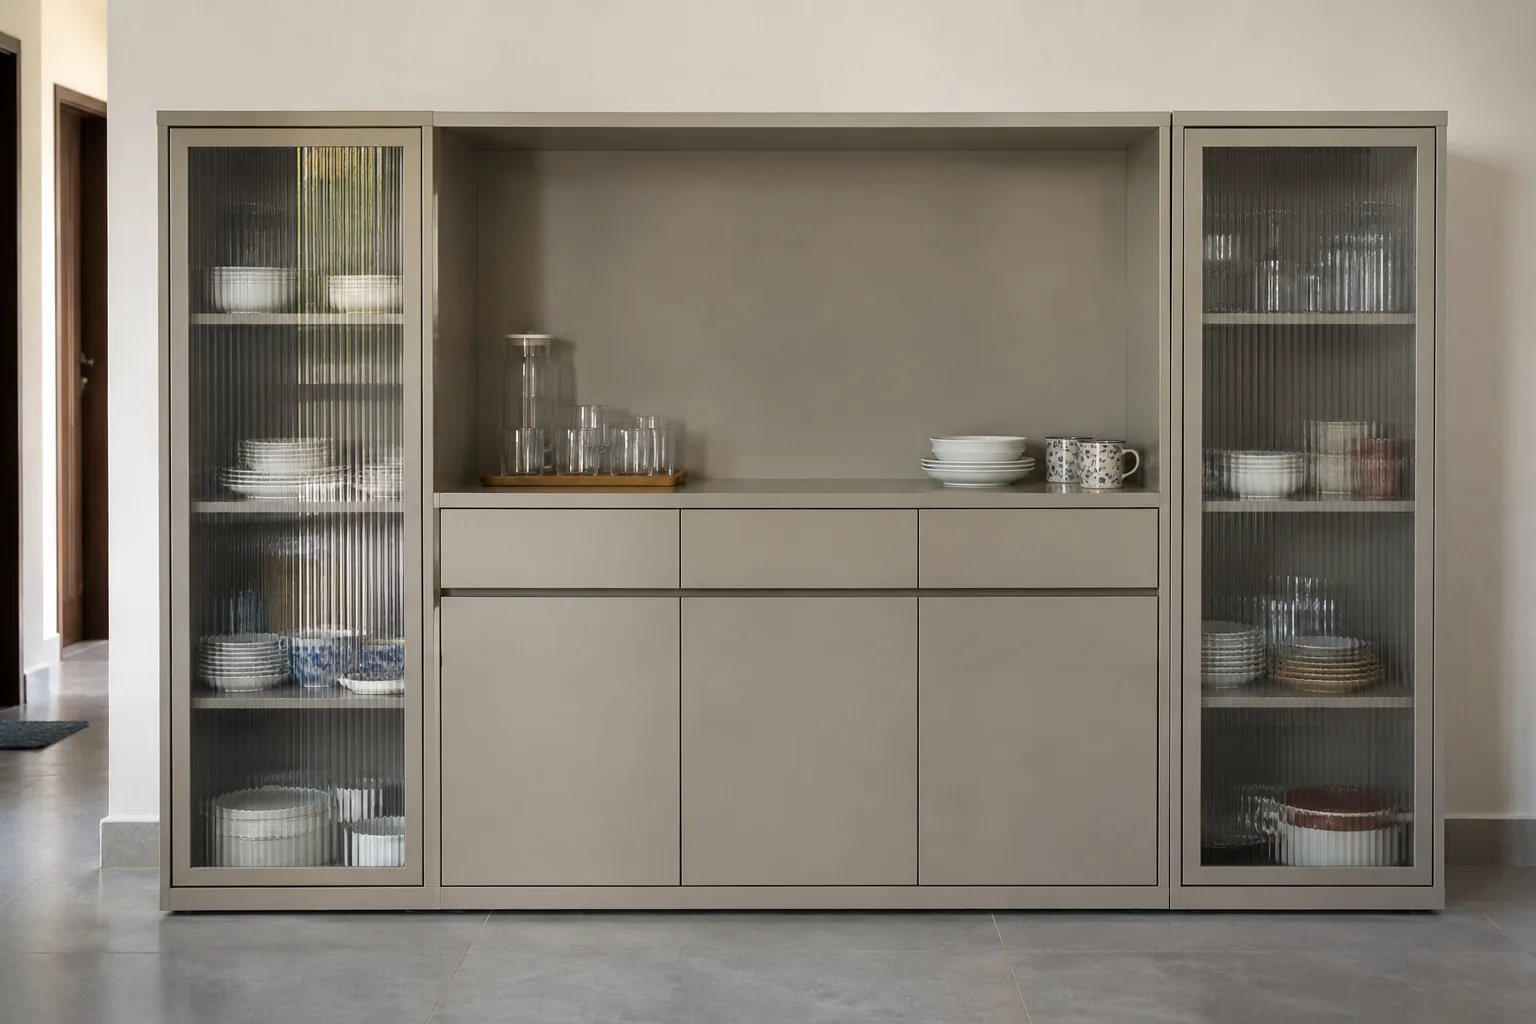
MM-C031 · Fluted glass
Steel Stone Modern Fluted Hutch
Modern finish concept · grounded base
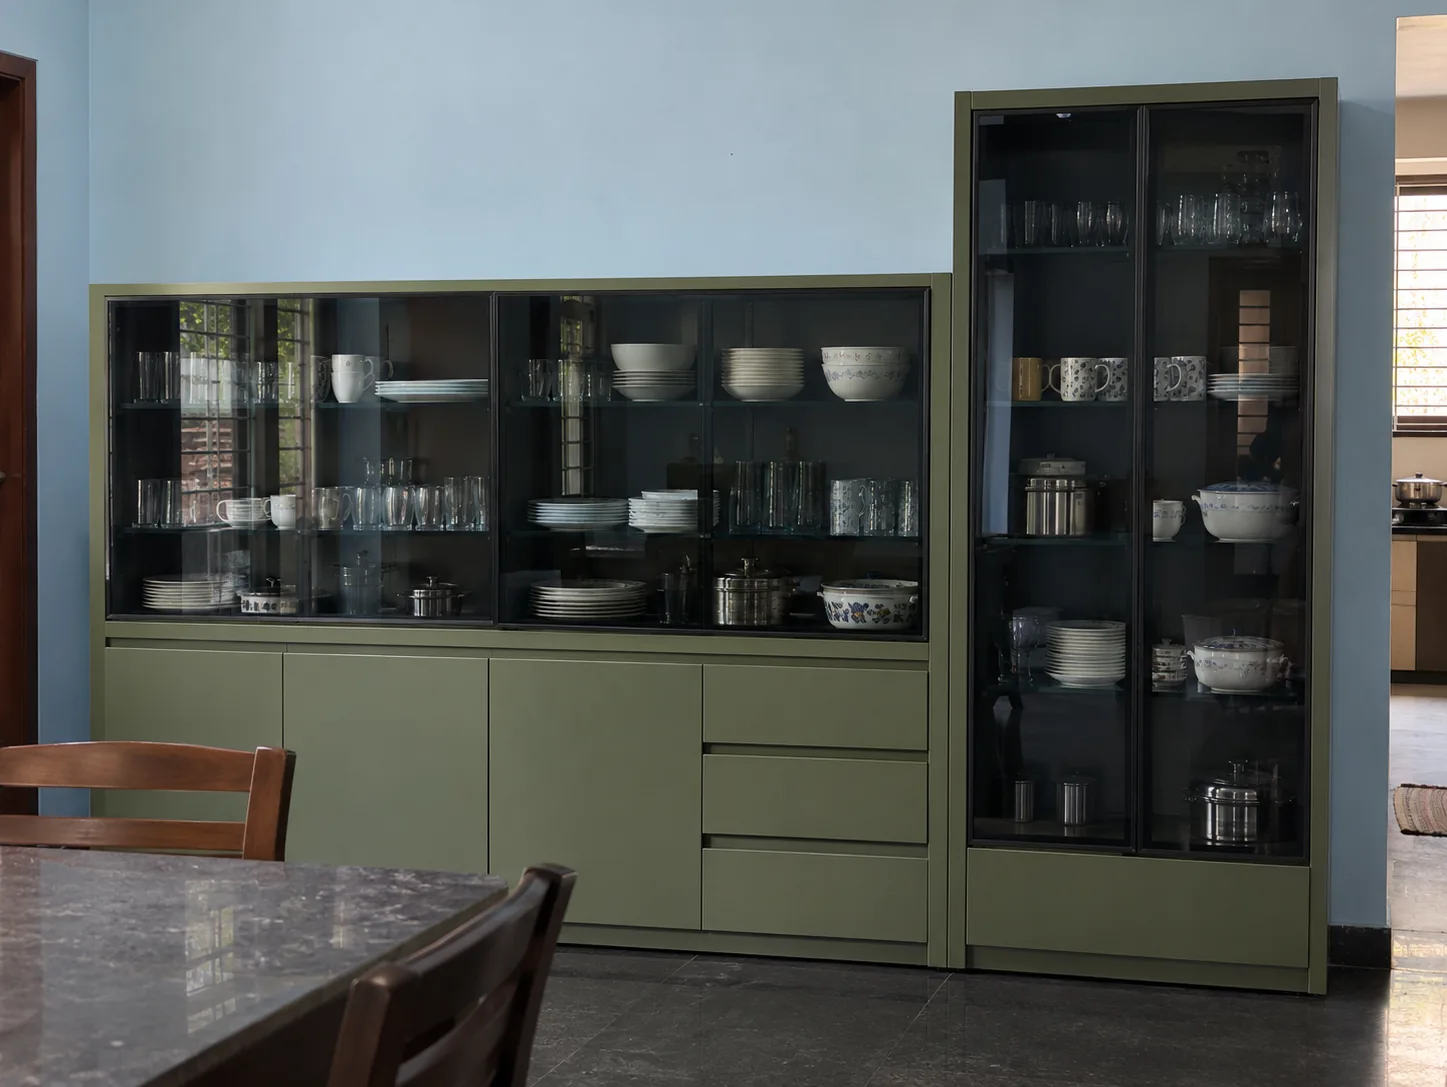
MM-C032 · Black tinted glass
Steel Moss Black Glass Split Unit
Modern finish concept · grounded base

MM-C033 · Fluted glass
Steel Ivory Fluted Tea Cabinet
Modern finish concept · grounded base
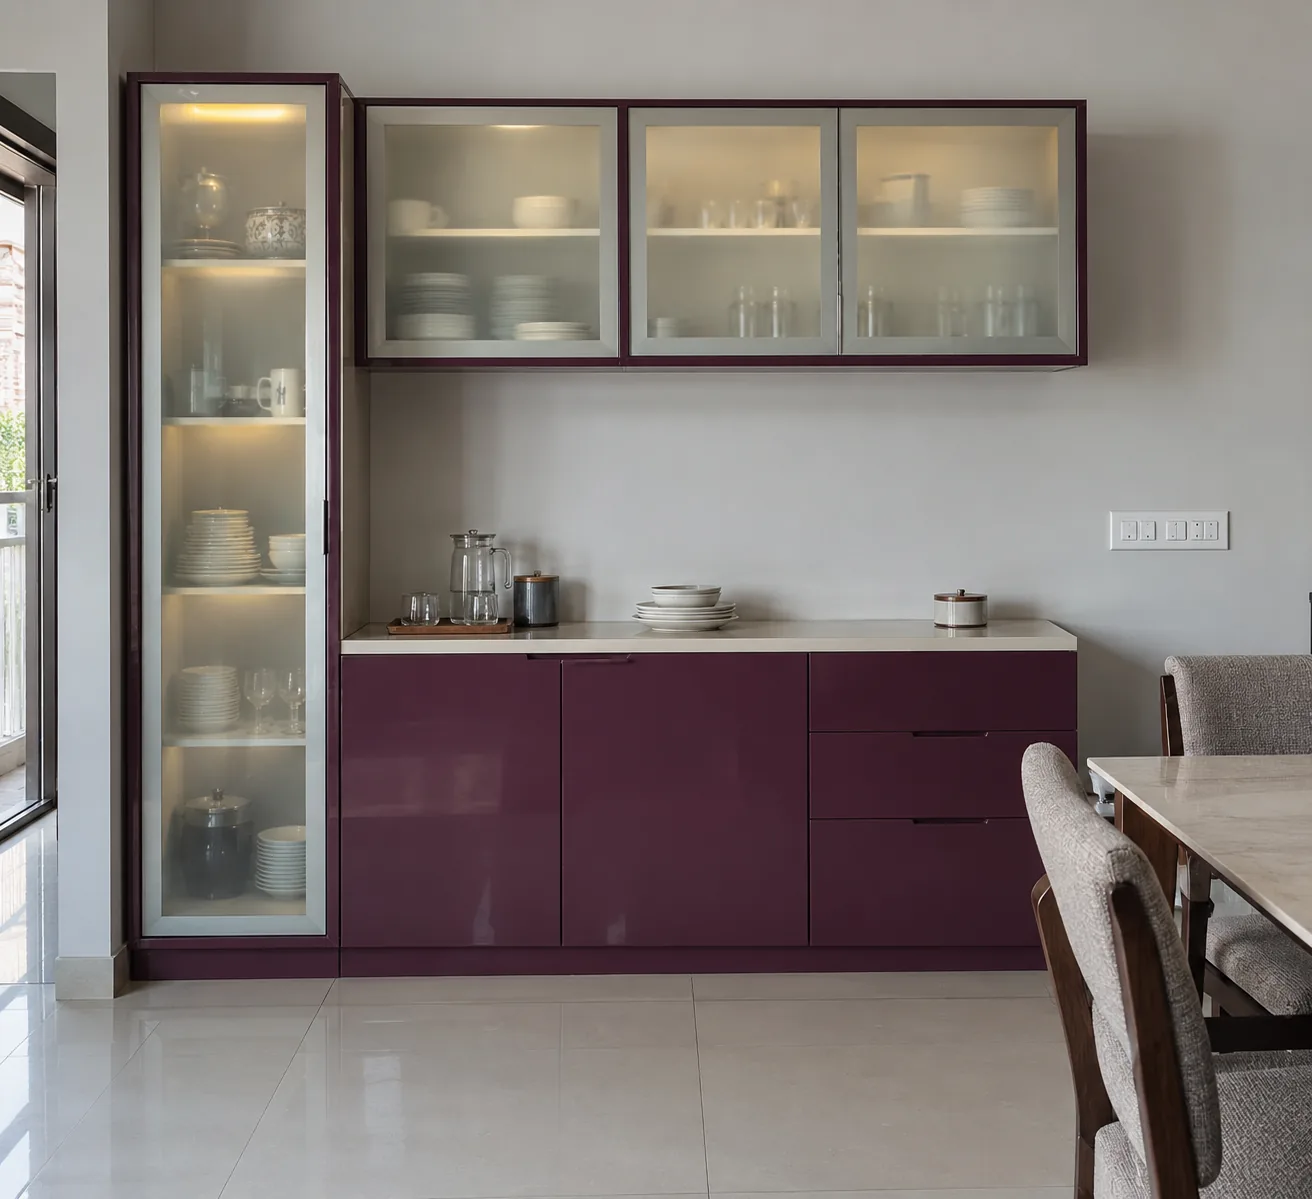
MM-C034 · White frosted glass
Steel Plum White Glass Offset Unit
Modern finish concept · grounded base
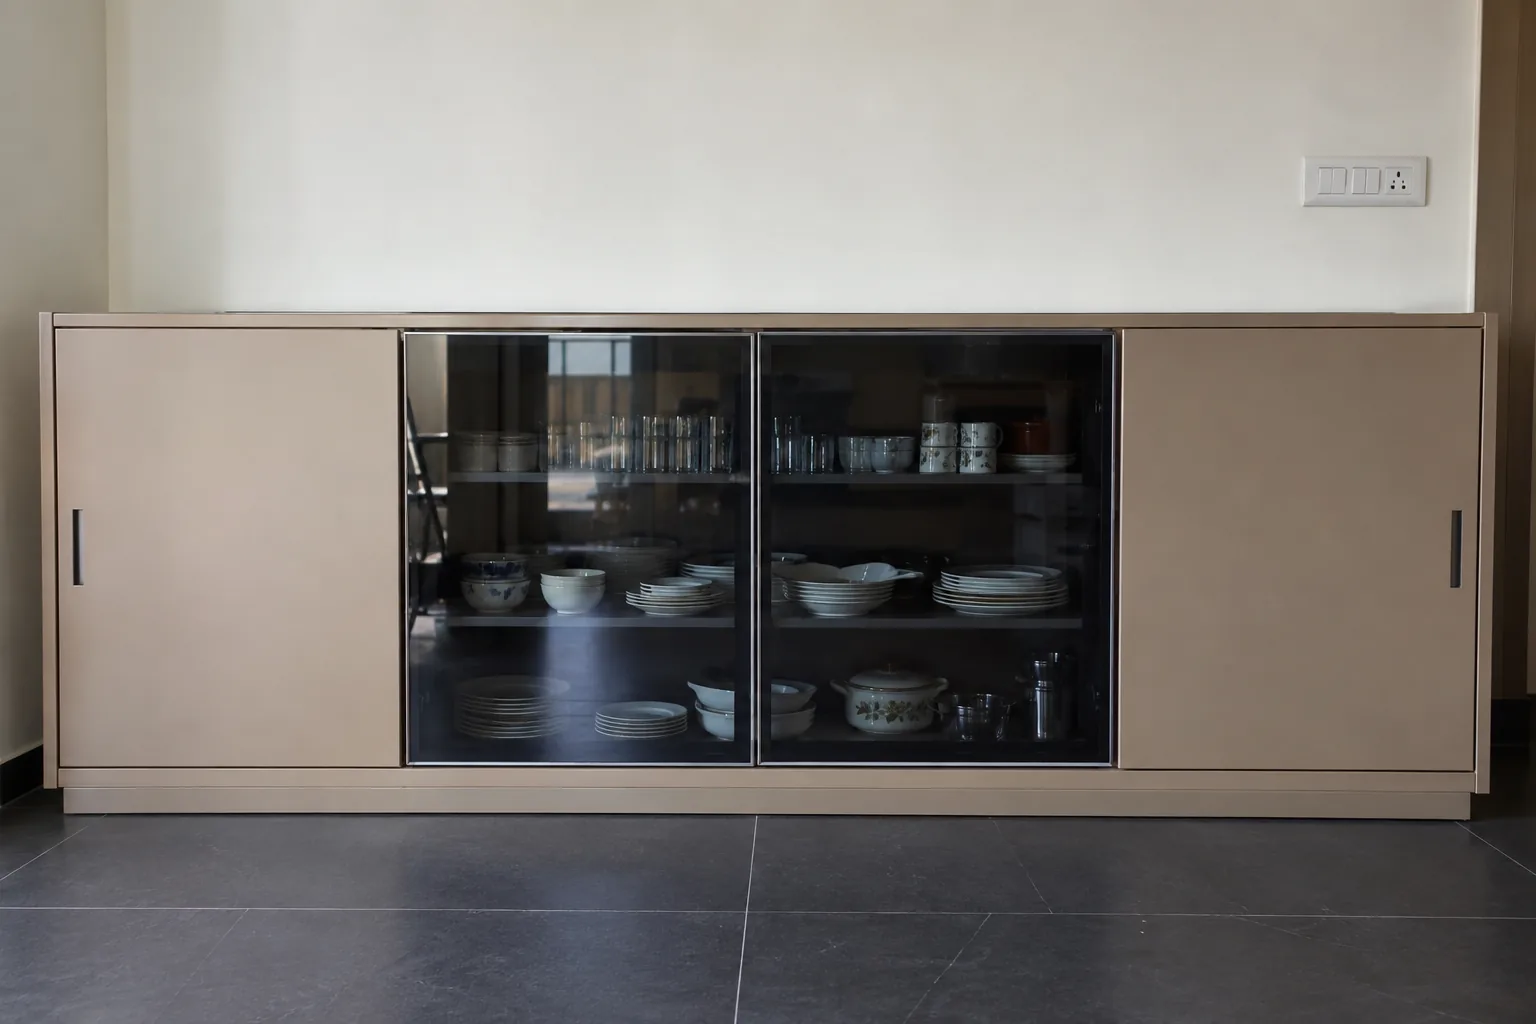
MM-C035 · Black tinted glass
Steel Sand Black Glass Wide Buffet
Modern finish concept · grounded base
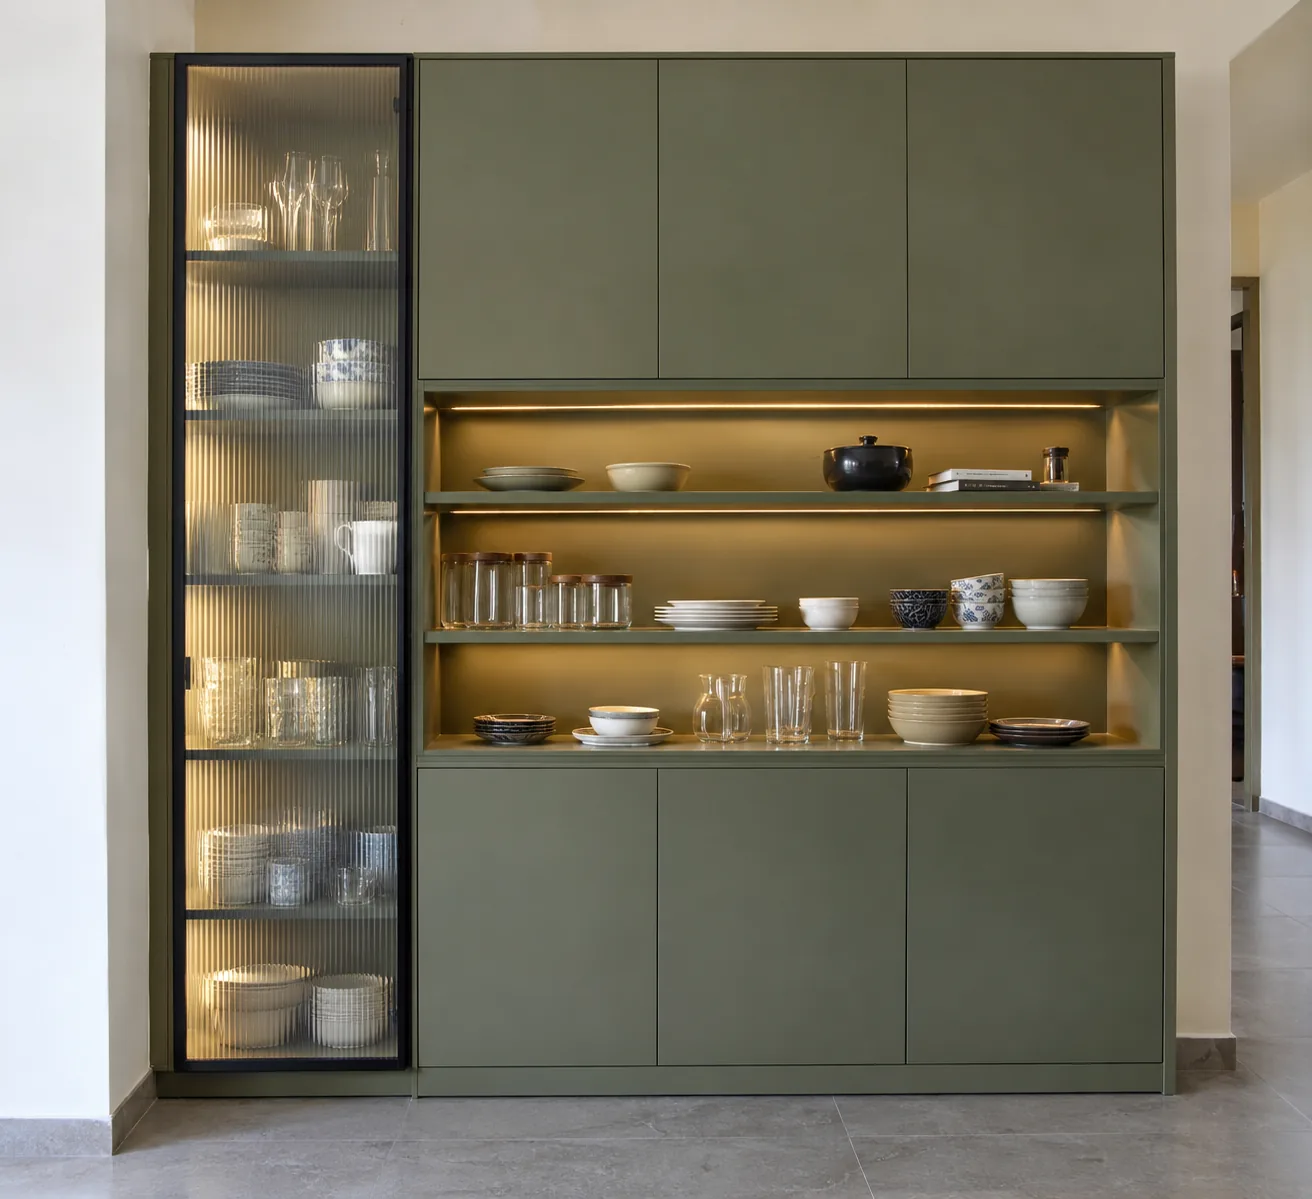
MM-C036 · Fluted glass
Aluminium Olive Fluted Display Wall
Modern finish concept · grounded base
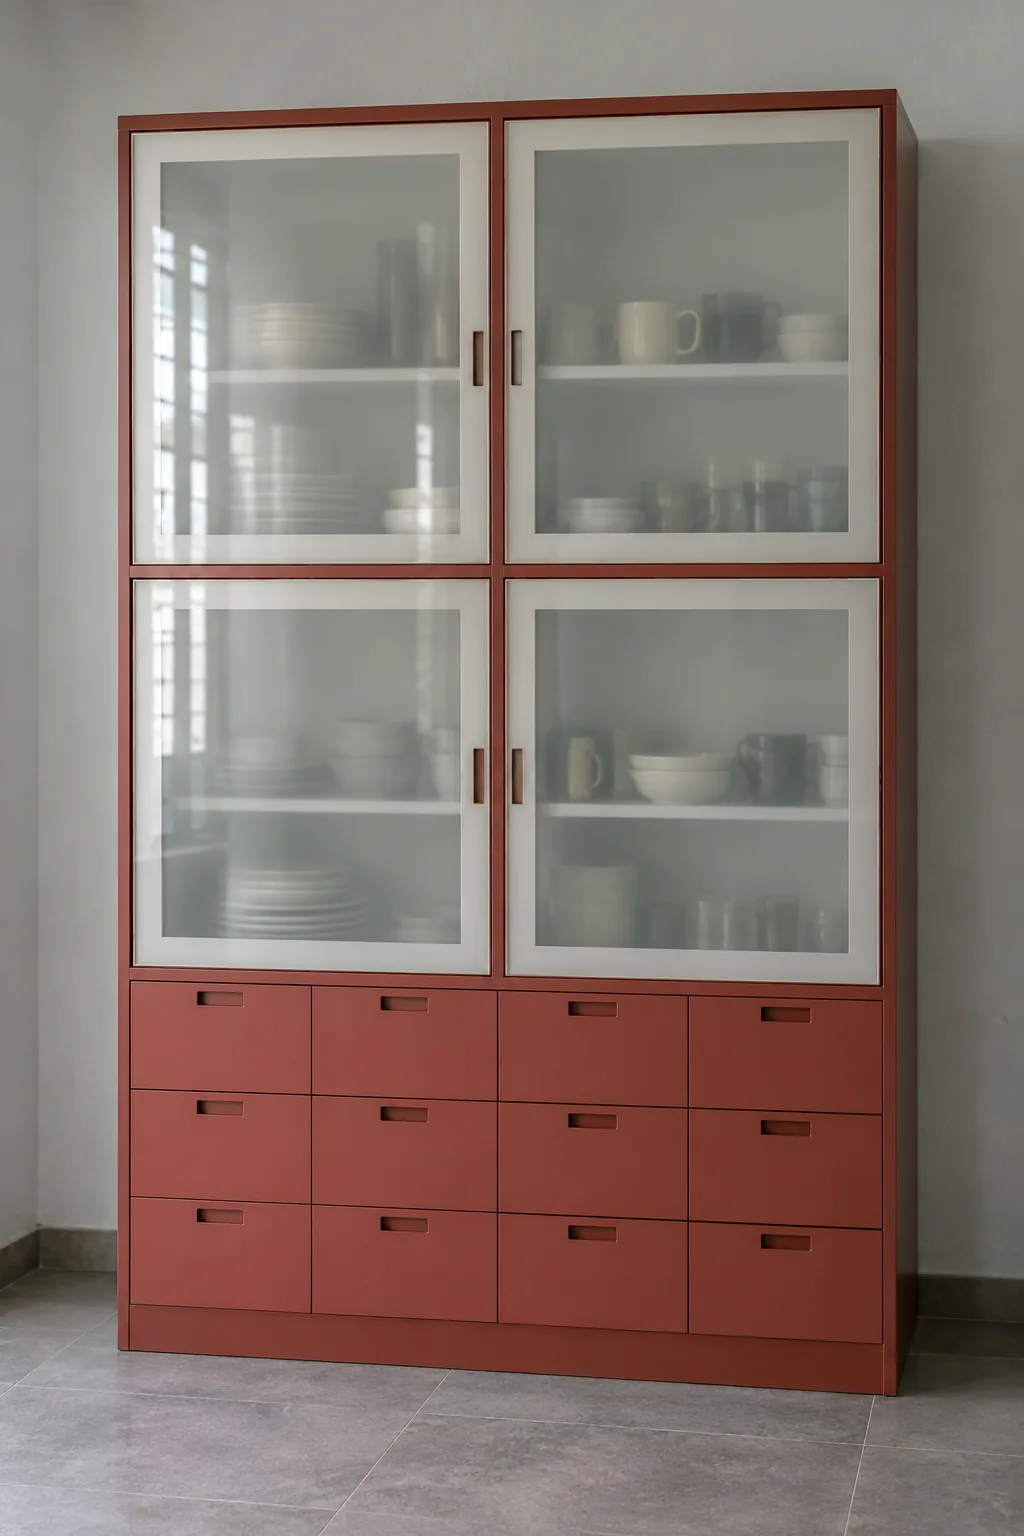
MM-C037 · White frosted glass
Aluminium Brick Laminate Drawer Crockery
Muted brick red solid matte laminate · grounded base
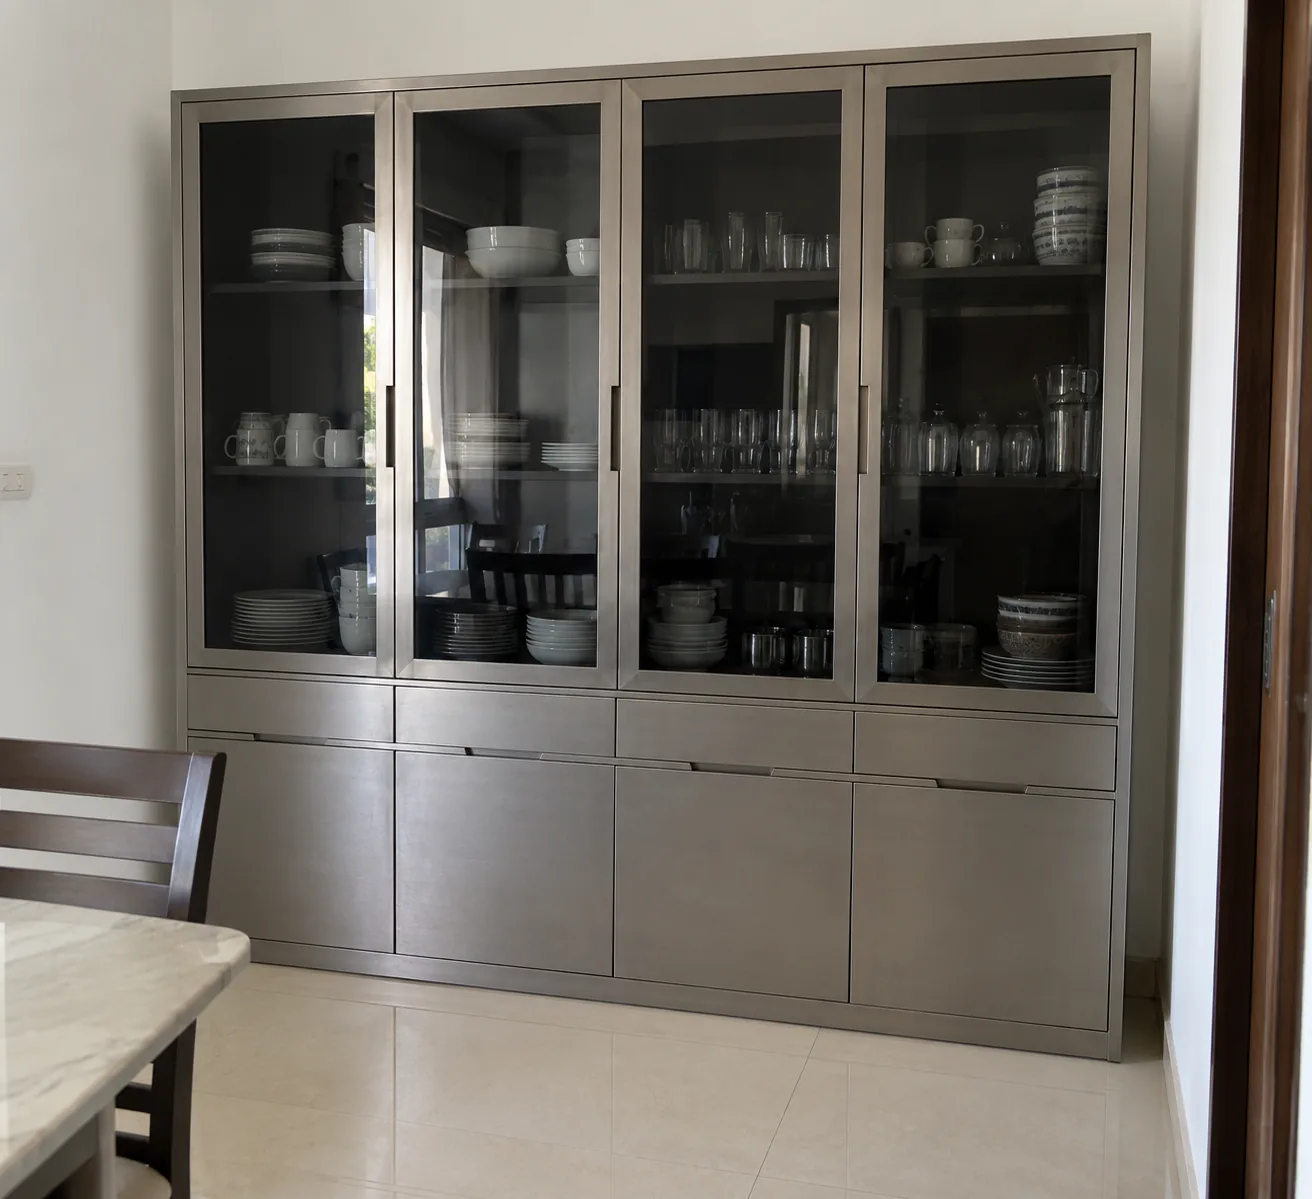
MM-C038 · Black tinted glass
Aluminium Silver Black Glass Vitrine
Modern finish concept · grounded base
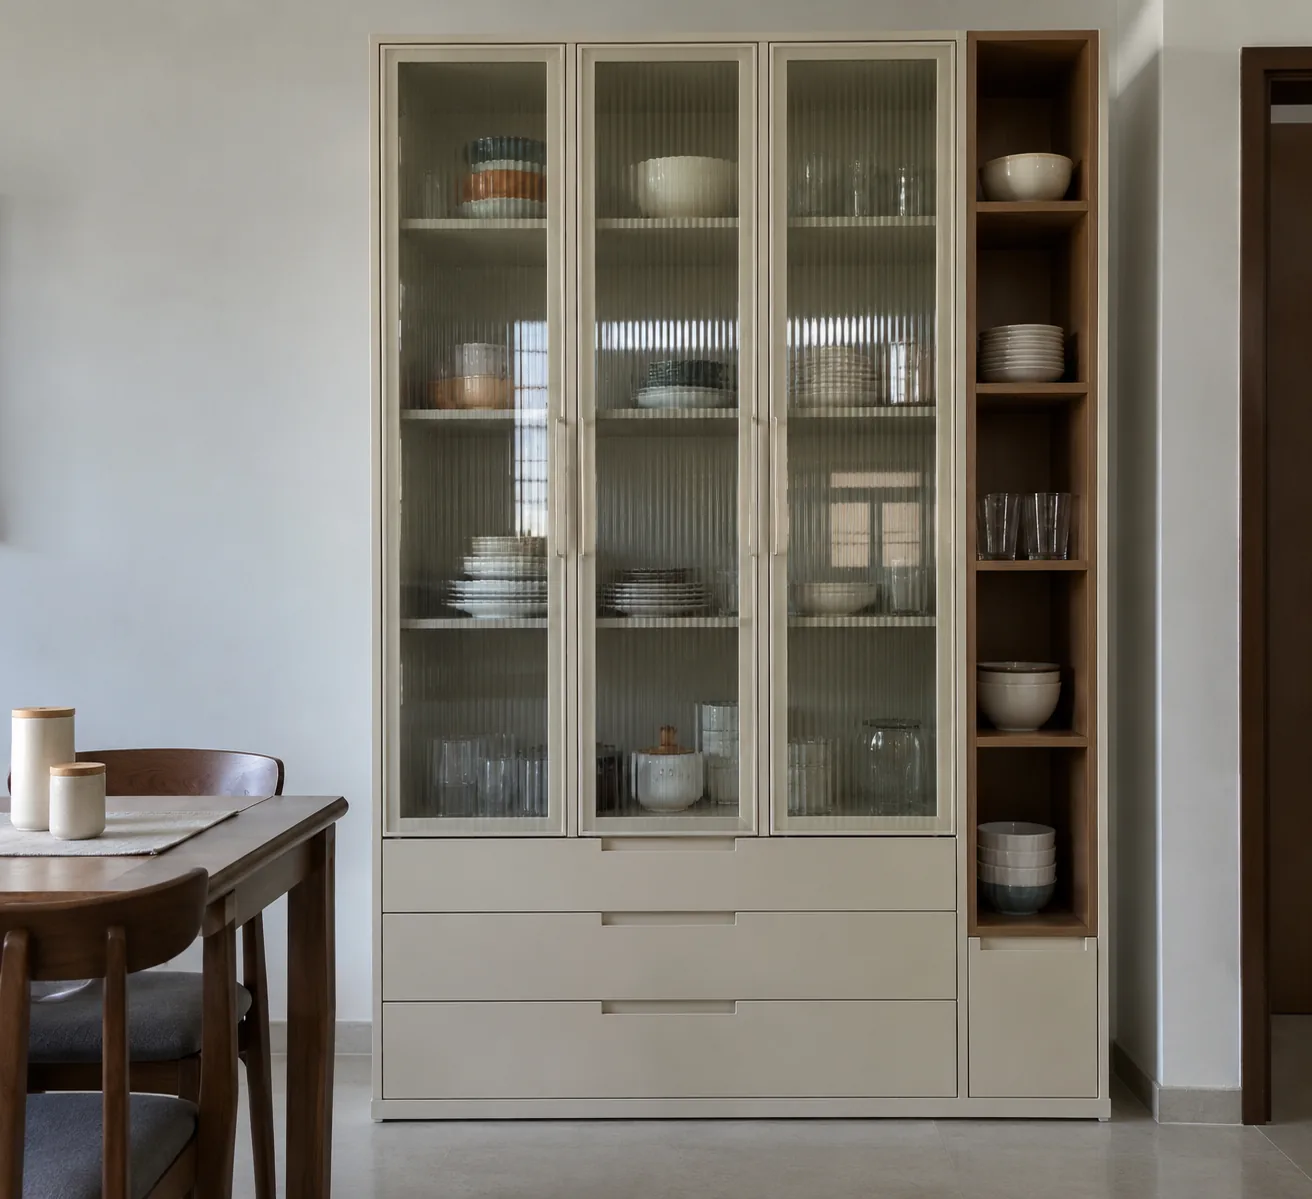
MM-C039 · Fluted glass
Aluminium Cream Fluted Tray Tower
Modern finish concept · grounded base
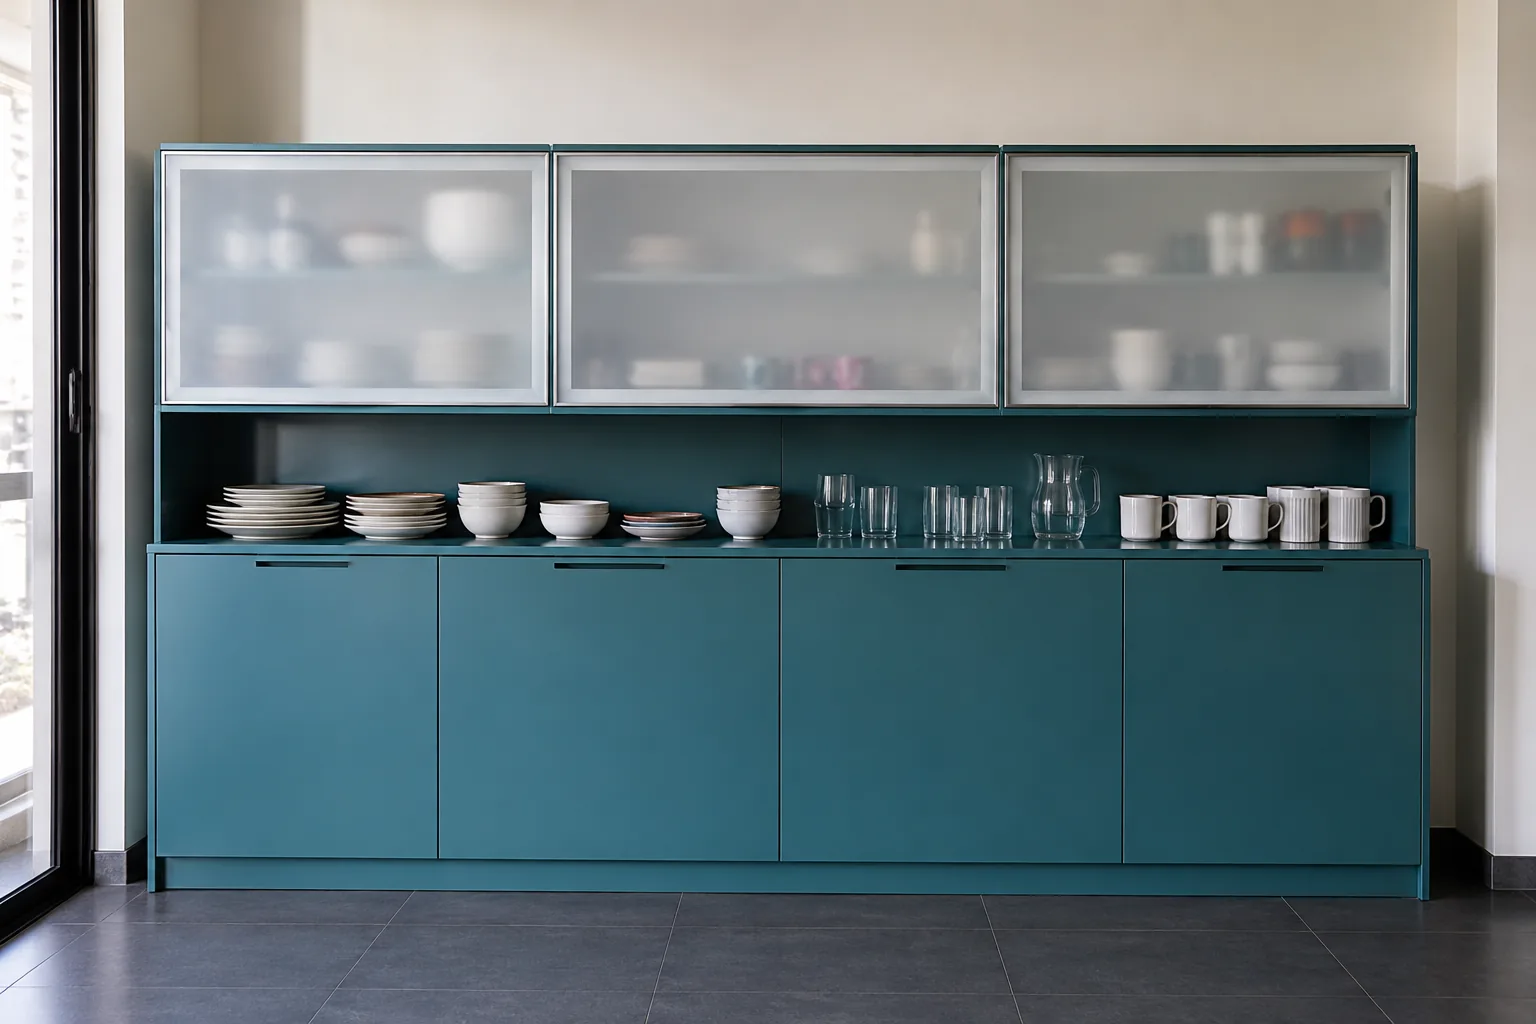
MM-C040 · White frosted glass
GI Teal White Glass Long Wall
Modern finish concept · grounded base
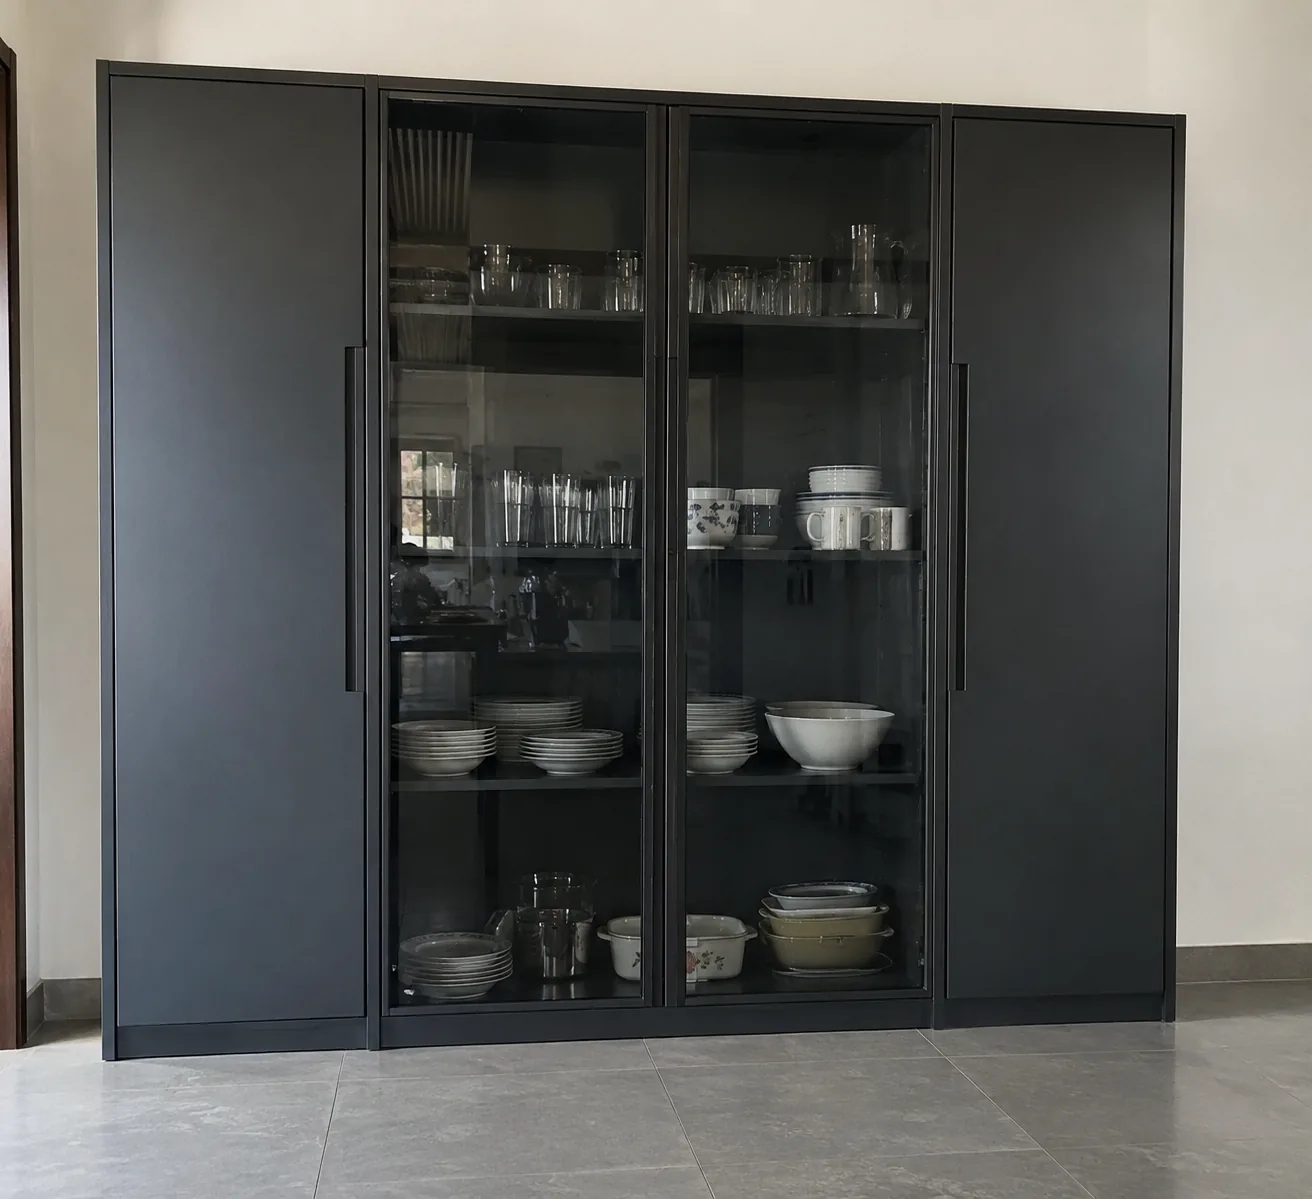
MM-C041 · Black tinted glass
Steel Charcoal Modern Glass Cabinet
Modern finish concept · grounded base
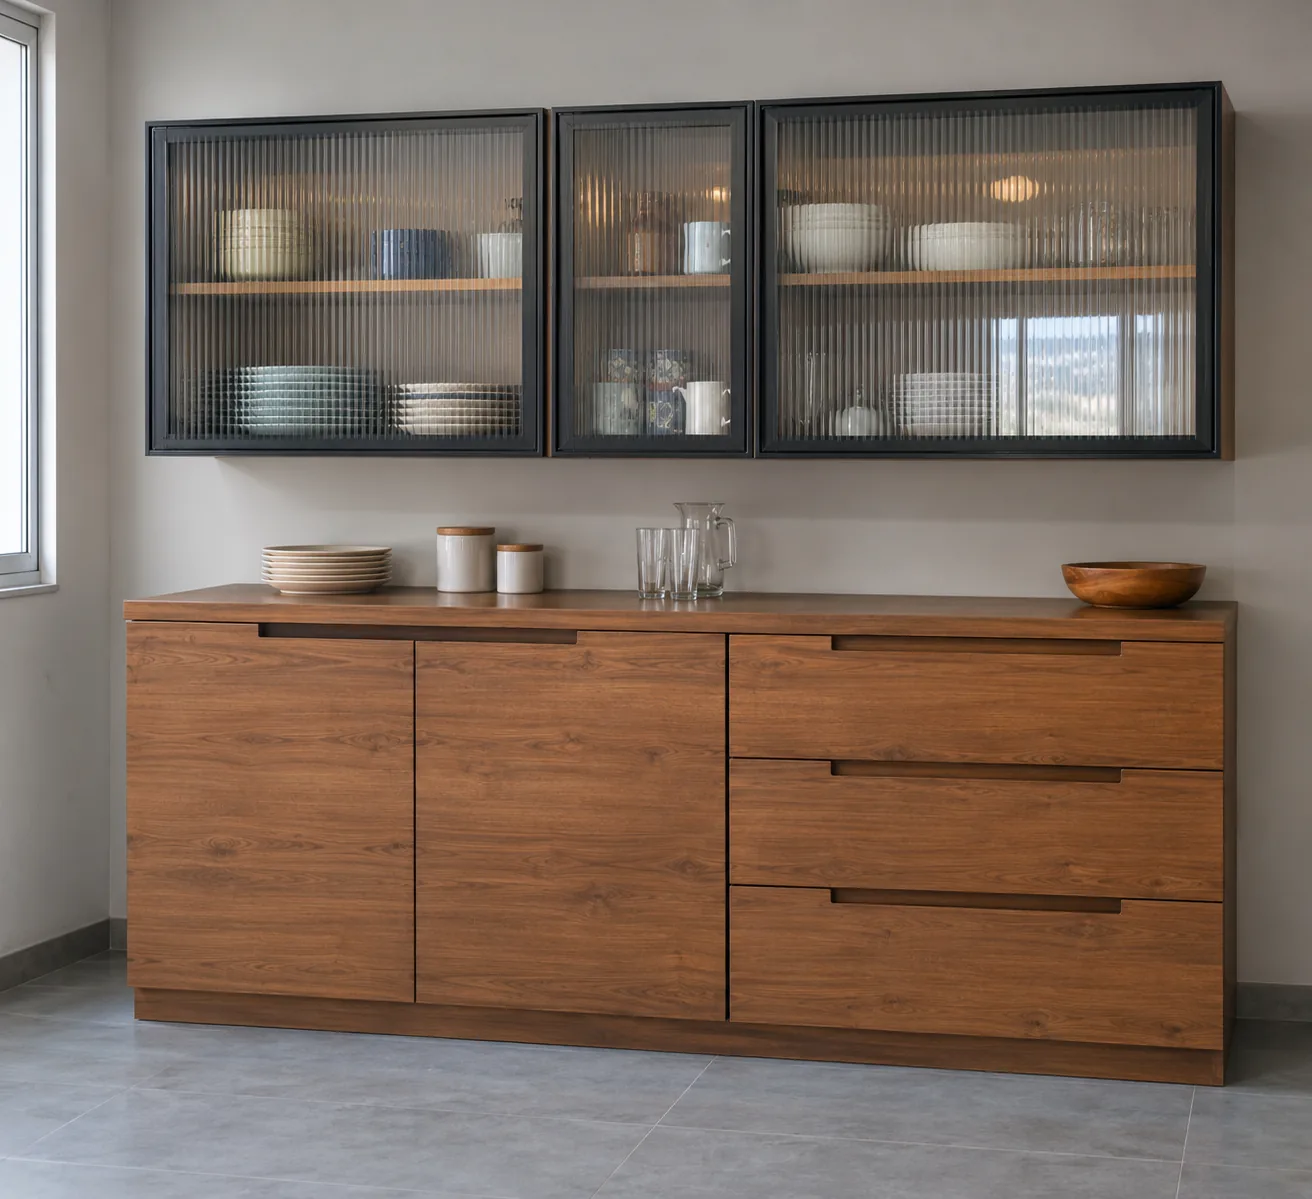
MM-C042 · Fluted glass
Steel Caramel Laminate Modern Display
Caramel oak woodgrain laminate · grounded base
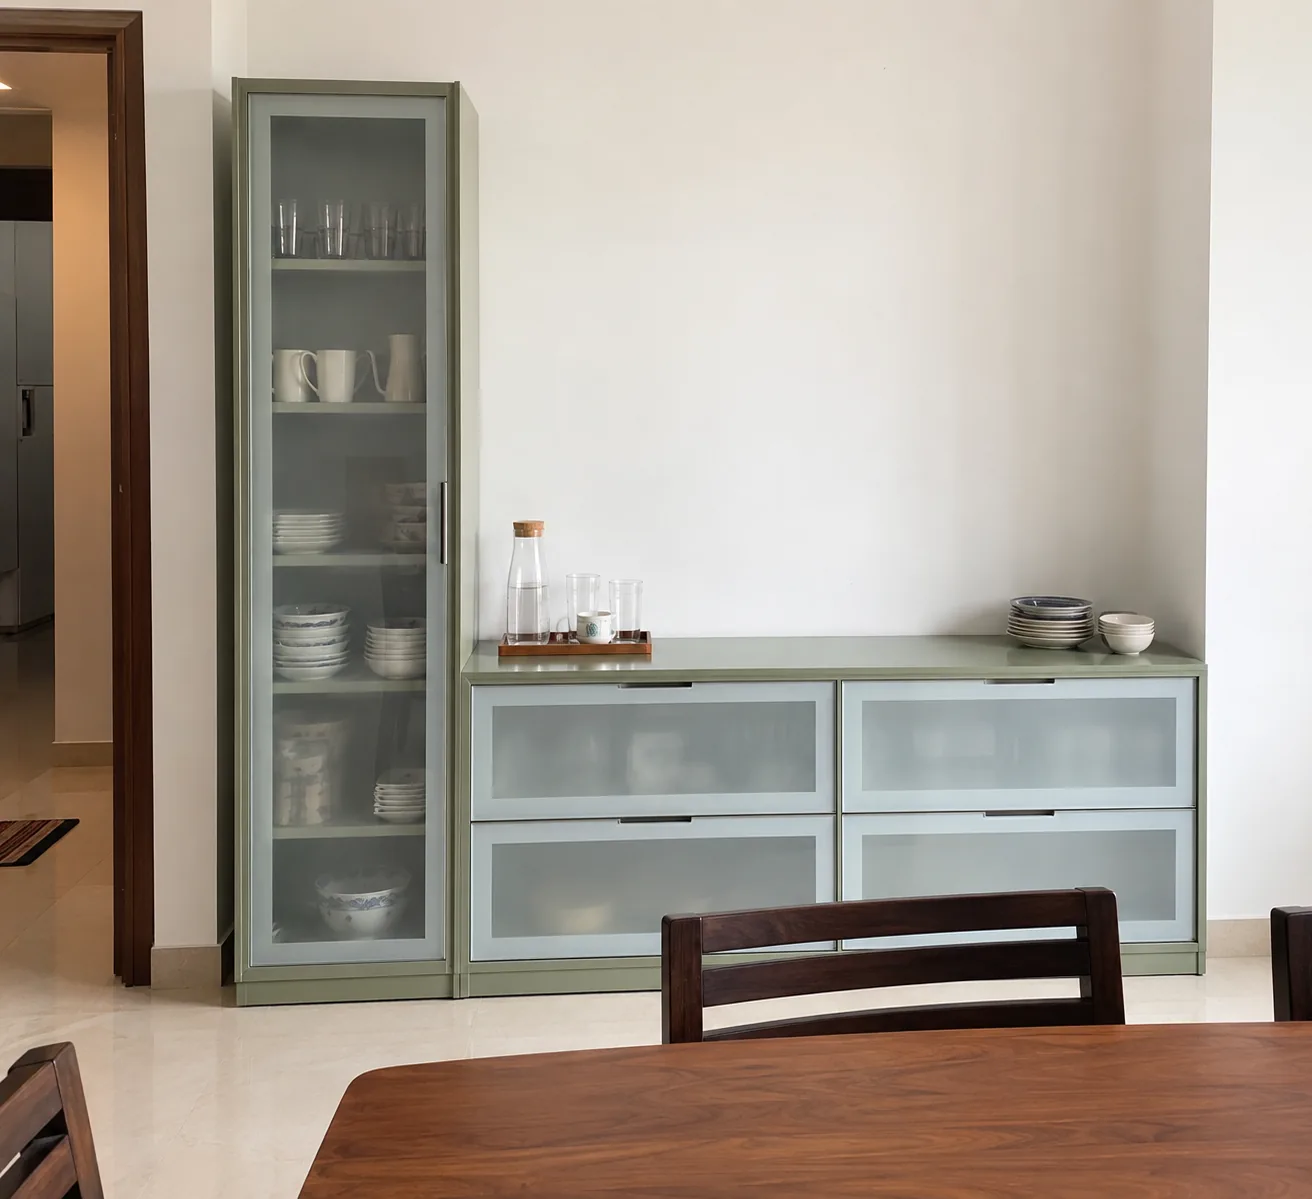
MM-C043 · White frosted glass
Steel Pistachio White Glass Console
Modern finish concept · grounded base
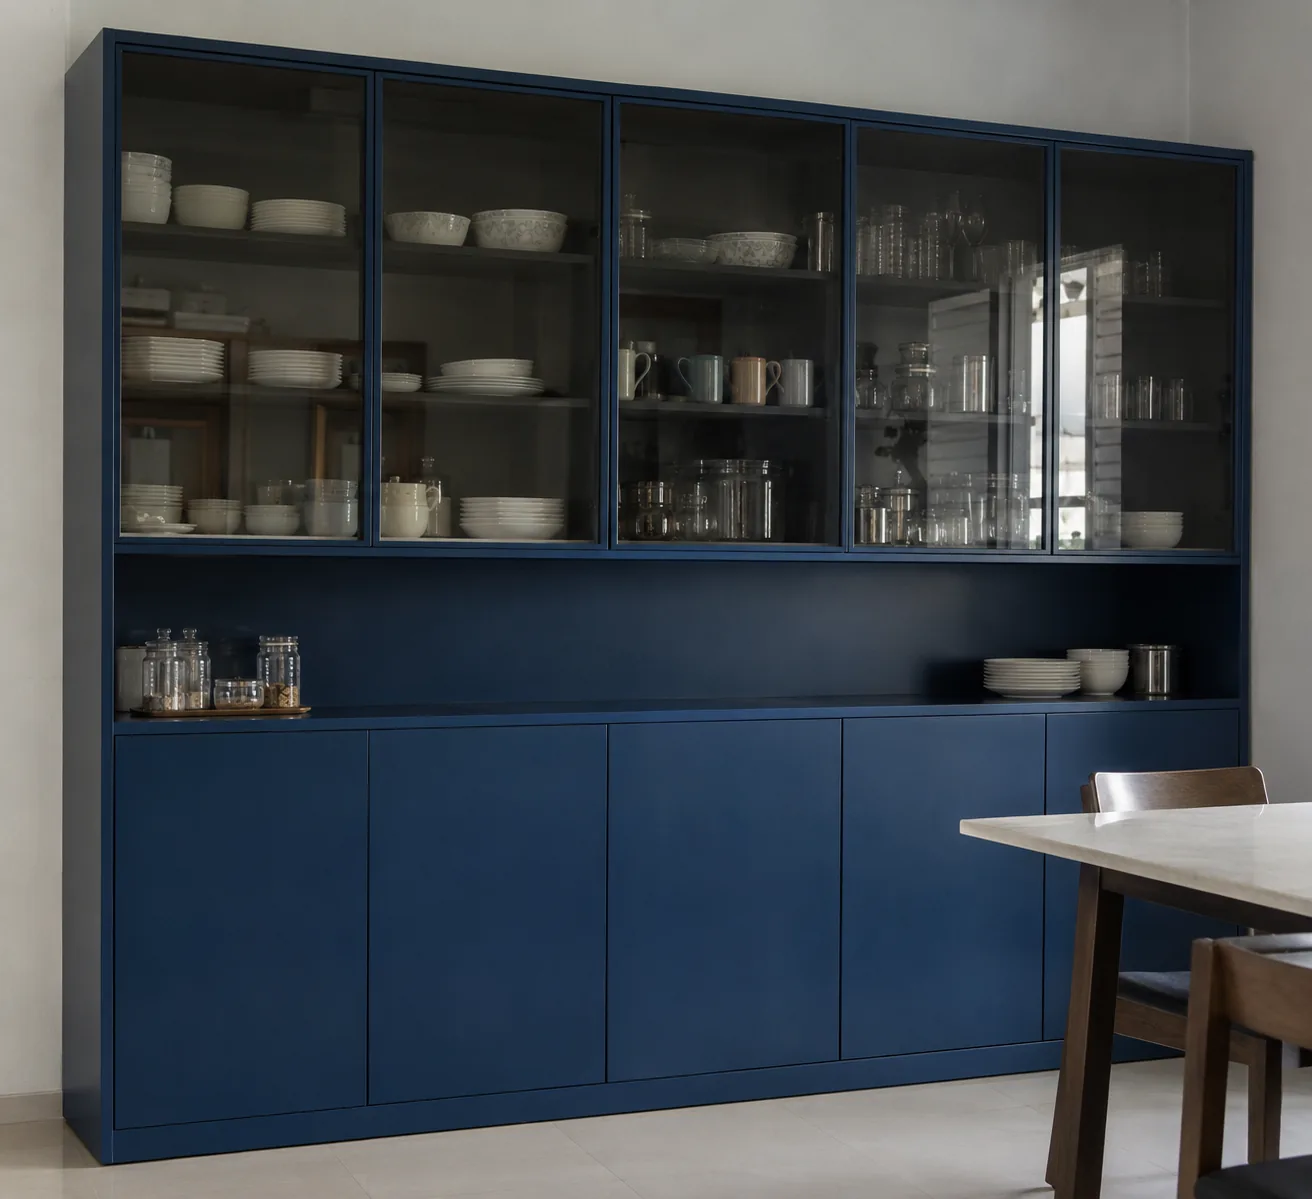
MM-C044 · Black tinted glass
Steel Deep Blue Black Glass Frame
Modern finish concept · grounded base
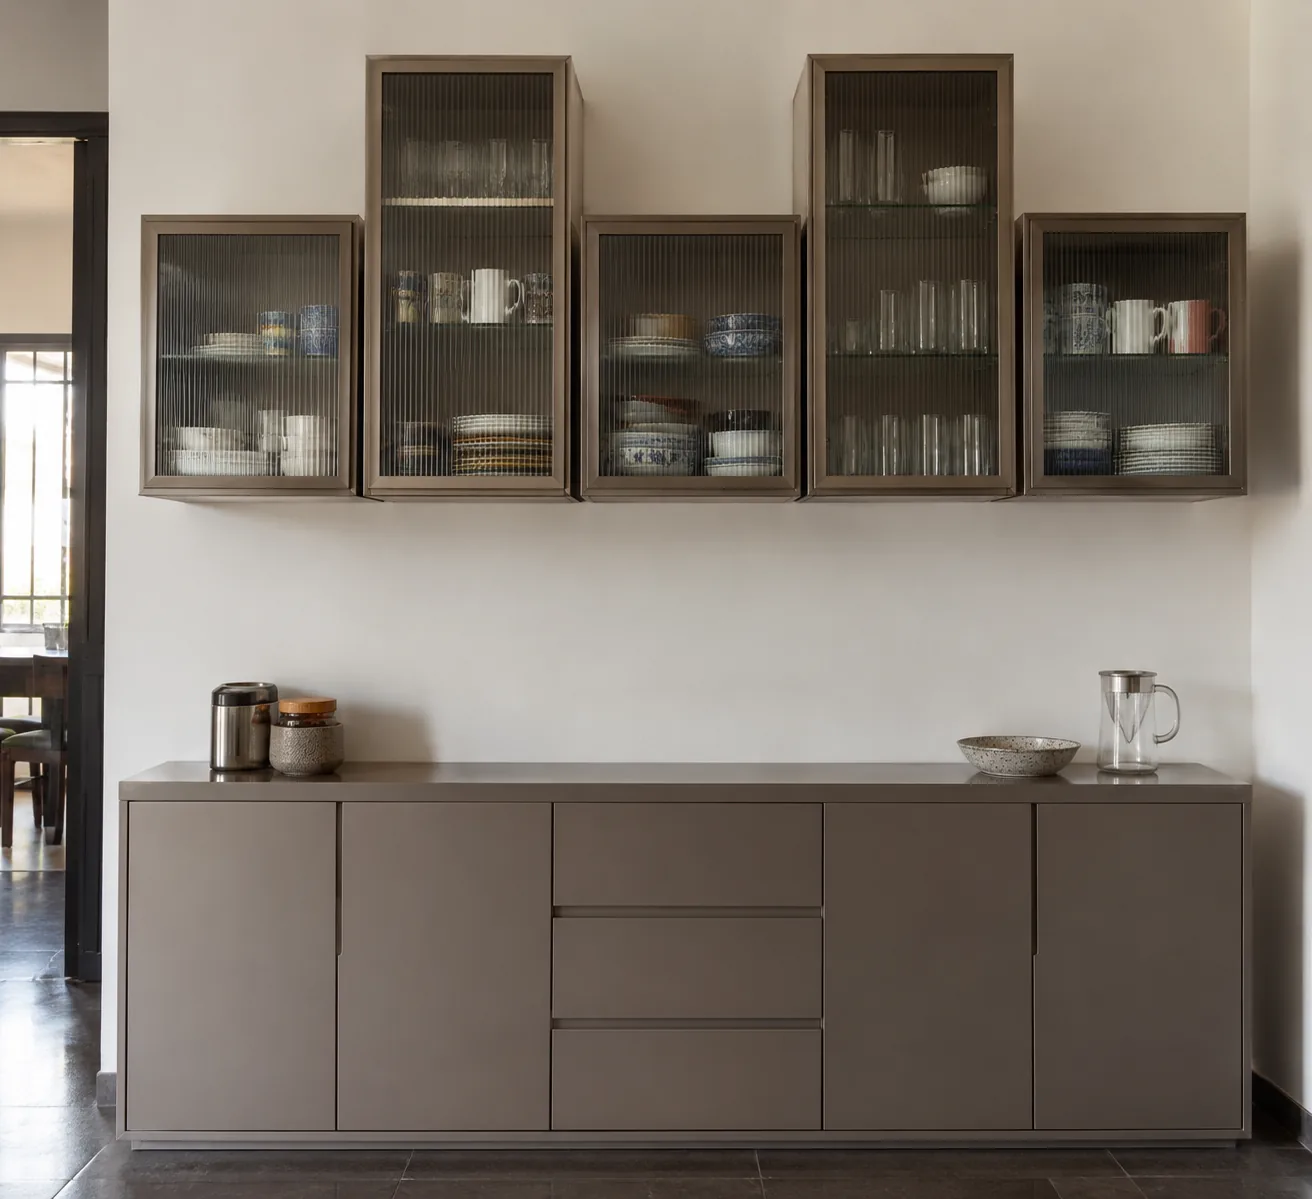
MM-C045 · Fluted glass
Steel Warm Grey Fluted Wall Cubes
Modern finish concept · grounded base
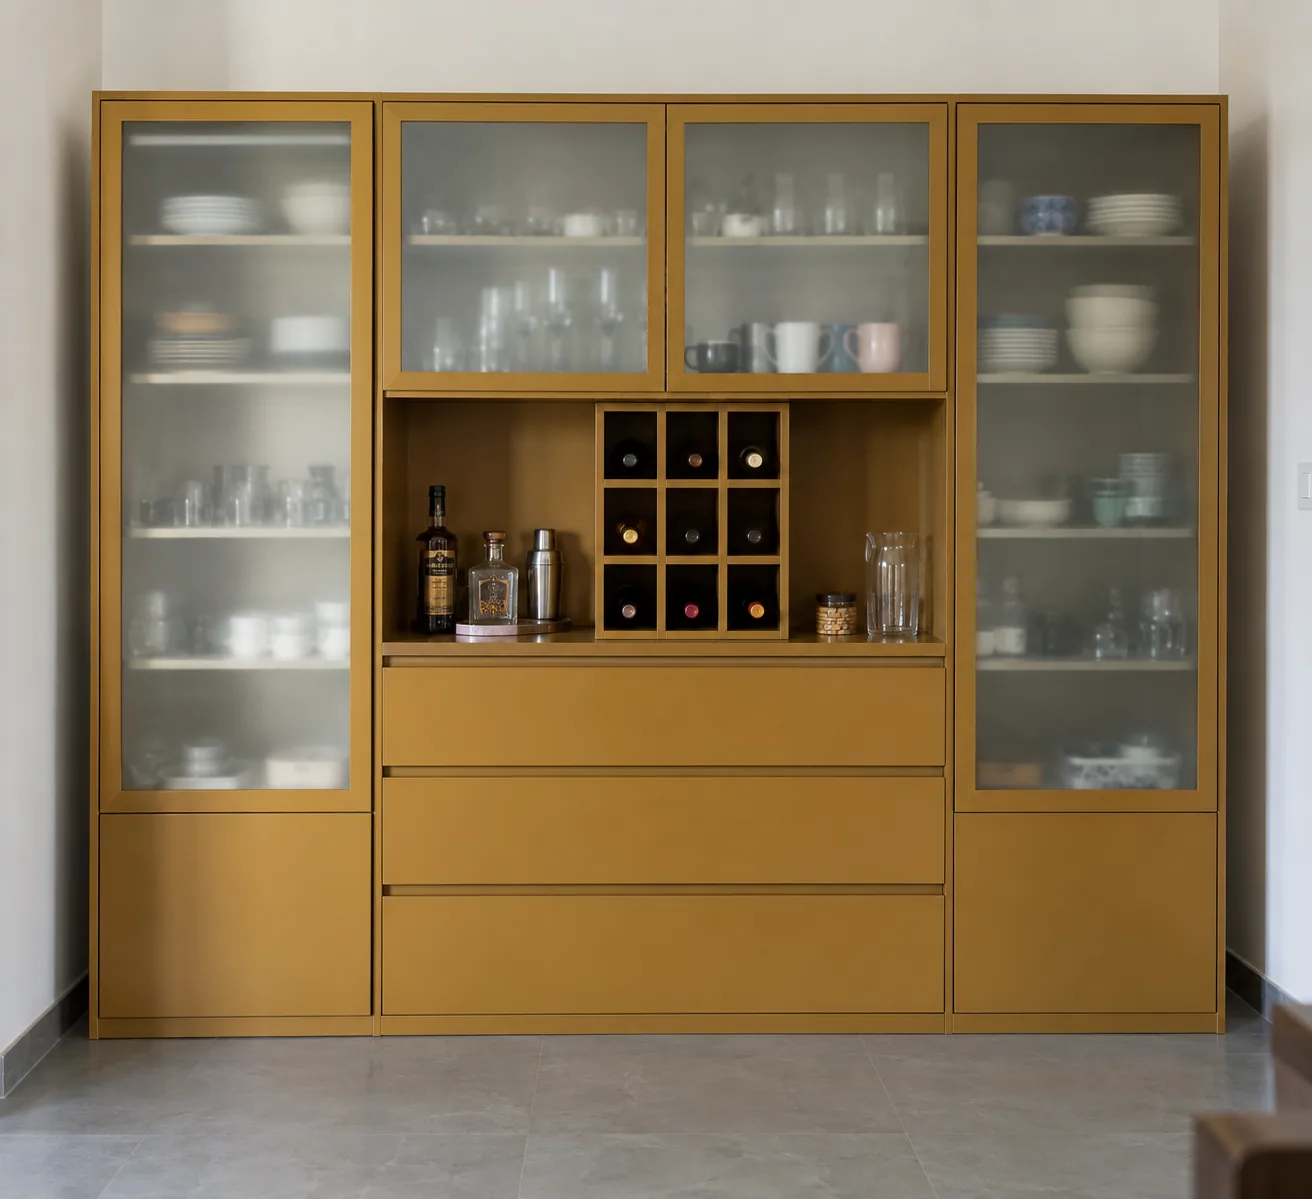
MM-C046 · White frosted glass
Aluminium Ochre White Glass Bar Cabinet
Modern finish concept · grounded base
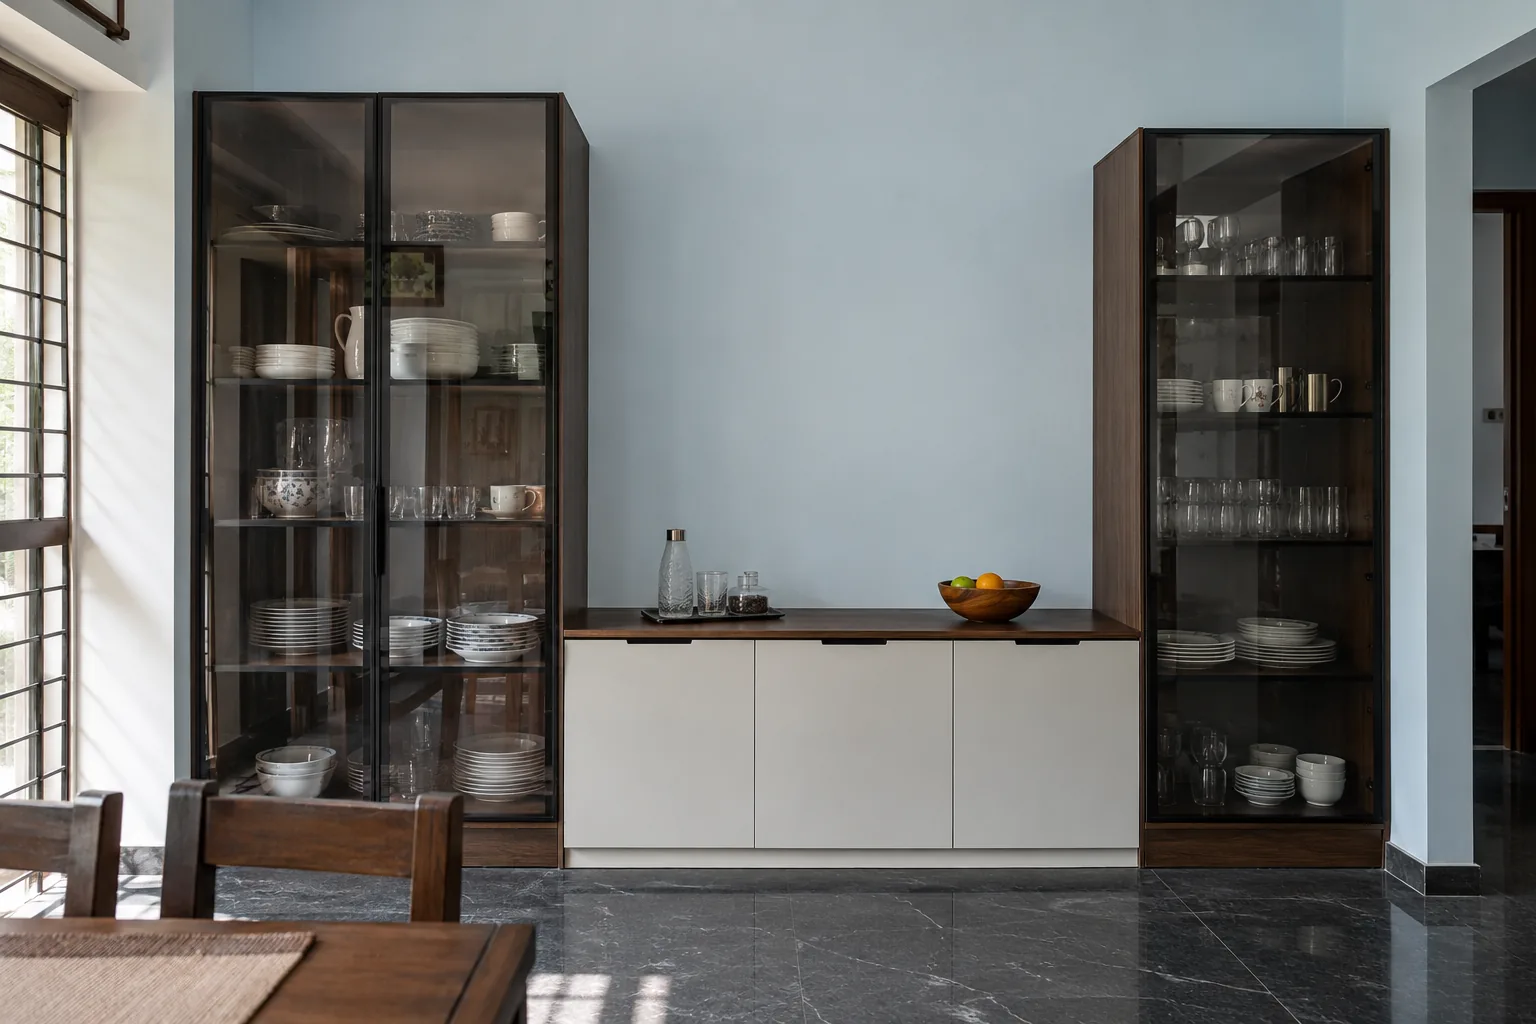
MM-C047 · Black tinted glass
Aluminium Walnut Black Glass Bookend Unit
Modern finish concept · grounded base
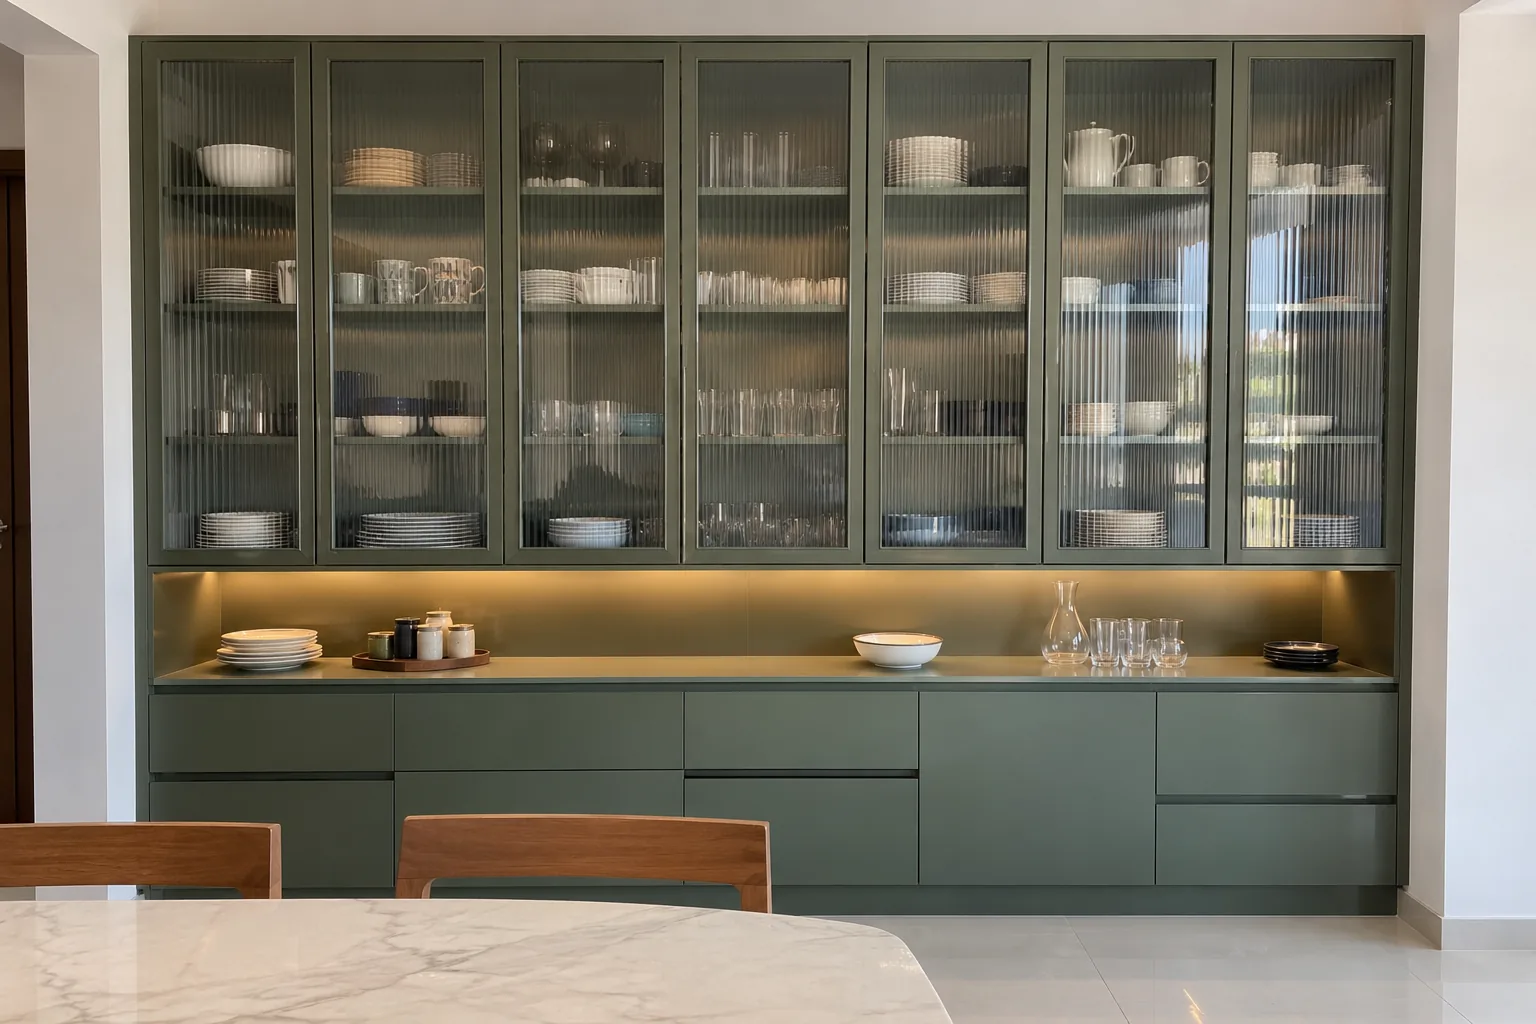
MM-C048 · Fluted glass
Aluminium Emerald Fluted Full Wall
Modern finish concept · grounded base
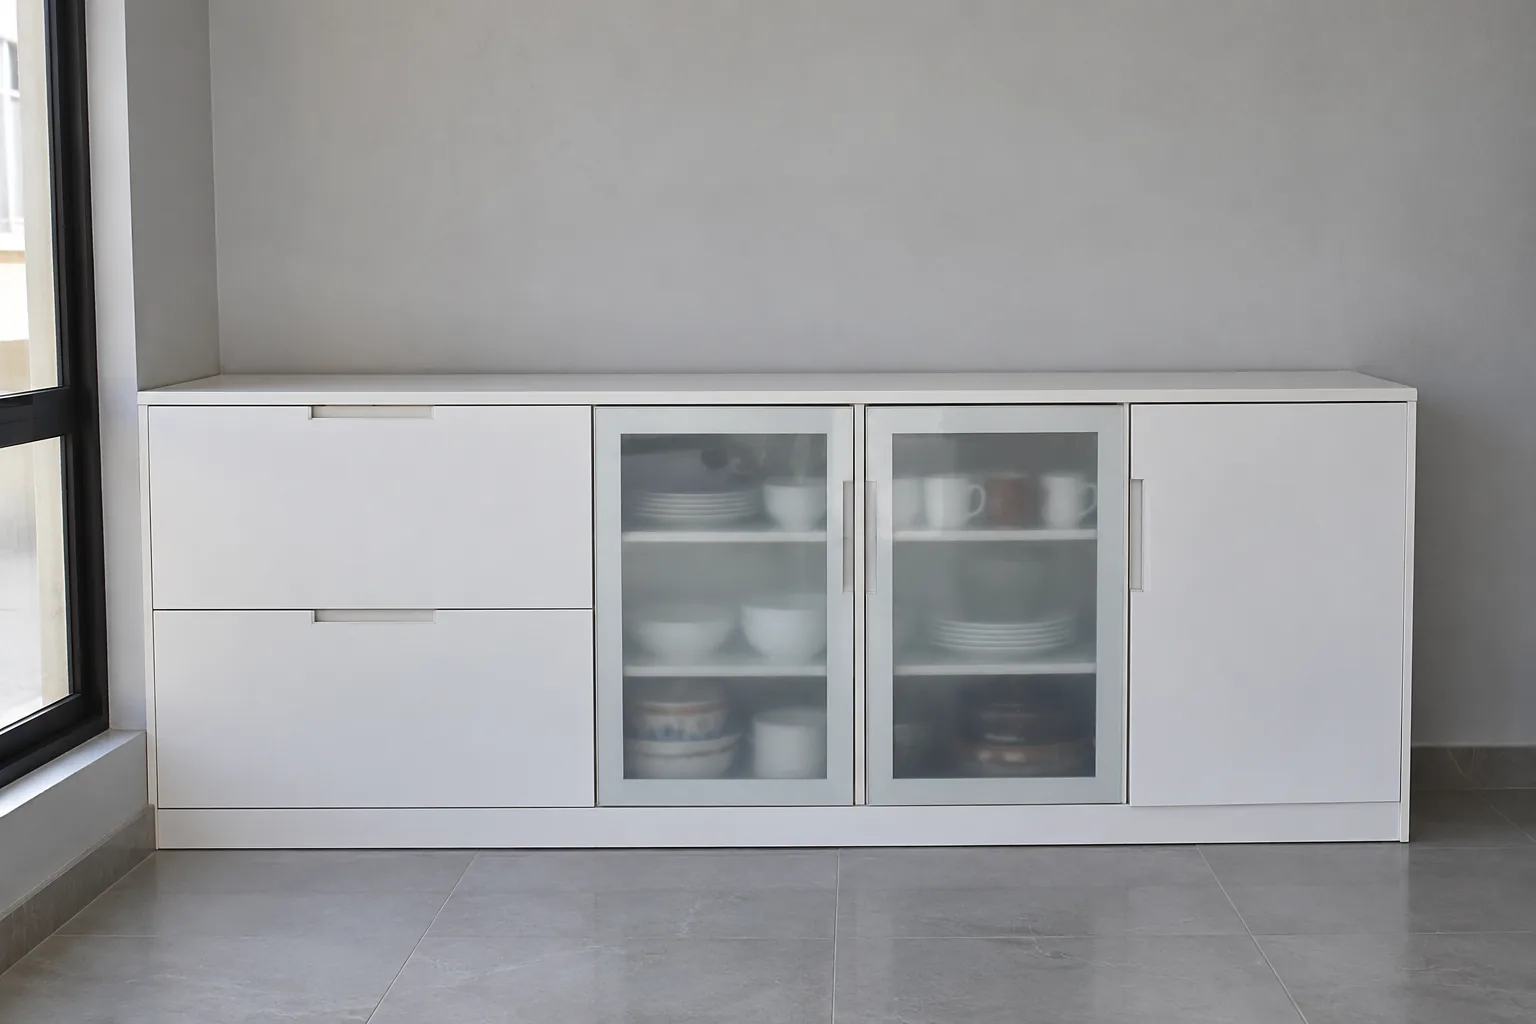
MM-C049 · White frosted glass
Aluminium White Laminate Modern Console
White solid matte laminate · grounded base
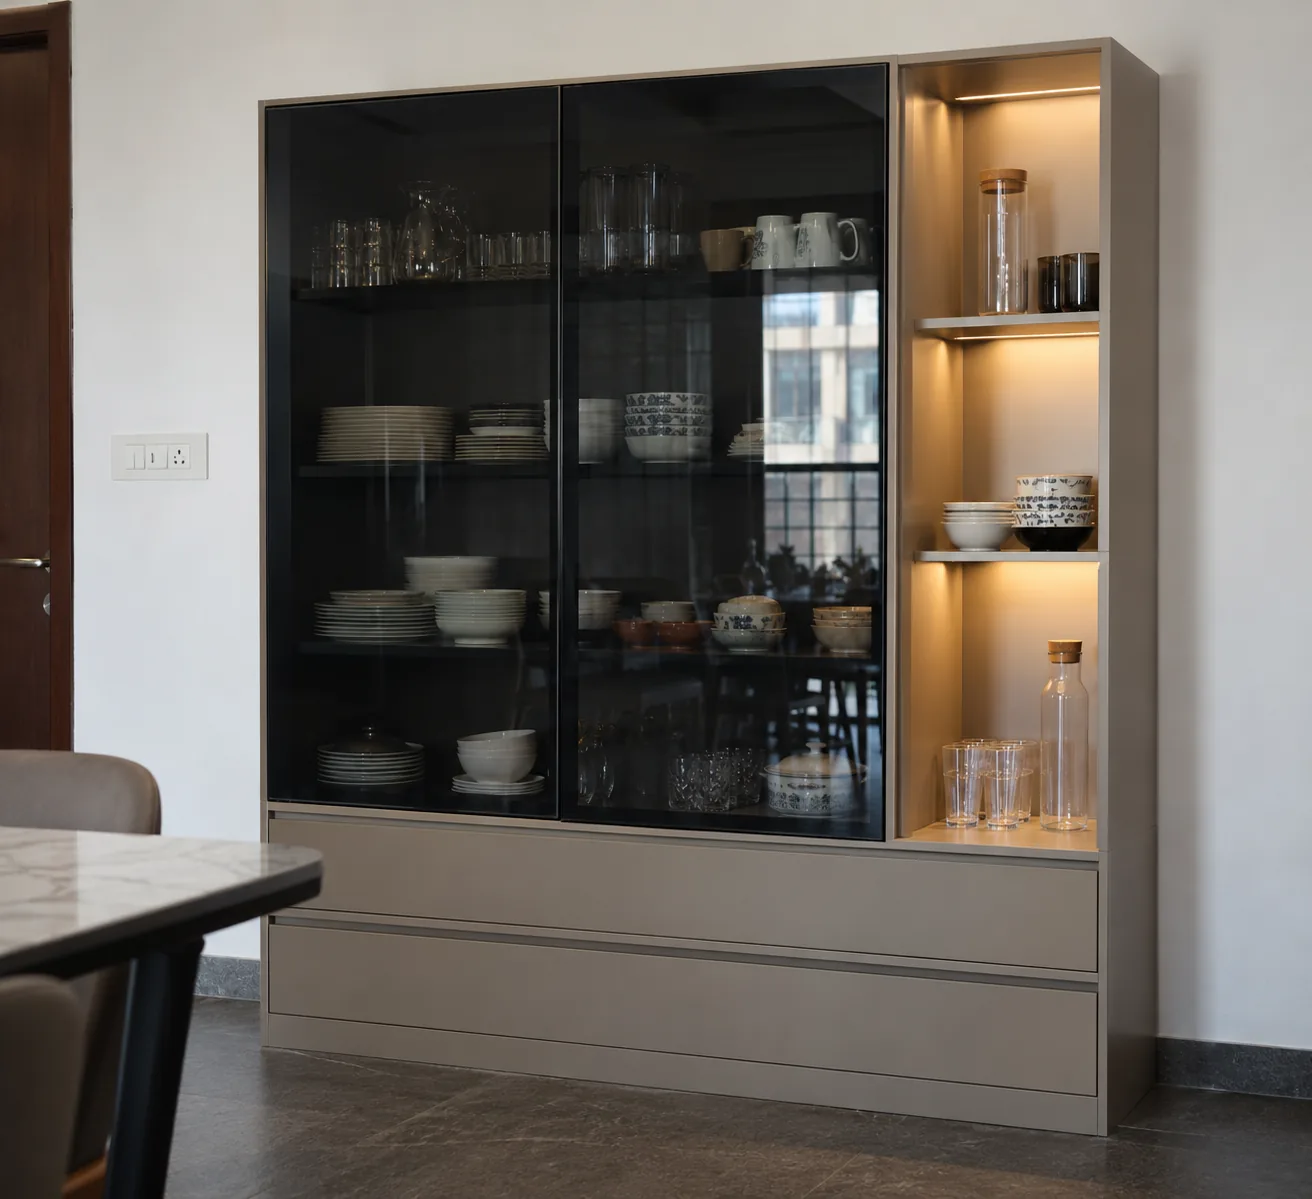
MM-C050 · Black tinted glass
GI Taupe Black Glass Gallery
Modern finish concept · grounded base
No designs match those filters.
Plan display and everyday storage together
Crockery designs work best when the shelf depth follows your largest plates and serving dishes. Separate daily storage from display pieces, allow doors and drawers to open beside dining chairs, and confirm the grounded plinth on your measured drawing. The image provides a visual starting point, not exact cabinet dimensions.
Choose your glass and finish
Black tinted glass, white frosted glass and fluted glass create different levels of visibility. Laminate concepts include woodgrain and solid-colour surfaces on metal construction. Approve physical samples for the actual finish, tint and edge detail before quotation. Keep fabrication edges straight and square.
Hettich accessories are selected for the final cabinet system. Record exact models and quantities in the schedule. GI is not recommended for counters or water-use areas; specify those zones separately.
From concept to your dining wall
Share the design ID, room photographs and storage priorities. Measure the wall and dish sizes, then approve the internal layout, metal system, glass, finish samples and accessory schedule. Request an itemised quotation for the agreed scope. The concepts do not carry a fixed price, warranty or delivery claim.
For a wider kitchen project, the kitchen estimator and 3D Finish Studio are separate kitchen planning tools. They do not configure or quote these crockery designs.
Planning crockery designs for everyday use
Use these notes when comparing crockery designs. Open the topic you need, then discuss the selected design ID with your measured room details.
Measuring crockery designs for your dining wall
When planning crockery designs, begin with the actual dining wall rather than assuming dimensions from the image. Record wall width, ceiling height, floor levels, skirting, beams and the position of nearby doors. Measure your largest dinner plates, bowls, serving dishes, trays and glassware before setting shelf depth and spacing. Separate everyday crockery from items used for guests.
Keep heavier dishes at a comfortable reachable level, and allow the doors and drawers to open clear of dining chairs. The image is an AI-generated design concept; it does not establish a manufactured size or a completed installation. Ask for an elevation and internal cabinet drawing before approving the layout.
Select metal and shutter construction
A woodgrain laminate finish describes the visible surface, not a wooden cabinet body. Choose the actual metal body and shutter construction separately. Review the existing crockery and bar unit service with the designer, then record metal grade, thickness, frame, shutter layers and edge treatment in the itemised schedule. Keep fabrication edges straight and square.
Where a built-up shutter is proposed, discuss its construction using the shutter construction guide. Do not infer hidden materials from a concept image. GI is not recommended for counters or areas exposed to water; any serving counter or wet-use zone needs a separately agreed suitable material.
Finish samples for crockery designs
The finish direction for this design is Colour and surface direction shown in the concept; physical sample to be approved. Approve a physical sample for the actual chosen laminate, coating or painted surface. Record the manufacturer reference, colour, sheen, texture and edge detail that will appear in your quotation. Woodgrain direction can change the visual rhythm of a long cabinet, so review how it runs across adjacent drawers and doors.
Digital images can display colours differently from the sample in your home. Compare the sample under daylight and dining-room lighting. The 3D Finish Studio provides kitchen finish references; it is not a crockery configurator or a guarantee that this exact finish is available.
Choosing glass for crockery designs
This concept uses a fluted glass direction. Confirm glass type, tint, thickness, frame and edge treatment using samples and the glass and finish guide. Black tinted glass can reduce the visibility of stored pieces; white frosted glass provides a softer view; fluted glass adds a ribbed surface effect. Select the treatment that matches how much of your crockery you want visible.
Check reflections from windows and the dining light before confirming the position. If lighting is requested, record the actual fittings, colour temperature, wiring route and electrical preparation separately. The image does not prove that lighting is included. Keep display shelves practical for plates and glassware rather than choosing spacing only for appearance.
Hettich accessories for crockery designs
Hettich is the specified brand for accessories. Select compatible hinges, drawer runners and storage fittings for the final cabinet and shutter system. List exact models, quantities and any optional organisers in the quotation. A photograph does not establish a particular fitting series, tested load rating or movement mechanism.
Confirm the usable opening behind each shutter and check that drawers can extend safely without hitting a chair or adjacent door. Discuss the weight and size of the intended crockery before selecting shelves and fittings. Plan frequently used pieces within easy reach, and keep occasional serving items in sections that remain accessible when the dining table is occupied.
Request an itemised schedule
For your chosen crockery designs, request a schedule identifying cabinet modules, external dimensions, usable shelves, drawer arrangement, shutter build, selected metal, finish samples and Hettich accessories. Record glass, optional lighting, fixing, installation scope and site preparation separately. The concept has no fixed price or delivery promise.
Warranty coverage and delivery dates should come from the agreed written project terms. Share the design ID with your room photographs and storage priorities using the design consultation page. For a wider kitchen project, the kitchen estimator is a separate starting tool; it does not quote this crockery cabinet.
Check handover and care
At handover, compare the cabinet with the approved elevation and itemised schedule. Check the floor-level plinth, fixings, door and drawer movement, glass seating, shelf positions and finish consistency. Keep the approved samples and accessory references for future maintenance. Follow the care instructions for the actual laminate, glass and metal coating installed.
Avoid abrasive cleaning pads and unsupported chemical cleaners. Wipe spills promptly, keep stored crockery dry and investigate damp at the wall instead of covering it with storage. Ask for adjustment when a hinge or runner becomes uneven, using the instructions for the specified fittings. The final installed material schedule remains the source for care and maintenance.
How do I choose between the different models?
Compare crockery designs by the storage arrangement first. Look for a serving recess if you need a preparation surface beside the dining table. A low sideboard can be a starting point for an open wall, while a taller display provides a different balance between glass and concealed storage. Confirm the actual size with a measured elevation rather than assuming dimensions from the image.
Use the glass and laminate filters to narrow the references, then open the individual specification page. Compare the visible arrangement, finish direction and grounded base. Save the design ID and note the features you want to retain. The final cabinet schedule should describe the agreed metal construction, internal storage, glass and compatible Hettich accessories.
For crockery designs beside a busy dining table, check chair movement and each door opening before selecting the depth. Your room layout and storage list should guide the final drawing.
What happens after I shortlist a design?
Share the chosen design ID, photographs of the dining wall and a list of the crockery you want to store. Request a measured elevation and internal cabinet schedule. Review the actual finish and glass samples alongside the room lighting. Confirm compatible Hettich fittings, the grounded plinth detail and any optional lighting in the quotation.
These crockery designs provide a visual starting point. Their materials, dimensions and installation scope are confirmed for your room. Keep the existing commercial service page as the place to discuss the supply and installation requirements in Hyderabad.
How should laminate colours be shortlisted?
Start with the dining room finishes that will stay in place. Compare a solid laminate with a woodgrain sample beside the wall, floor and table. A long cabinet can look different when the grain direction changes across doors and drawers, so request that direction on the elevation. For solid colours, check the selected sheen under daylight and evening lighting.
Use the laminate filter to compare the references in this gallery. The design image shows a finish direction, while the actual laminate reference and compatible shutter build are confirmed separately. Review the edge treatment and the junction between the glass frame and opaque fronts before approving the combination.
Keep the chosen physical sample with the quotation and drawing. Record its manufacturer reference, colour, texture and sheen so the intended finish is clear during production and handover. A sample review is also useful when matching the crockery unit to an existing kitchen or wardrobe.